Number One looks very simple, it’s just a burnt out hair drier with wheels. As out first design we opted for a wheeled robot that followed a more traditional form, but it has been repeatedly updated over the years and now is completely autonomous with a mind of its own, making it one of our most complex robots. Powered by a RaspberryPi, our new Number One is now a Edge AI mobile sensor.
Please note, this material is provided for informational purposes only and is not a guide on how to create the designs. Please take a look at our disclaimer.
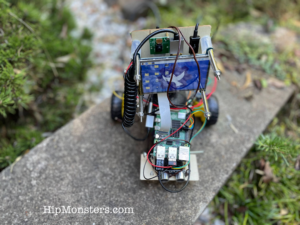
The handle of the blow drier servers as a functional hub for the electronic component. The two batteries (one for the RaspberryPi and one for the motors) are attached to the back to allow for quick replacement. The camera is mounted at the top to provide a good overall view. The display, which is mostly for show, is forward facing. We added “bumpers” to the screen on each counter to help protect it in from falling or bumping in to something. The first screen hit a end table and developed a crack, which convinced us that it needed some armor.
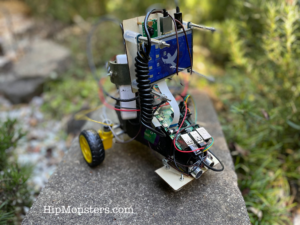
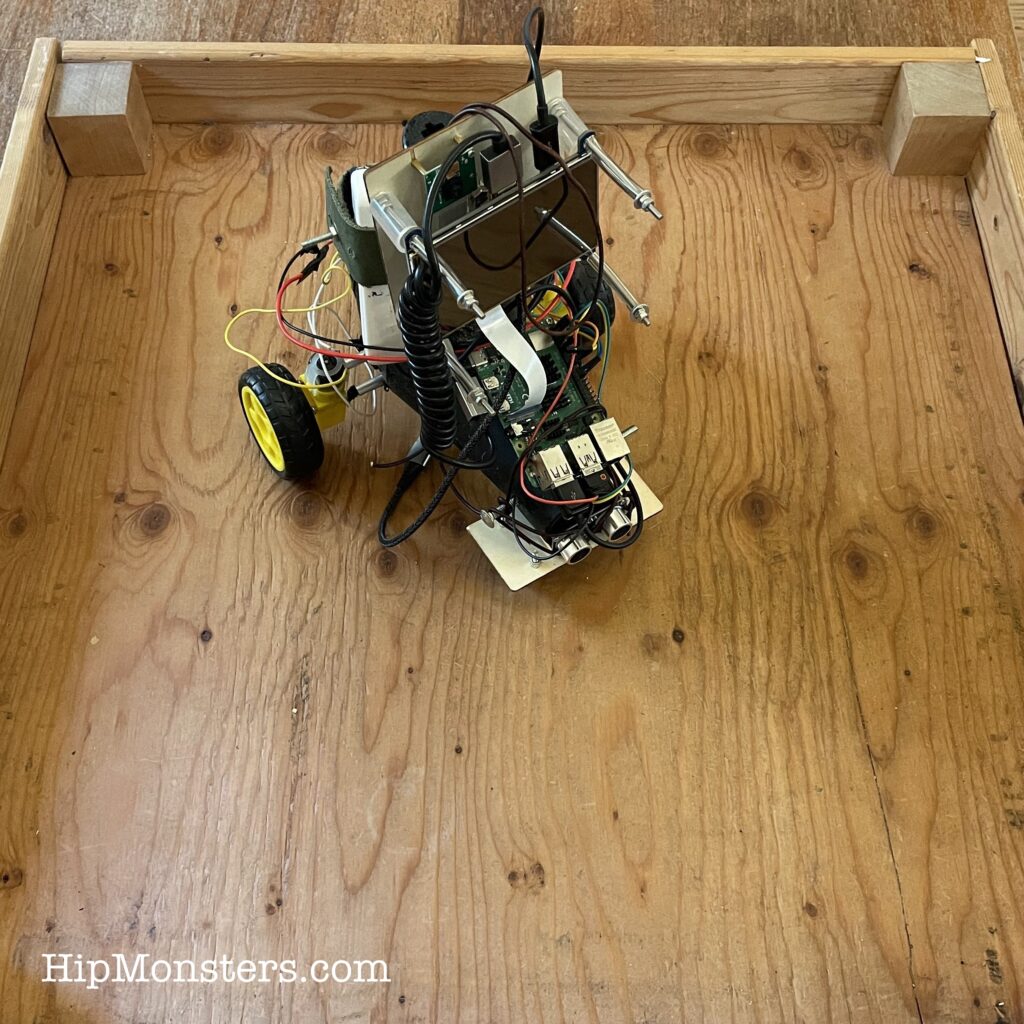
To protect the range finder, we added wooden bumper. Originally the range sensor had no protection, but after a few good hits we decided a bumper was a good idea. The range finder has proven to be sturdy but the wires to tend to fall off.
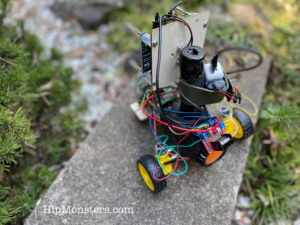
Above is a back view. When we first built Number One it the components were completely attached using electrical tape. While this worked surprisingly well, it did not look good. Most components are now bolted on or attached using leather to help the robot look more aesthetic.

The RaspberryPi is attached in front for easy access. The USB and other access ports are easily accessed allowing for quick repairs. We use a wireless keyboard to control the RaspberryPi. While the robot is autonomous (it makes decisions on its own) when it first gets power the AI part of the robot does not turn on. The robot can only become active after we execute a command. The original model turned on automatically, but that proved to be a bit of a headache when something went wrong.

The above image is the layout design using software from Fritzing.org. This is a far simpler layout that what we made for Number Two and Number Three. We may add more sensors over time, but to enable a fast response and to reduce power needs we decided to keep the number of sensors to a minimum. Another difference is we are not using an Arduino to control the movement. For beginners this is a better design to learn with.
Here is Number One in action! Come see it live at this year’s Bay Area Maker Faire!
You can download the code from our GitHub.
Happy Creating!