Whenever we go to Valencia Street in San Francisco, we always go to one of our favorite stores called Paxton Gate. An eye catching store that is full of interesting natural wonders and oddities.

When we go in Paxton Gate we always will stay there for a very long time, because there is so much to see and explore!

Here are some interesting rocks and minerals, including opal, aragonite, and bismuth! We love to pick out some new and interesting rocks to add to our rock collection.
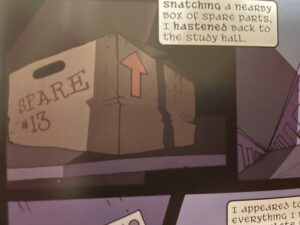
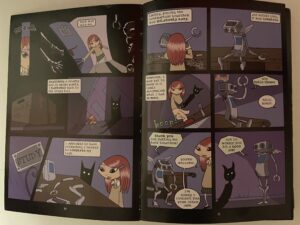
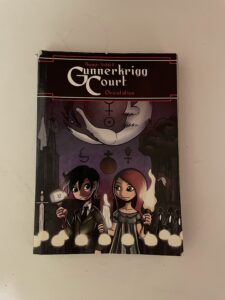
 Here are some more rocks! We love looking at and picking up all of the different rocks. One particular favorite is a desert rose crystal. We like then because they are very beautiful and remind us of a rose. We also love bismuth because it reminds us of Gunnerkrigg Court.

Here are some animals and other random curiosities that are preserved in glass. There is even a human brain in a jar!

These are animals displays and animal figurines. We love to look through all of the animal figurines to try and find our favorite animals.
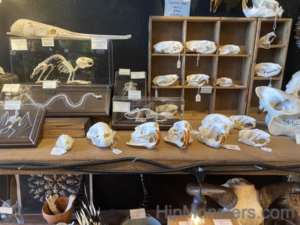
These are some cool skeletons and bones of different animals, including the skull of a muskrat.
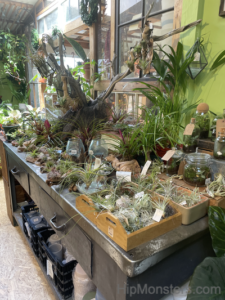
Paxton Gate also has a variety of plants. We love to hang out in the plant section to try and find a new addition for the yard.

More plants! The weirder the plant the better. We love to have odd looking plants in our garden.

Here are some fossil trilobites, ancient creatures that lived in the ocean. There are a variety of sizes. We are especially interested in them because trilobites are the family sign for the Heterodyne family in Girl Genius.

Here are some glass eyes used for taxidermy which we find creepy but cool.

These strange stones are actually owl pellets! Owl pellets are undigested food that an owl would regurgitate.
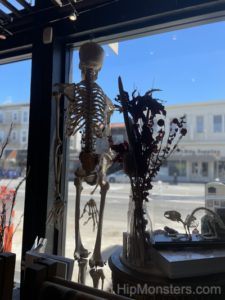 And a friendly skeleton watches over the store while you explore!
We hope you find you inspiration!


 Inspired by


 The artist is unknown.