Bell Hopper – Contraption Delta

For our upcoming Maker Faire presentation we wanted to make robotics more approachable. One barrier to robotics is, by its very nature, it lacks a human element. To bridge this robot-human divide, the bell hopper design requires two humans working together to power and control it. This only one goal, ring the bell.

Please note, this material is provided for informational purposes only and is not a guide on how to create the designs. Please take a look at our disclaimer.
Steampunk robot

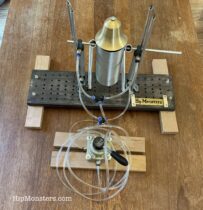
The bell hopper ended up very similar to the first drawing of the concept, which is rare for us.  For the base board we used one of our small robot rig platforms. We use it to create supports for testing robot movements. It ended up looking so good we kept it for the final design. We always wanted ringing a bell to be the goal of the contraption, but originally did not think of using it as the head. Once we saw the bell with the body we changed the design to have it as the head because they fit so well together.
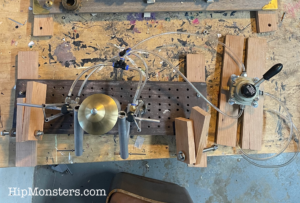
Steampunk robot

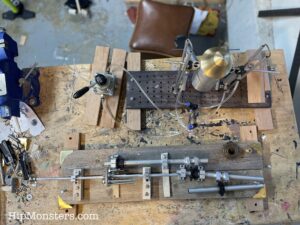
Here is a top view with the bell attached. The head’s weight caused a few engineering issues for us. The body was made of super light aluminum and the bell was heavy brass. To solve this we create a swinging counter balance inspired by the counter balance in Taipei 101.
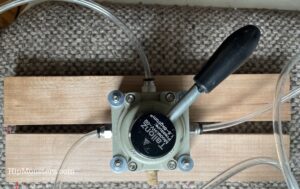
air switch

For the switch to redirect the air we used a standard manual pneumatic lever. It is the same one we use for testing our robots.
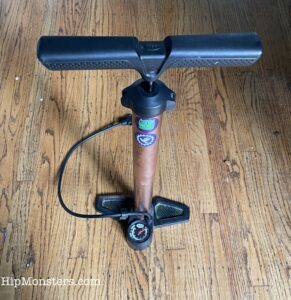
Bike air pump

The power supply is a bicycle air pump painted bronze to look more steampunk.
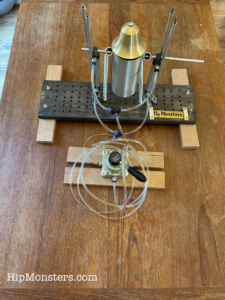
Steampunk robotHere is the final design of the bell hopper.

It take two people working together to get the bells to ring. Cooperation is key! Come see it and more at this year’s Bay Area Maker Faire.

Happy Creating!


Leibniz Calculator- Contraption Gamma

For the upcoming Maker Faire the Hip Monster’s sisters team wanted a challenge. Something that required precision and also aligned well with our theme of education and steampunk artistry. What they choose to do was a true mechanical mind, a computer built with gears, the Leibniz Calculator.

Please note, this material is provided for informational purposes only and is not a guide on how to create the designs. Please take a look at our disclaimer.

DIY Leibniz Calculator

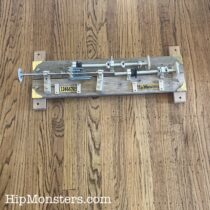
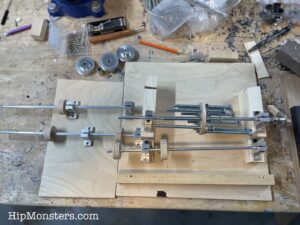
This proved to be our hardest project to date. While videos online had it look simple the precision proved difficult. We first designed a rig composed of separate segments of wood so we could explore different layouts for the gears and rods quickly. Arguable the most critical part, the step drum (the wheel like gear) was completed by the sister team in a few hours which gave us false hope the whole project would be easy.

DIY Leibniz calculator

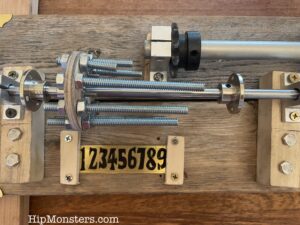
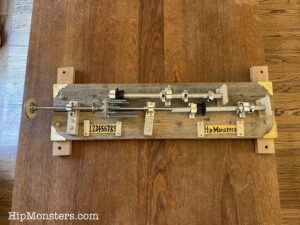
The step drum shown above is in the center of the device. It was made from a circular piece of wood with nine evenly spaced holes along its edge. In each hole we put screws of different lengths that could be adjusted with bolts to “tune” the device on the fly. At first, we thought this would be a temporary solution but in the end we did not modify it. The device proved to be finicky and our step drum’s ability to be tuned was essential to get it to work.

DIY Leibniz Calculator

Over months of trial and error and rewatching youtube videos endlessly we finally had the Ah-Ha! moment. The rig stayed in the exact same position on our workbench as a parade of other projects were started then finished as it rested, in complete. Then everything just clicked, one sister released that we were thinking two dimensional when the problem was in the third dimension. The the other sister fixed the rig and then the Leibniz Calculator worked like a charm.

DIY Leibniz Calculator

Here is the final design with some added steampunk flourishes. See it in person at this year Bay Area Maker’s Faire. This project only succeed by everyone working together, listening to everyone’s ideas and refusing to get frustrated. In the end it feel more like a piece of art than calculator.

The above video shows the user adding. You use the Leibniz Calculator by first positioning the step drum to the value you want to add, subtract or multiply. Then you rotate the drum. As it spins it engages the counting gear which keeps track of the current value of the computation. The key is, since the step drums spokes are of different lengths when the drum is rotated the counting gear only is turned based on the length of the spokes. You add by rotating the drum clockwise, subtract by counter clockwise and multiply by doing a full rotating the number of time you want to multiply a value by.  For example, if you want to multiply 5 by 4 you set the step drum to 5 and rotate it 4 times.

DIY Leibniz calculator

Above you see the tens dial to the left, showing 2 which is twenty (5X4).


Happy Creating!

Steampunk Contraption Model Beta

The Hip Monsters team decided to make something that interests people when they walk into the room. Inspired by Girl Genius and this Steampunk creation, we made a mysterious steampunk contraption that only we know the use of.

Handmade steampunk device
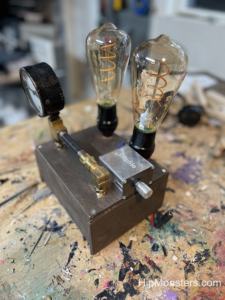
Our amazing steampunk device.

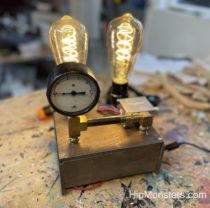
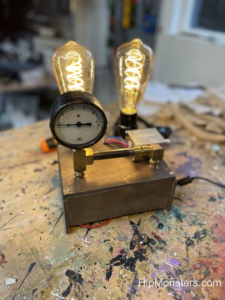
This is our steampunk creation. It has two light bulbs, a pressure gauge, and some metal pipes. The light bulbs’ brightness is adjustable.

DIY steampunk device
The side view

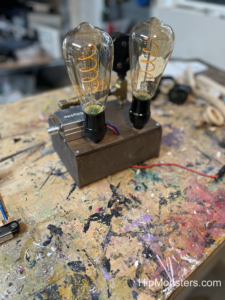
This is the side view of our device. You can see that on the side of the creation, there is a silver metal box. That controls the brightness of the lightbulbs.

DIY steampunk device
The back view

On the back, you can see that there is a wire going from the silver box away from the device. that is where you plug in the device to the outlet. From the front it is barely noticeable, you can only see it from certain angles.

Creating Creating!

Sun-Moon-Earth Orrery

Getting started

Need to track the moon phases for that perfect time to cast a spell? Worried about when you are due to change into a werewolf?

The following instructions are for a quick DIY Sun, Earth, Moon Orrery we did for a school project.  This is suitable for ages 6 to 12 but may need adult supervision.  We were inspired by this article in instructables.com but needed a much simpler design.

This project was also the start of HipMonsters, and we still use some of the same skills for our robots and woodworking projects.

Please note, this material is provided for informational purposes only and is not a guide on how to create the designs.  Please read our disclaimer.Equipment

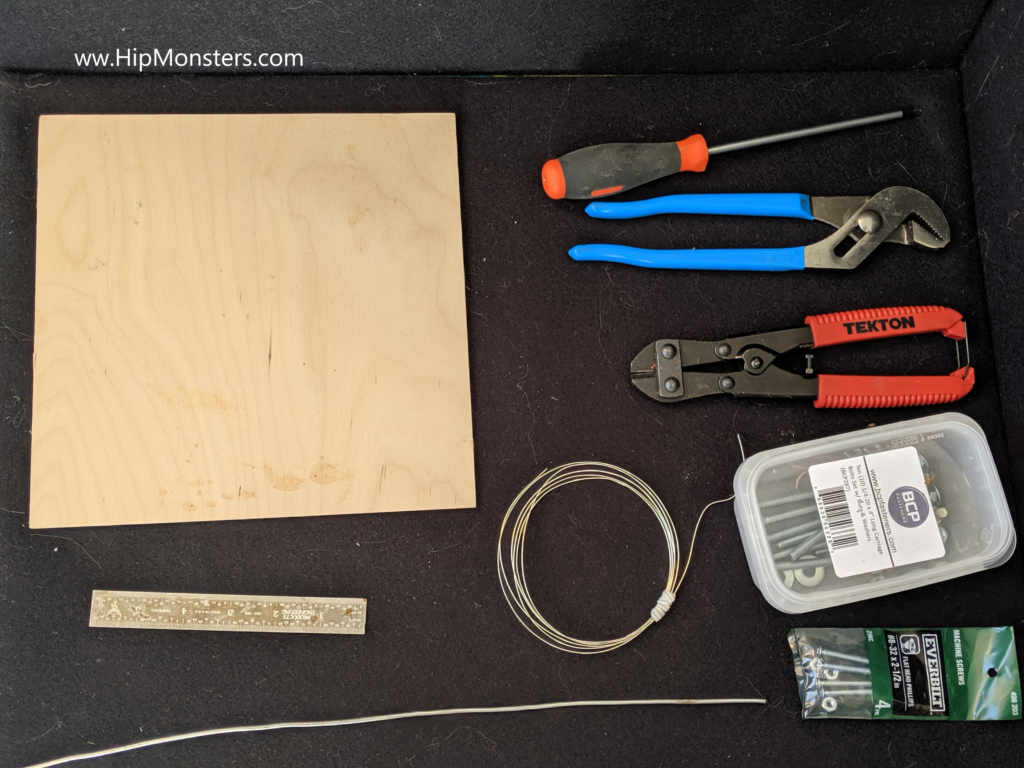
Equipment:

  • Drill
  • Pliers
  • Wire Cutters

Parts:

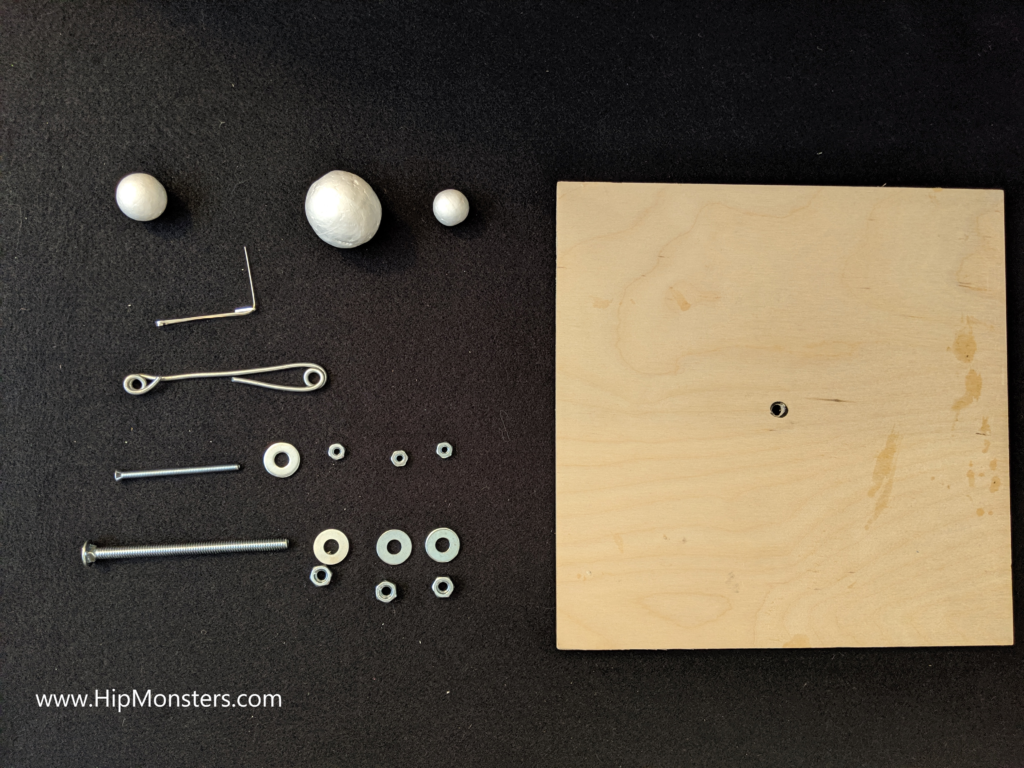
  • Plywood (10 X 10 inches)
  • 4 inch bolt with 3 nuts and 3 washers
  • 2 inch bolt with 3 nuts and 3 washers
  • 3 foam balls of different sizes
  • 9 inches of thick wire (may use coat hangers)
  • 5 inches of thin wire (may use pipe cleaner)
  • Foam padding
Step 1

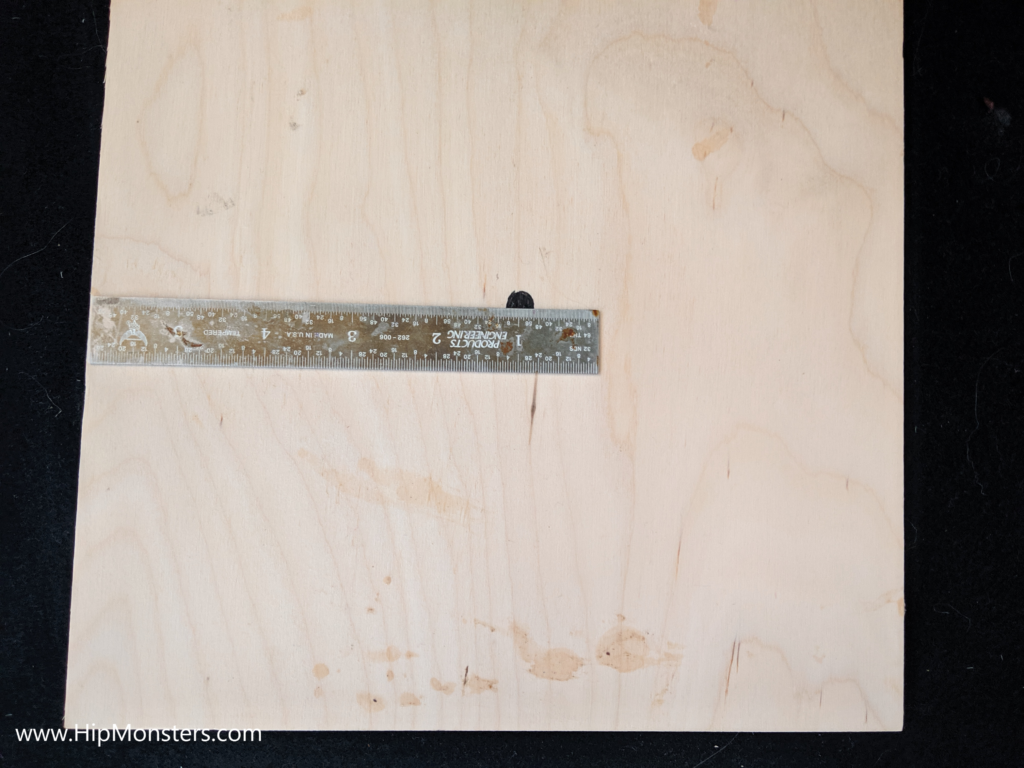
First, measure the center hole for the main screw.  This screw will support the Sun, Earth, and Moon.

Step 2

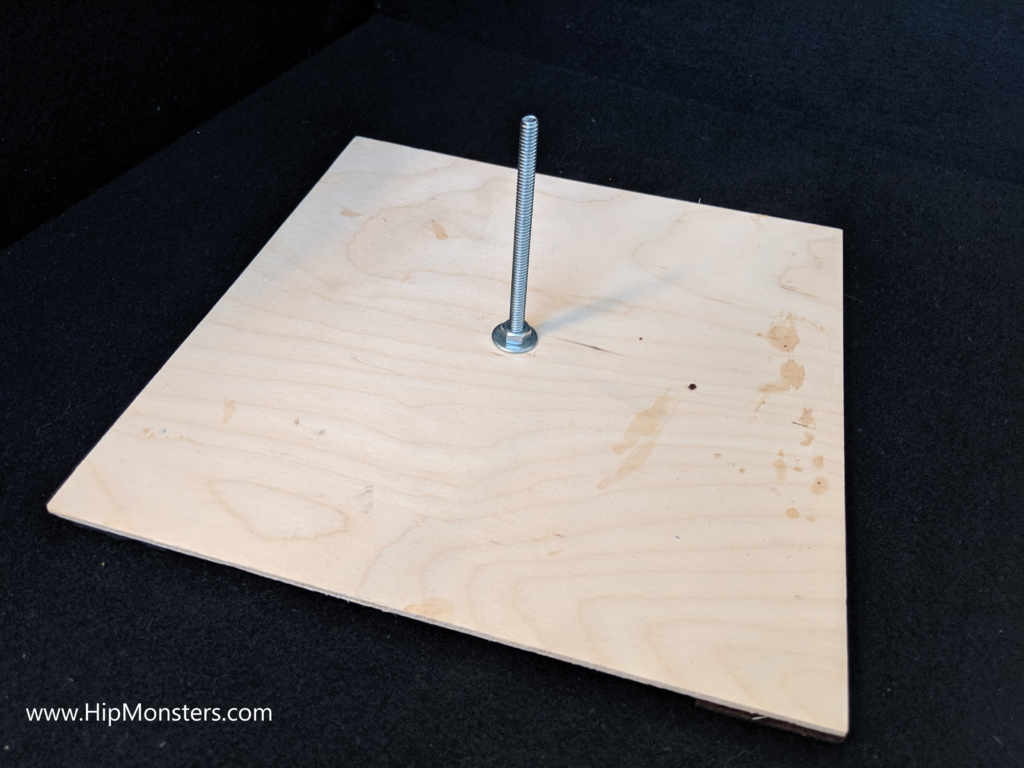
Next, drill the hole and push the large screw through the hole and secure it with a washer and bolt.

Step 3

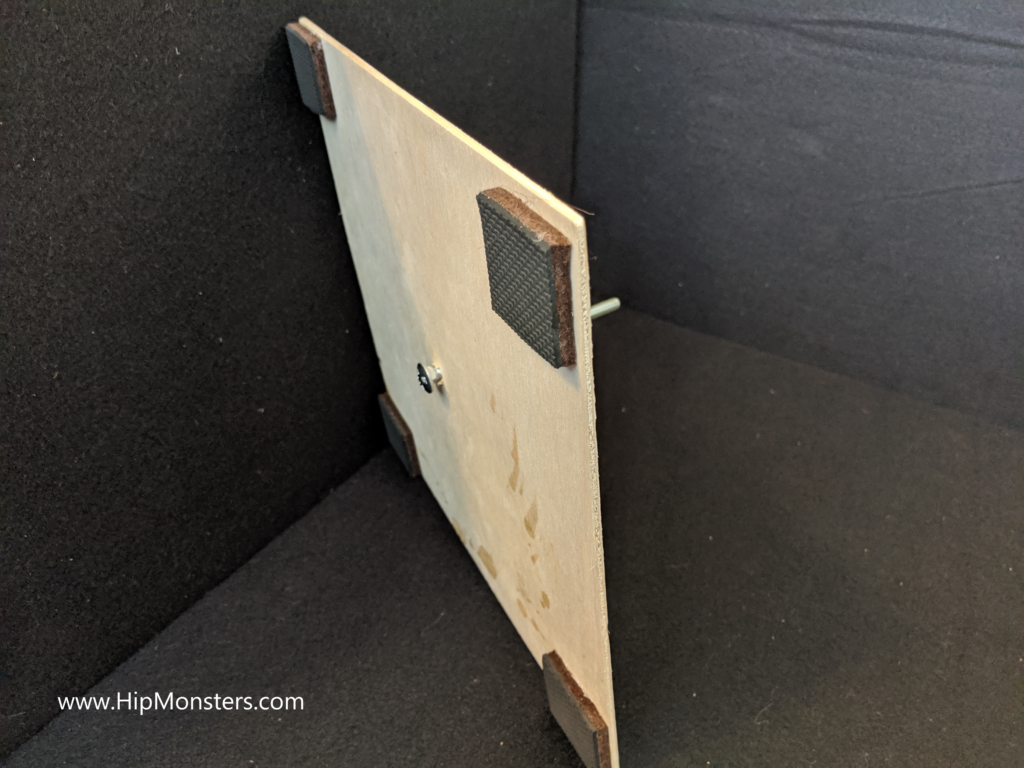
Turn over the base and stick four foam pads on the bottom. We used one large foam pad for furniture and cut it into four pieces. These foam padding will prevent the center bolt from scratching the table when placed upright.

Step 4

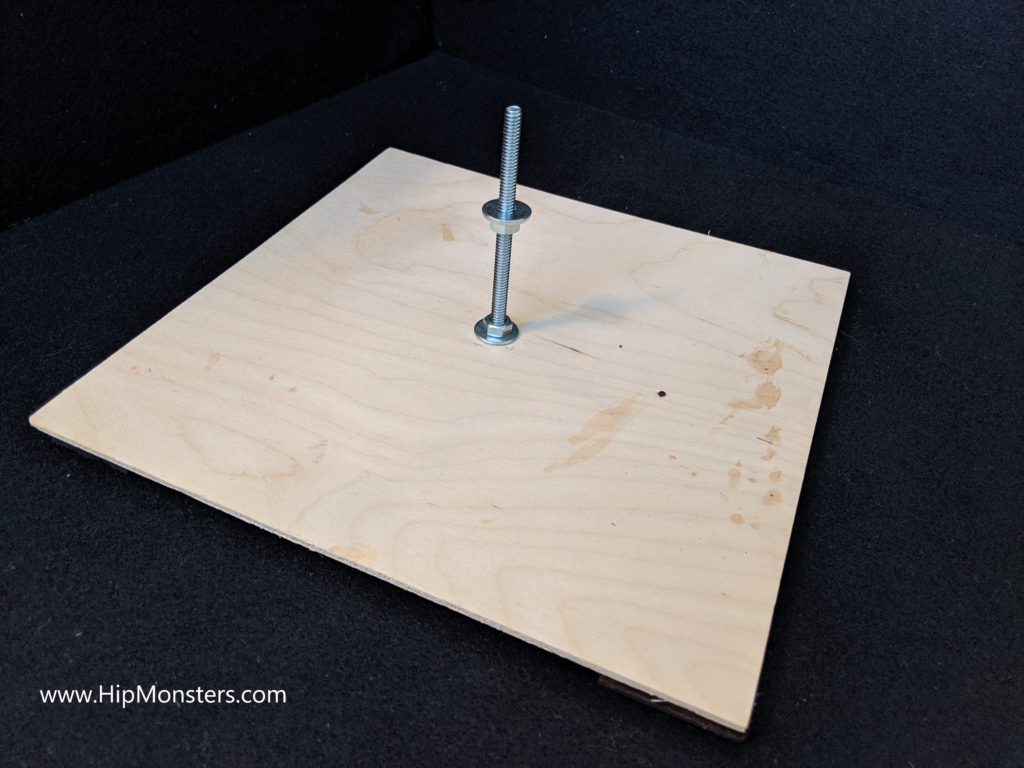
Turn the base back over and make sure the foam padding is tall enough to prevent the bolt from scratching the table. If not, then add another layer of foam. Next, screw another a nut to the halfway point on the bolt and then put a washer on top.

Step 5

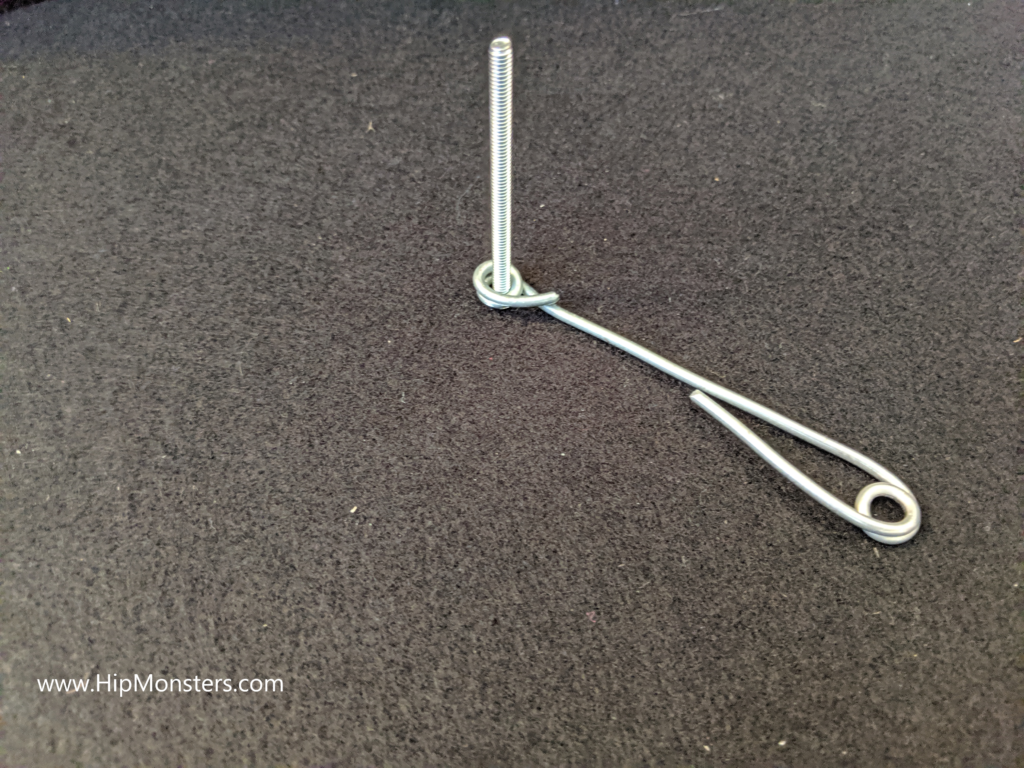
Now we need to make the support wire for the Earth. Take the larger wire and bend both ends using a screwdriver as shown. The goal is the make the loops tight enough so the bolts are secure when threaded through them.

Step 6

Here, both ends are ready to secure the Earth to the center shaft. Notice one loop is smaller than the other.  The larger loop is for the center bolt; the smaller one is for Earth’s bolt.

Step 7

Now, thread the smaller bolt through the smaller loop.

Step 8

Secure the bolt to the arm with a washer and nut.  Then screw a nut halfway up the bolt. This bolt will serve as support for the Moon’s arm.

Step 9

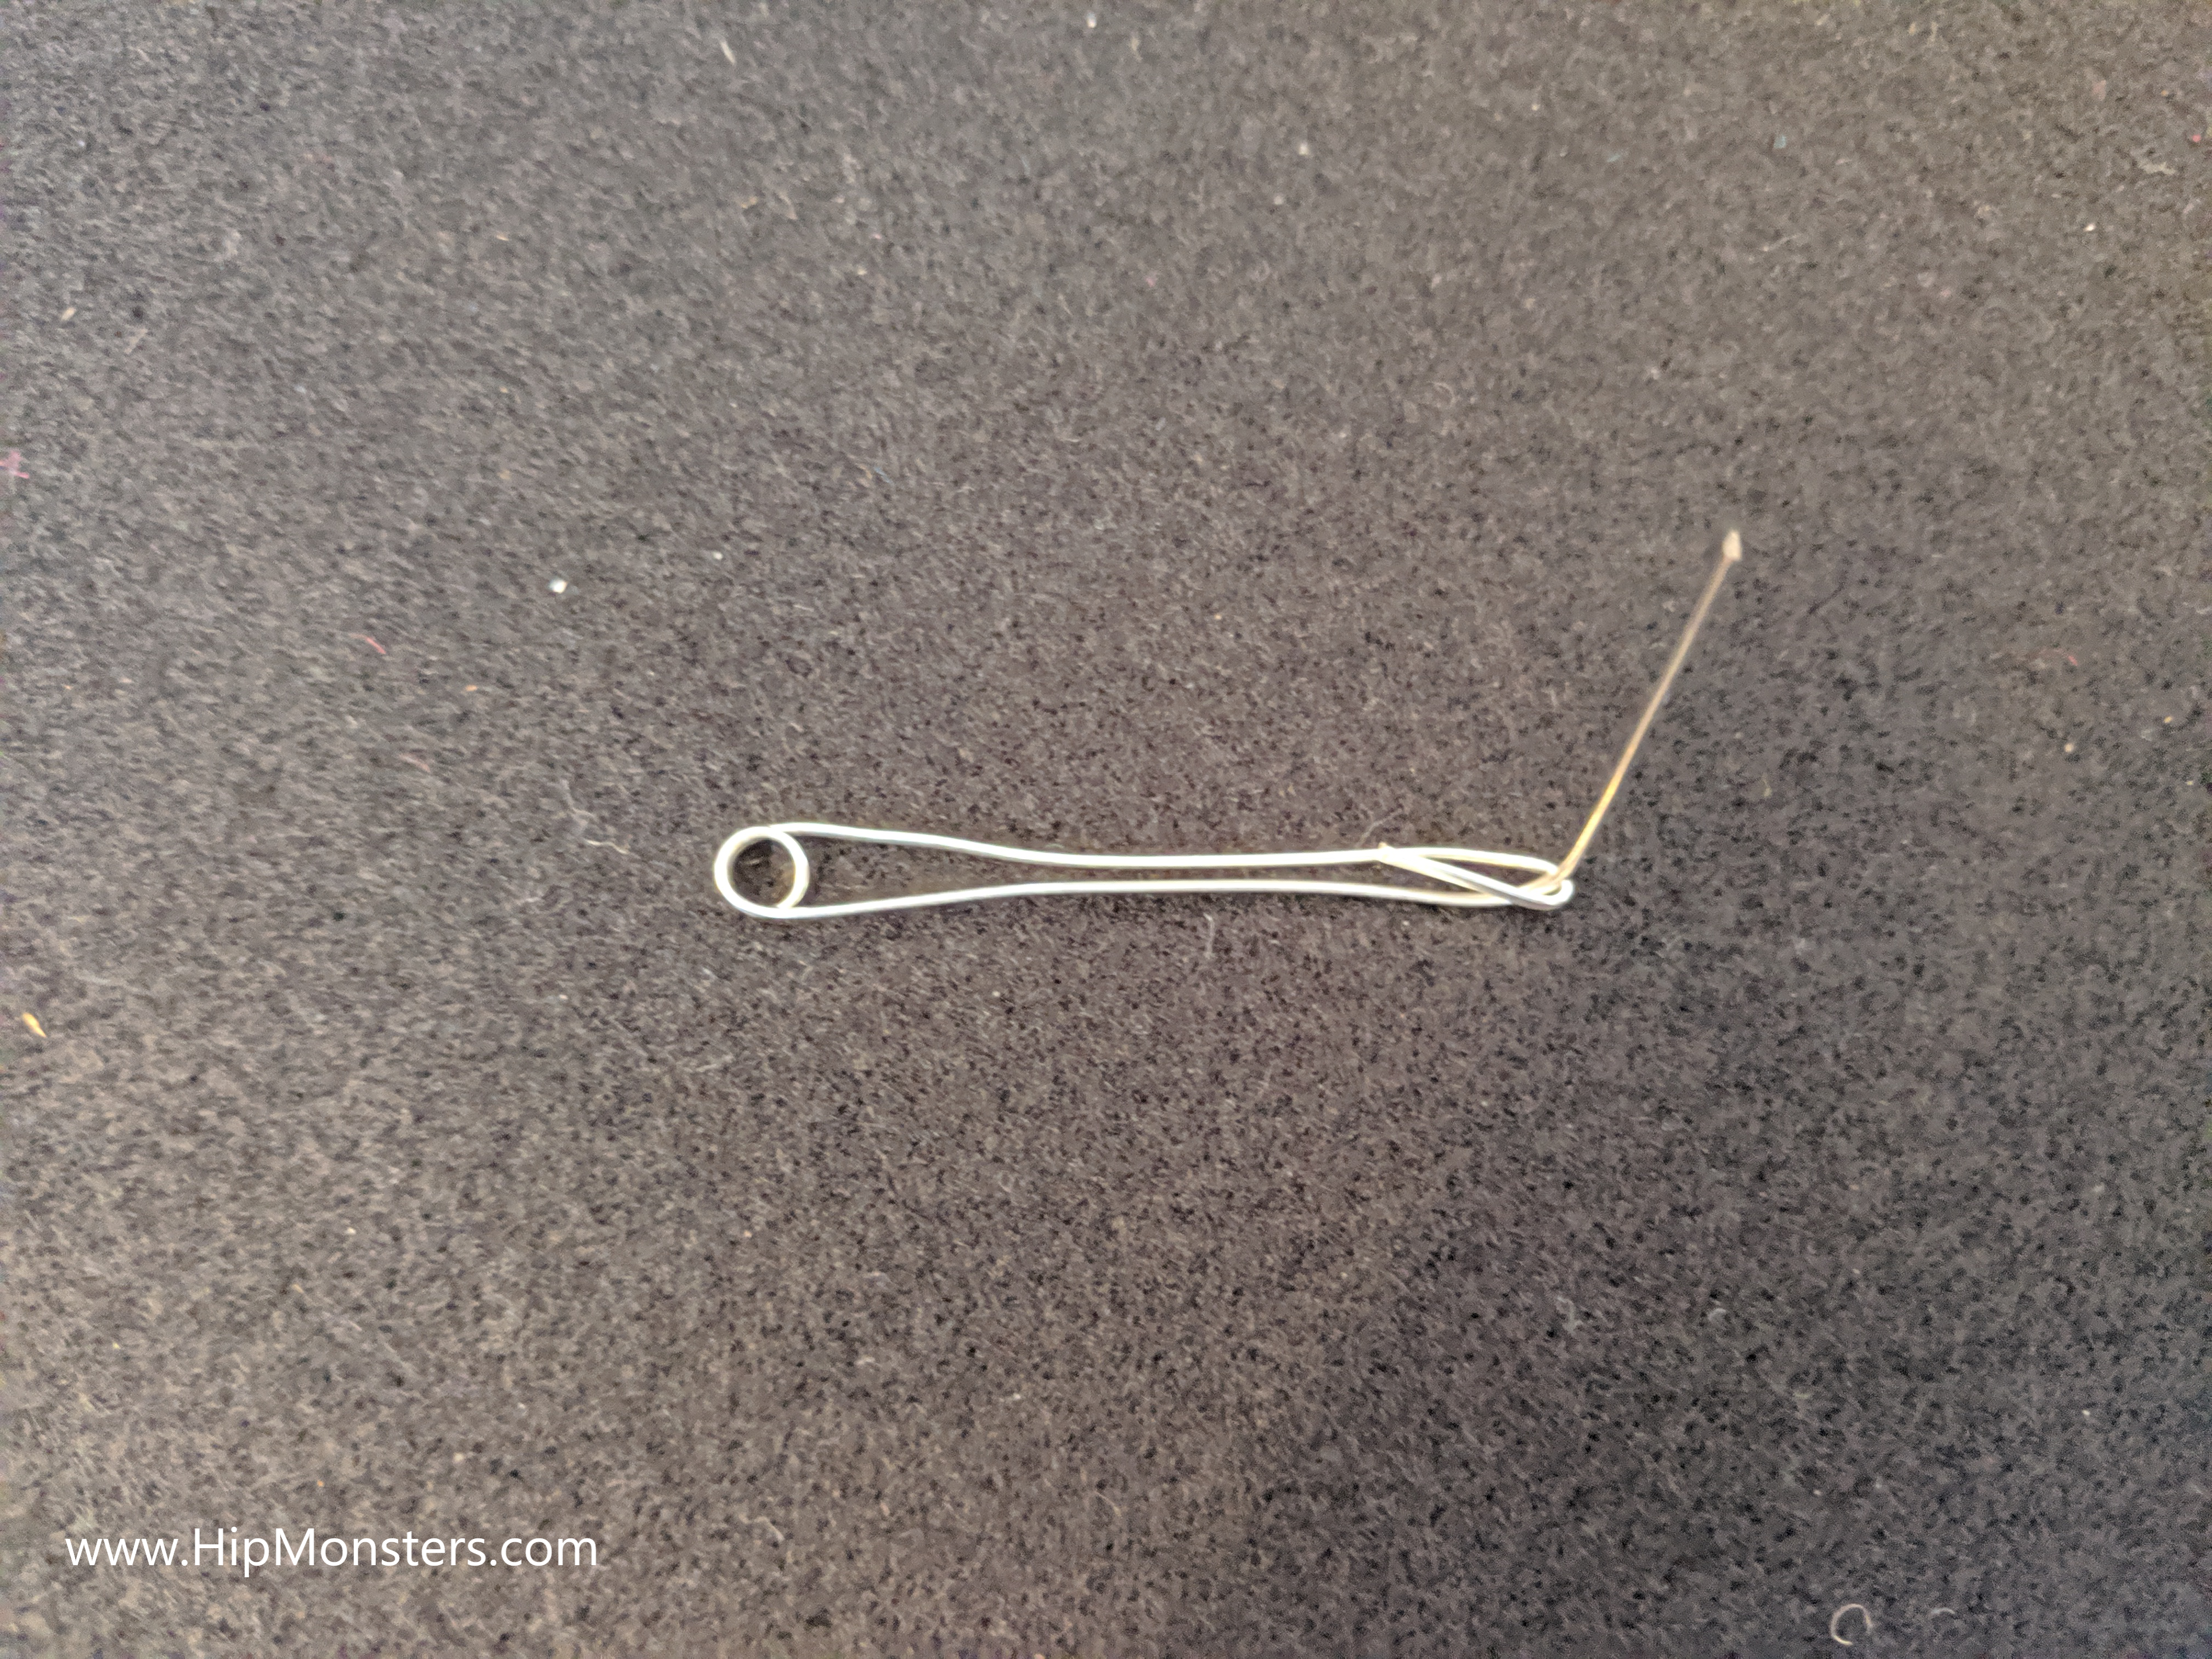
Next, create the Moon’s arm.  Bend the thinner wire similar to the Earth’s arm but only put a loop on one end. Bend the other end up to support the Moon.

Step 10

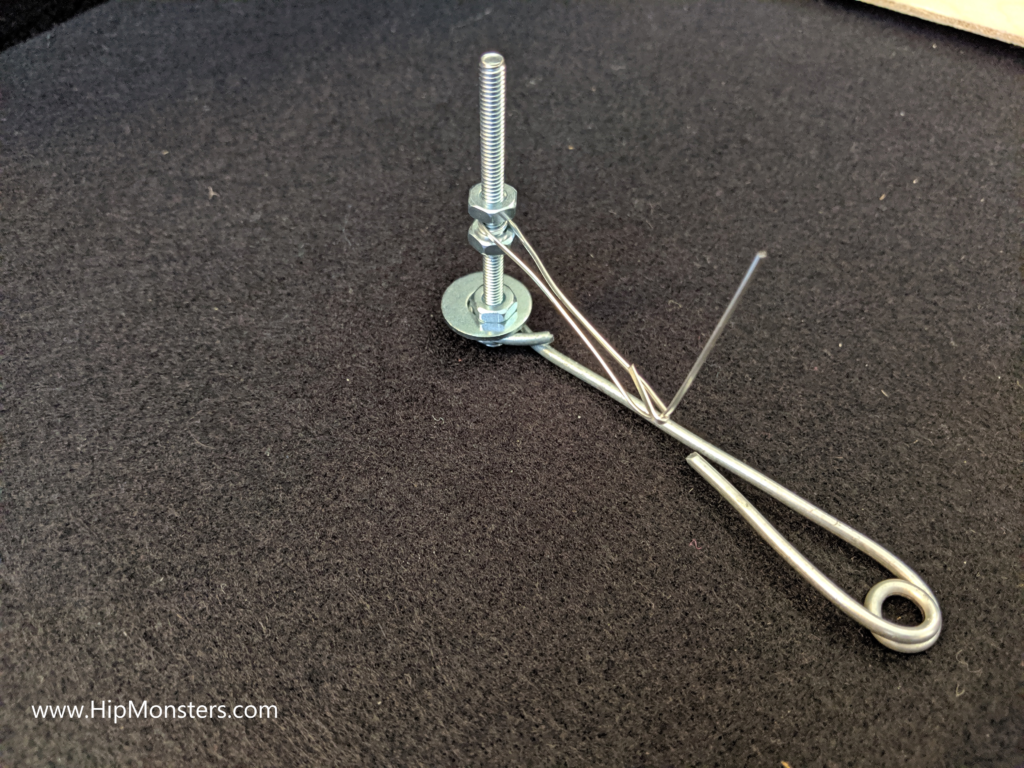
Now connect the thin wire to the screw on Earth’s arm and secure with a bolt.

Step 11

And we are nearly there! Just connect the thick wire to the screw and put a washer and bolt on top. Make sure to screw on tightly, the weight of the arm can make it droop.

Step 12

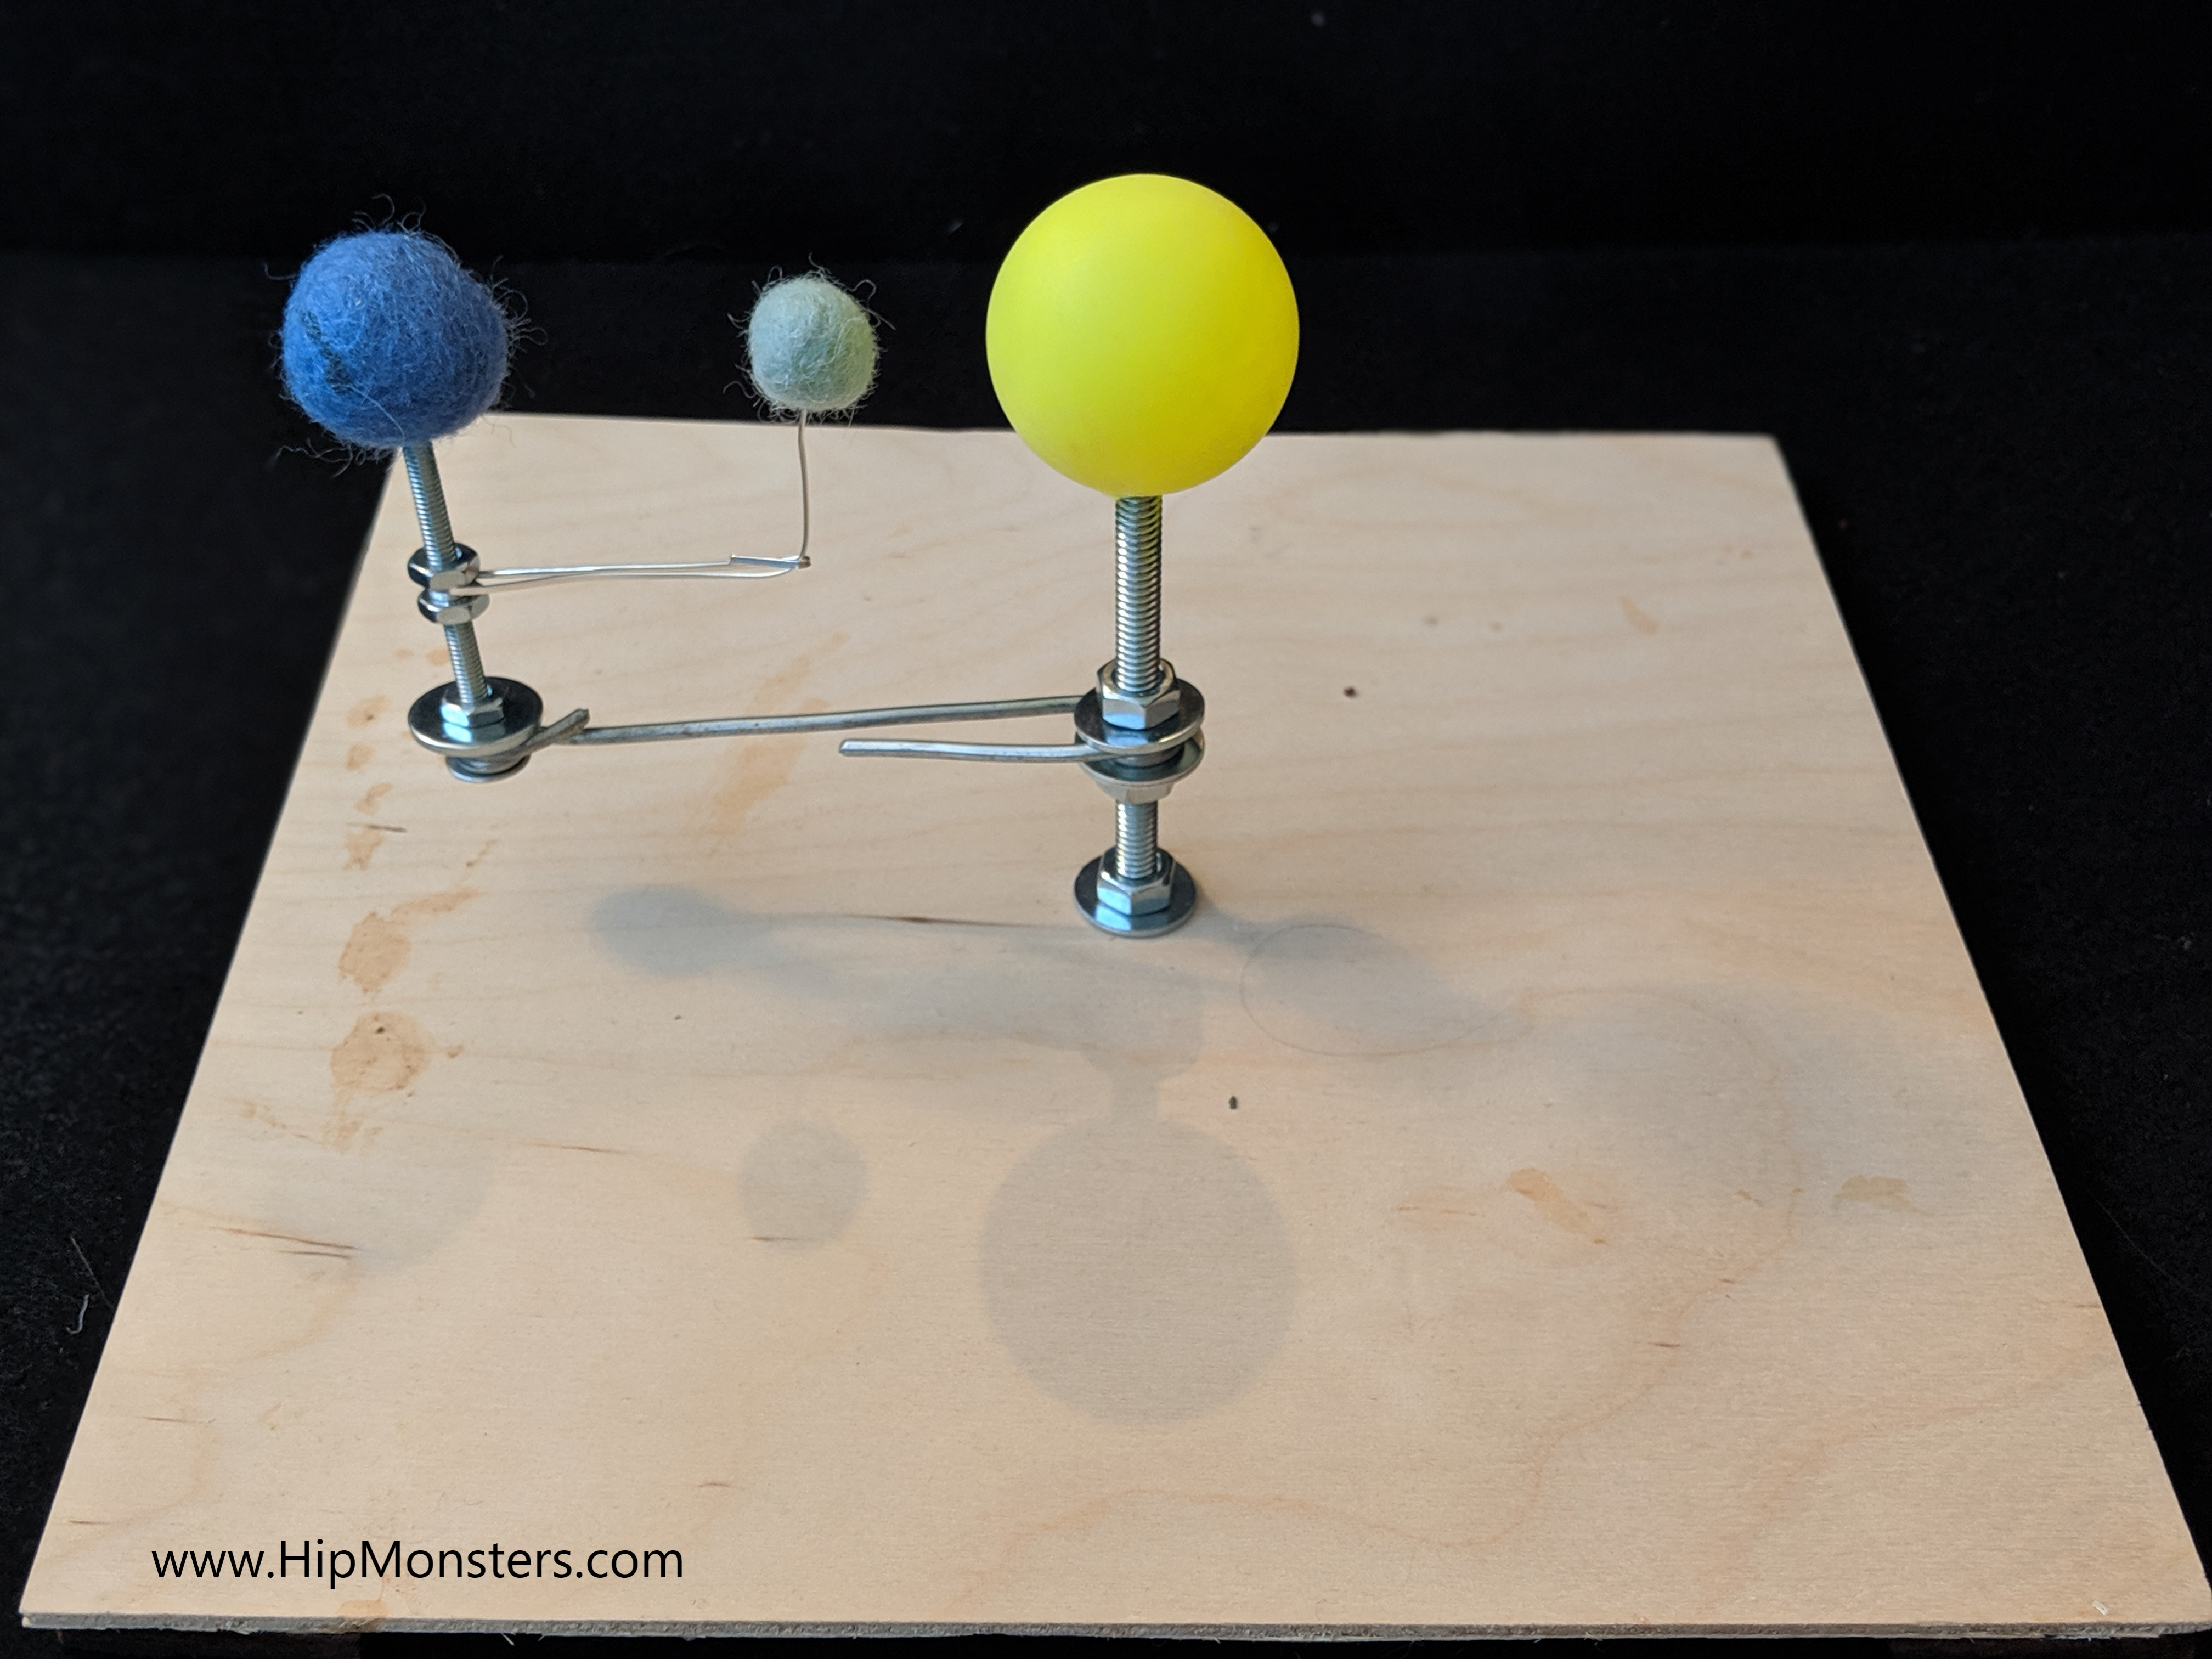
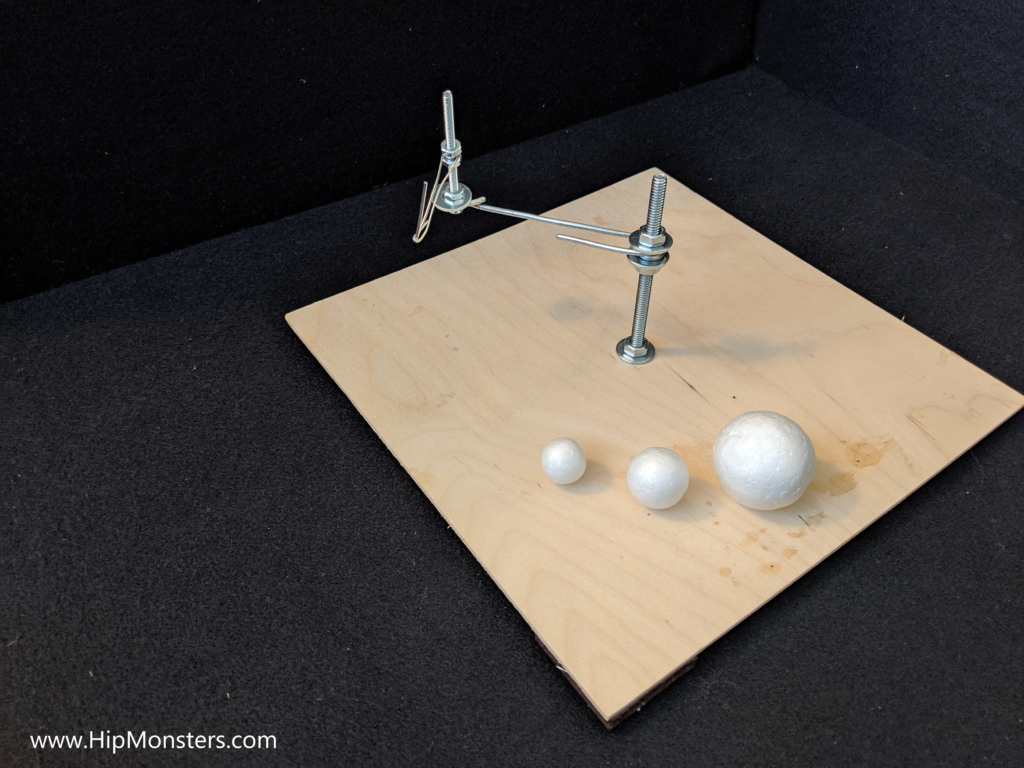
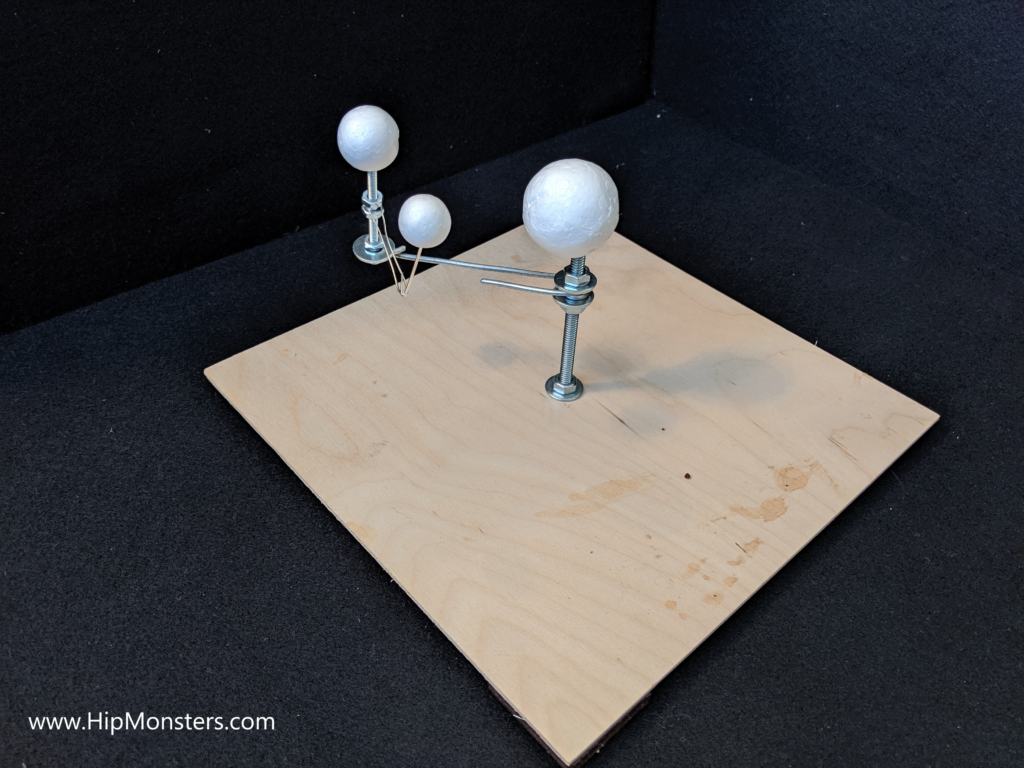
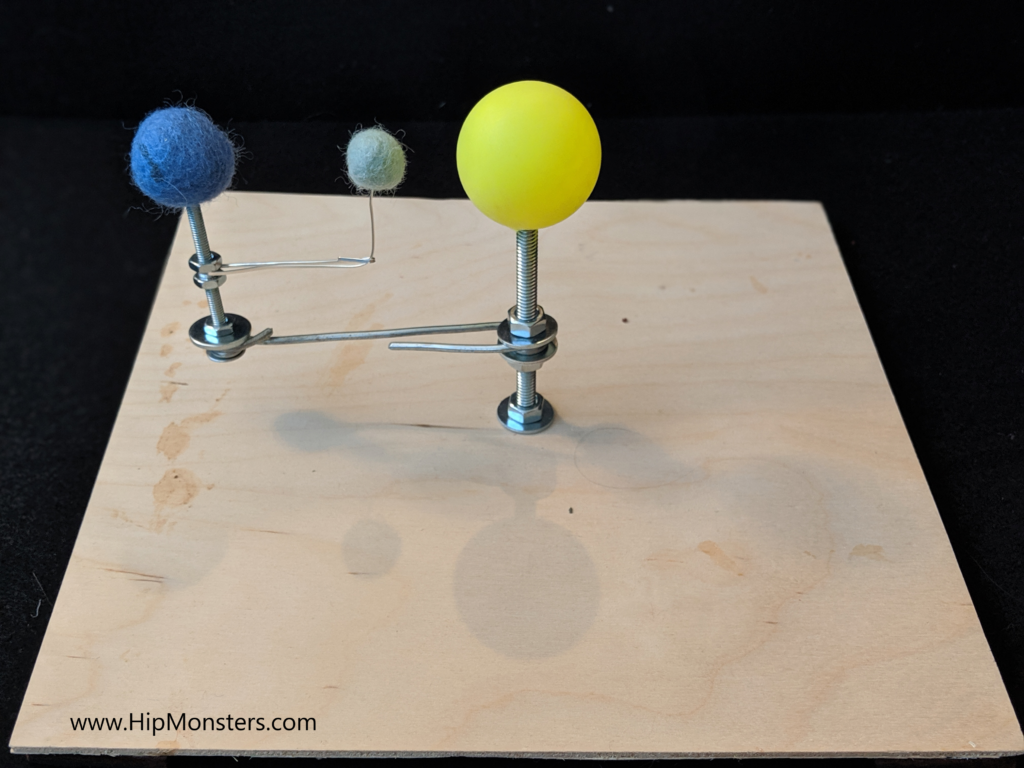
And finally we are ready to add the Sun, Earth, and Moon. The smallest ball is the Moon and goes on the smallest arm.  The Earth is the mid-sized ball and put onto the outer bolt. The largest ball is the Sun and placed on the center bolts. You can paint the balls as the final step if you want to.Putting it all together

The Sun, Earth, Moon orrery is almost complete, we just need to assemble! Here are all the pieces laid out. We substitute the foam balls in one build with a ping pong ball for the Sun and felt balls for the Earth and Moon.Enjoy

You now have your own Sun, Earth, Moon Orrery and predict the next eclipse or start planning for the next full moon! Keep a watch out for werewolves!

Happy creating!