At the beginning of the Covid pandemic, we wanted to create magic for ourselves and our friends and hone our wood crafting skills. After much debate, we settled on wand making.
Our yard in the San Francisco, CA has several trees and shrubs that require routine maintenance. Over the years, we carefully trimmed and stored the best branches for future use. One of our more numerous shrubs is boxwood and we have a large birch tree which both provide great material for wand making.
Please note, this material is provided for informational purposes only and is not a guide on how to create the designs. Please take a look at our disclaimer.
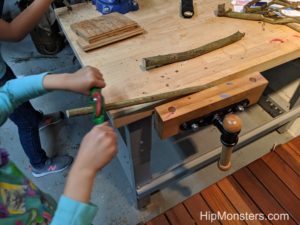
The three essential tools for wand making are:
- Saw (we prefer a single-edge Japanese Pull Saw)
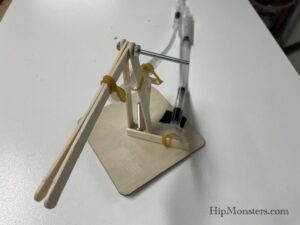
- Vice mounted securely on a table
- Spokeshave
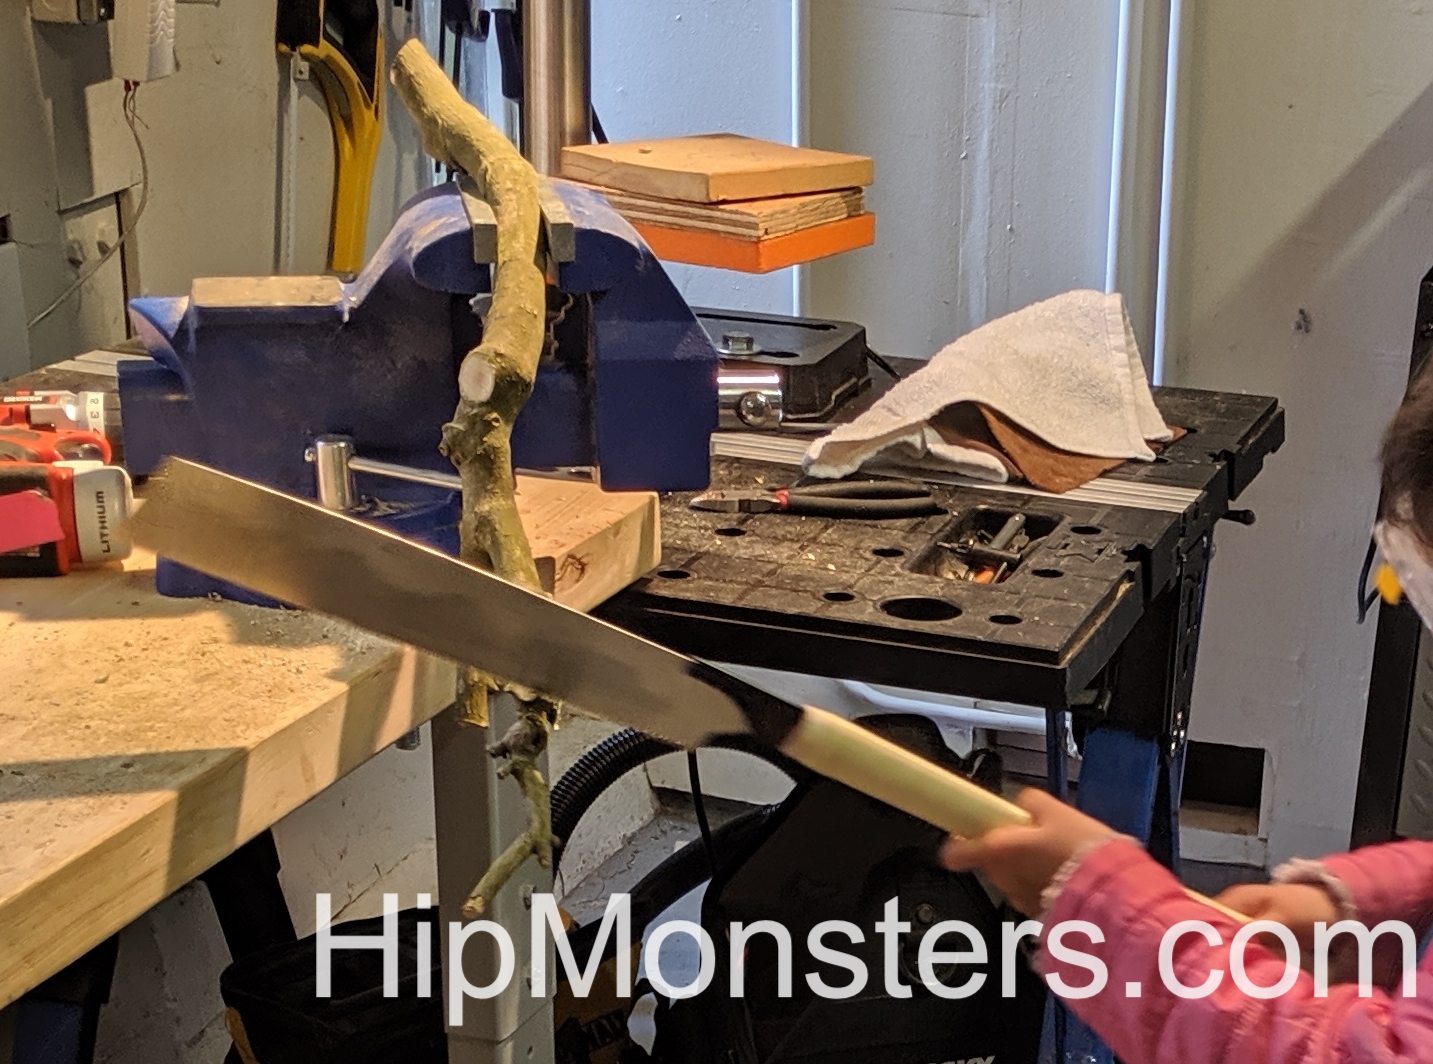
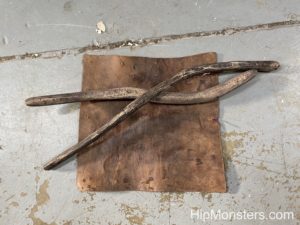
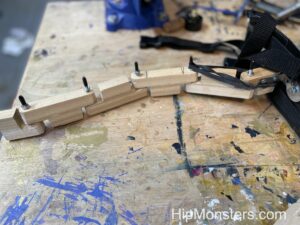
Selecting the perfect branch can be hard and a lot depends on what sort of wand you are looking for. When selecting a branch to turn into a wand, make sure that it is not too green or too dry. Also, you want the branch’s width to be wider than you want at the start. Spokeshaving takes off more material than you would imagine. Straighter branches are easier, but we prefer ones that curve slightly to make the wand more interesting. Many pieces of wood also have natural handles that works great on the wand.

When cutting the wand make sure to not cut it too short, once you start crafting the ends you may find you need to trim it a bit more.
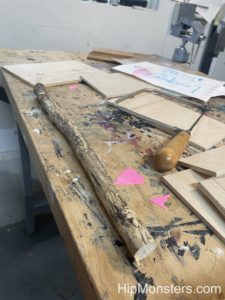
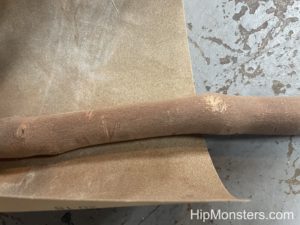
Once you have trimmed the branch it is time to prepare it for spokeshaving.

To prepare for spokeshaving the wands, cure them in a mixture of water, dishwasher soap, and a little oil. Soak them for at least two days depending on how dry the wood was to begin with. If the wood is too dry it can by difficult to charge and split when spokeshaving. After two days of soaking, take the wands out of the solution, wipe them dry and store them in a cool dry place for at least one day to dry out. If your wood starts out very wet, you should not soak the wood and instead leave it to dry out for a bit.
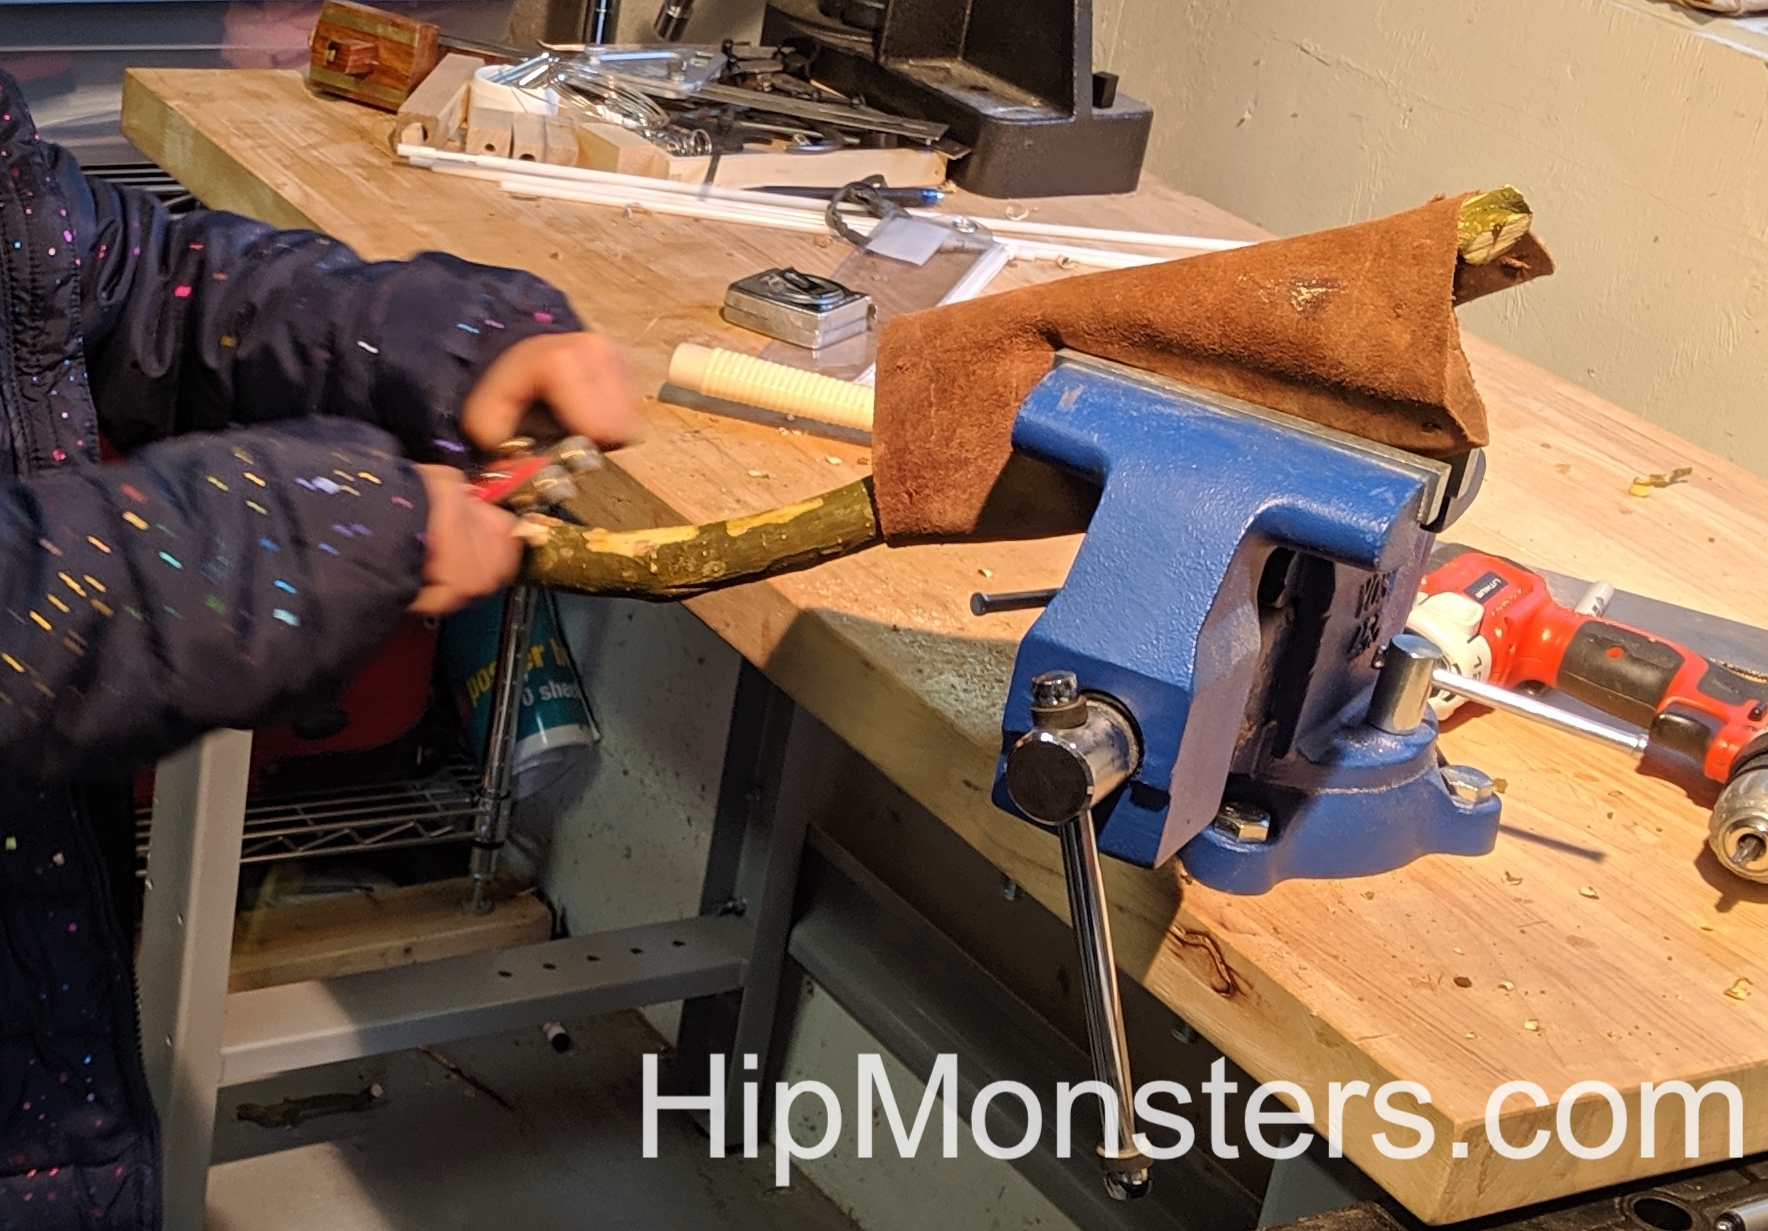
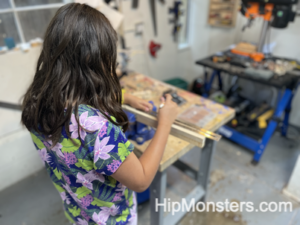
Our technique for wand making involves lots of spokeshaving to shape the wand. The best thing about spokeshaving is it is great for all ages. Kids as young at six can spokeshave simple branches and adults can find it very rewarding after a long day at work.
When spokeshaving make sure not to cut into the wood. This can happen if the blade is not aligned correctly or your use too aggressive of an angle. If you do cut into the wood, we recommend not trying to smooth out the grove with the spokeshave. Instead, use a craving tool to widen the grove before returning to spokeshaving, or use a rasp to smooth it out. When spoke shaving it is best to use as little strength as possible and get into a rhythm to make the tooling as consistent as possible.

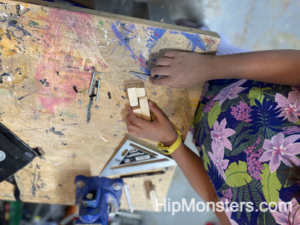
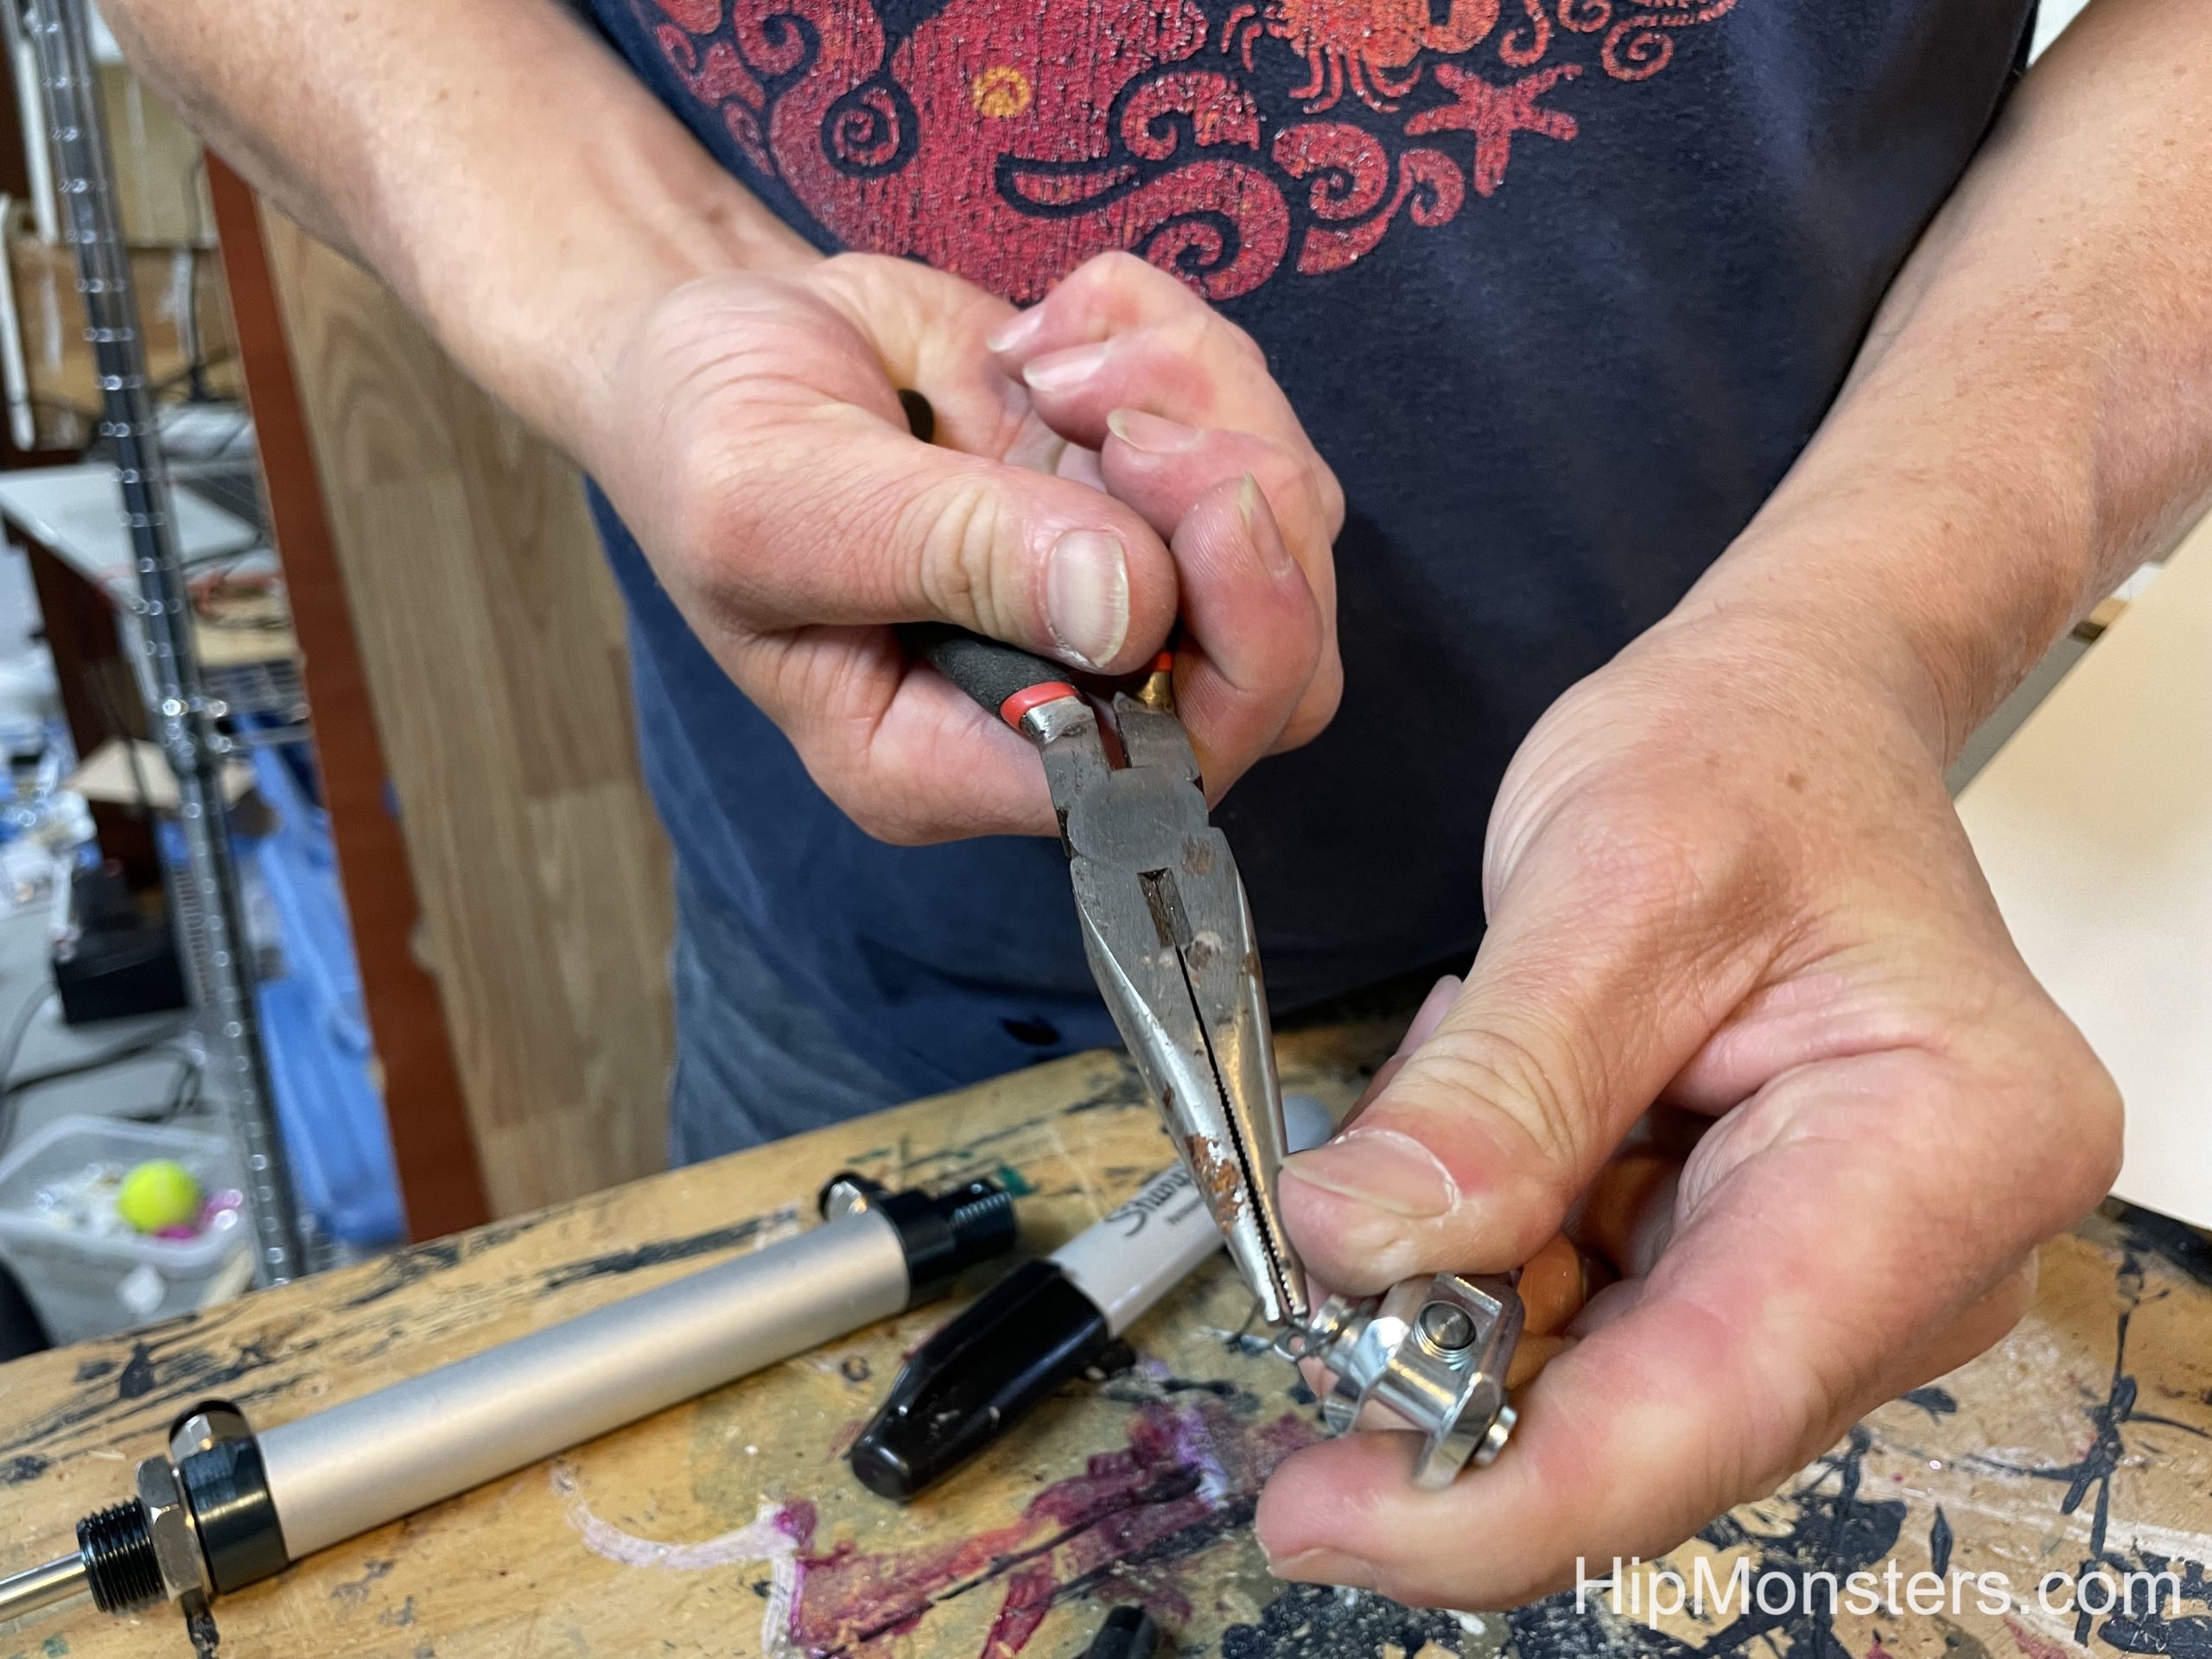
Once the wand is in the shape you want then move on to shaping the ends.

After years of practice we find repeated passes with a spokeshave can get the tip to the shape we prefer. You can use a carving knife as well, but with harder wood it can require a lot more force.
After you get the shape and look you want move onto sanding. For wands sanding is really important. The wand needs a well-finished, smooth surface or it just will not feel right. Use multiple grades of sandpaper starting with the lowest grade sandpaper and ending with the finest.
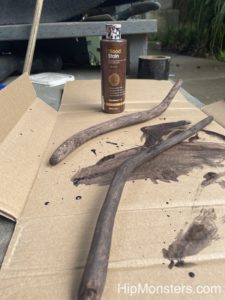
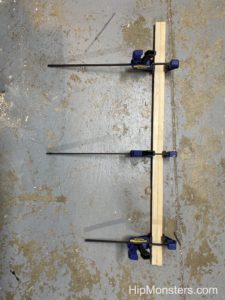
Once the wand has the feel you want start applying the stain. Make sure to apply the stain in an open and well ventilated space. Remember, staining your wands will take multiple days, so you need a place where the wands will be safe and protected from rain or harsh sun. We stain our wands outside under our porch.
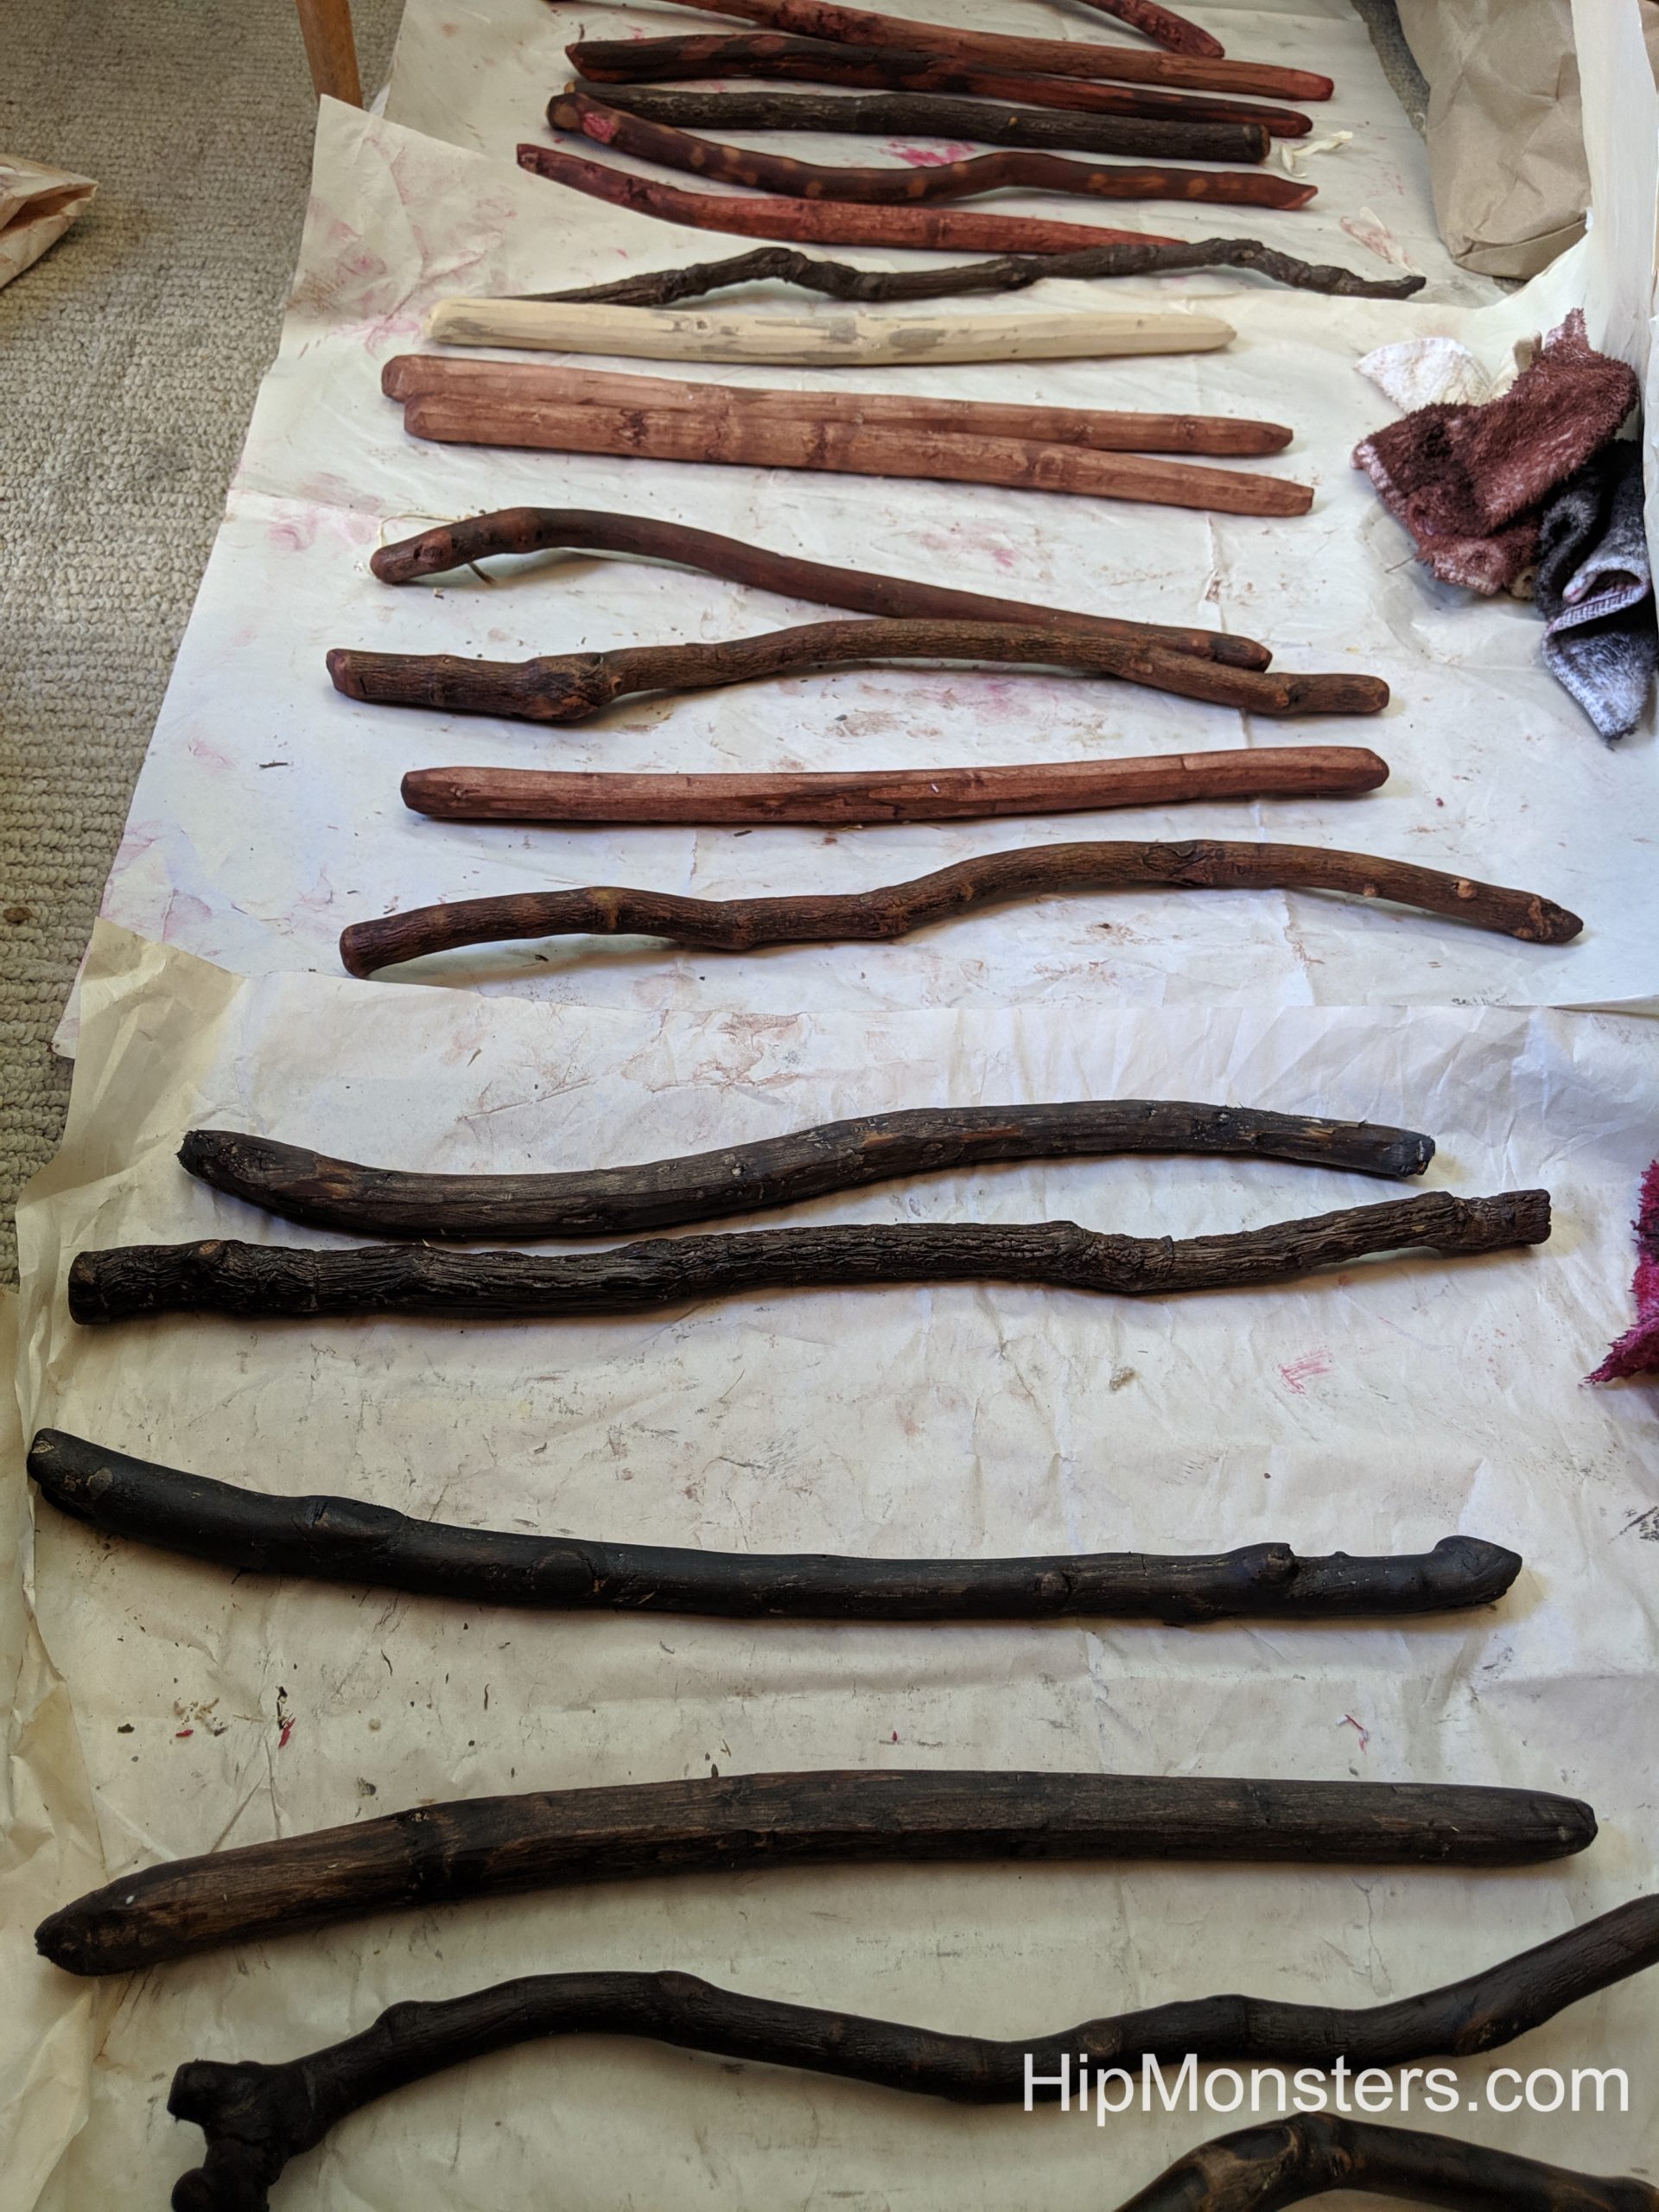
Above is a long line of wands after staining. Since it can take weeks to complete one wand we usually have several in the works at a given time. We also sand the wand after staining them because staining can make the wood feel rougher. Sanding can also give the wands an older look.

After the last coat of stain has dried, apply beeswax to add another layer of protection and to give it a well-used feel. You want to wand to feel old and magical. This can require multiple coats of beeswax applied over several days depending on the condition of the wood.
The last step is to polish the wand using a rag or a bit of leather. We found leather does a great job getting a well-worn, ancient looking patina.
Now your wands are ready for use and harness the magic within!
Happy creating!


 Inspired by


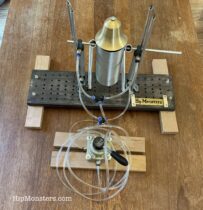
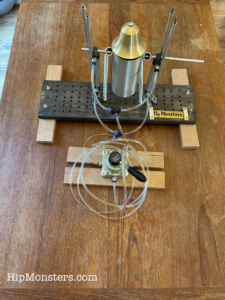 Here is the final design of the bell hopper.


 Here is Number Six walking in our yard.