Inspired by the character Professor Sprout (from Harry Potter) and this wonderful article, we set out to make our mandrake root for Halloween.
Please note, this material is provided for informational purposes only and is not a guide on how to create the designs. Please read our disclaimer.
Mandrake roots are a mythical plant that has a root that looks like a person. They scream when they get pulled out of the ground, and hearing the screams can knock you out, or even kill you. They are featured in Harry Potter, but were invented before that. For more information, go to the article above.
The Supplies
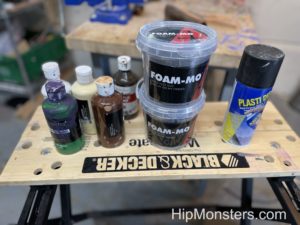
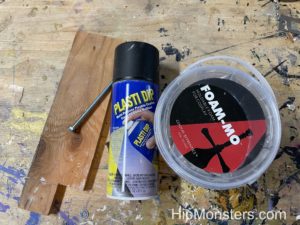
For our mandrake roots, we used a type of foam-like clay called Foam-Mo. Foam-mo is really useful for making organic details like plants and animals. It air-drys and can be painted, but has to be sprayed with a plastic spray, or else it will disintegrate. We recommend using several layers of the under-coat spray for maximum protection. We painted the mandrakes with acrylic paint.
Make sure to use a nonporous surface for a build table or the Foam-Mo will stick to it once it dries. We used old cutting boards.
Making the arm
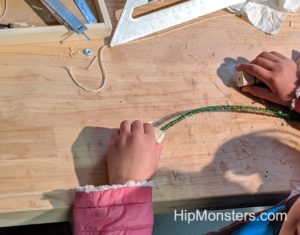
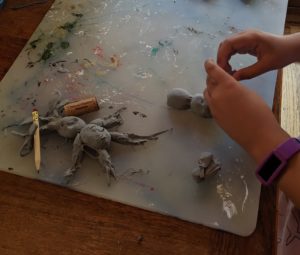
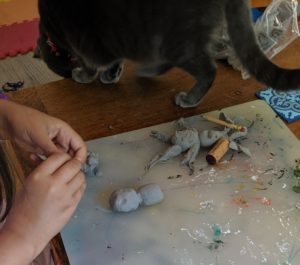
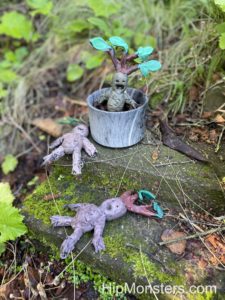
To make the mandrakes, we made ovals for the head and body, and tubes for the legs. We also rolled out thinner tubes for the tree branches and flattened small diamond shapes for the leaves. We used a pencil to made the lines in the leaves and to make the eyes, lines on the body, and the mouth. Remember, no two mandrakes are the same, so make them all slightly different.
Attaching the arm
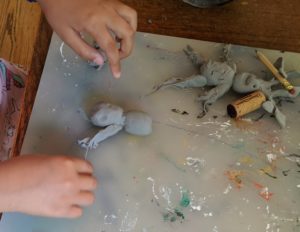
Foam-mo is pretty delicate, so we needed to be careful when attaching stuff. To make it hold it’s shape, we used stuff to prop up the mandrake roots while they were drying. to make the edged look like roots, we gently pulled out thin strands of Foam-Mo at the end of all of the limbs.
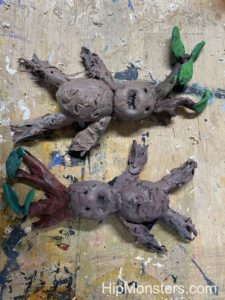
After painting
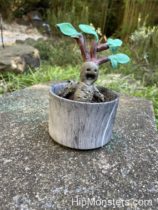
After the Foam-Mo dries, we sprayed it with a plastic spray and painted it with acrylic paint. We painted them all slightly different shades of brown and green.
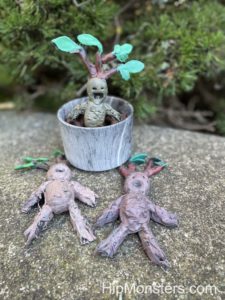
A potted mandrake!
Please DO NOT water your mandrake, even if they tell you to! They are definitely not waterproof.
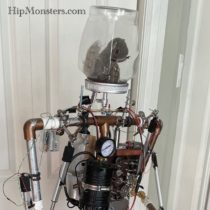
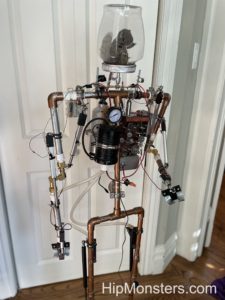
Since we discovered how to make Number Five move, we decided to upgrade Number Three. We tried to preserve as much of the original design as possible, so we didn’t mess with the decorations or redesign the frame. We also made the legs stronger so the robot could support itself easily and won’t fall. Professor Brockenhoff was very pleased with being able to more effectively scare strangers!
Please note, this material is provided for informational and fun purposes only and is not a guide on how to create the designs. Please read our disclaimer.
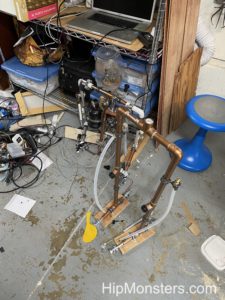
We started off by disassembling Number Three. Given how Number Three was designed as a framework, it was pretty easy to take apart.
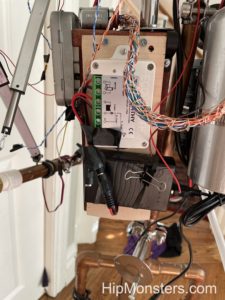
Number Three’s Arm being Upgraded
We wanted to upgrade Number Three to make it move. Since walking with two legs is incredibly hard, we decided to only make the arms and hands move. We first used hinges to upgrade the hands so that they could open and close. Next, we had to replace the fixed joints with movable joints. Borrowing from extra part from Number Five, we added flexible joints for pipes to power a air brush. The added weight of the metal join required use adding more support for the legs. We tried plastic joints, but they failed durning testing.
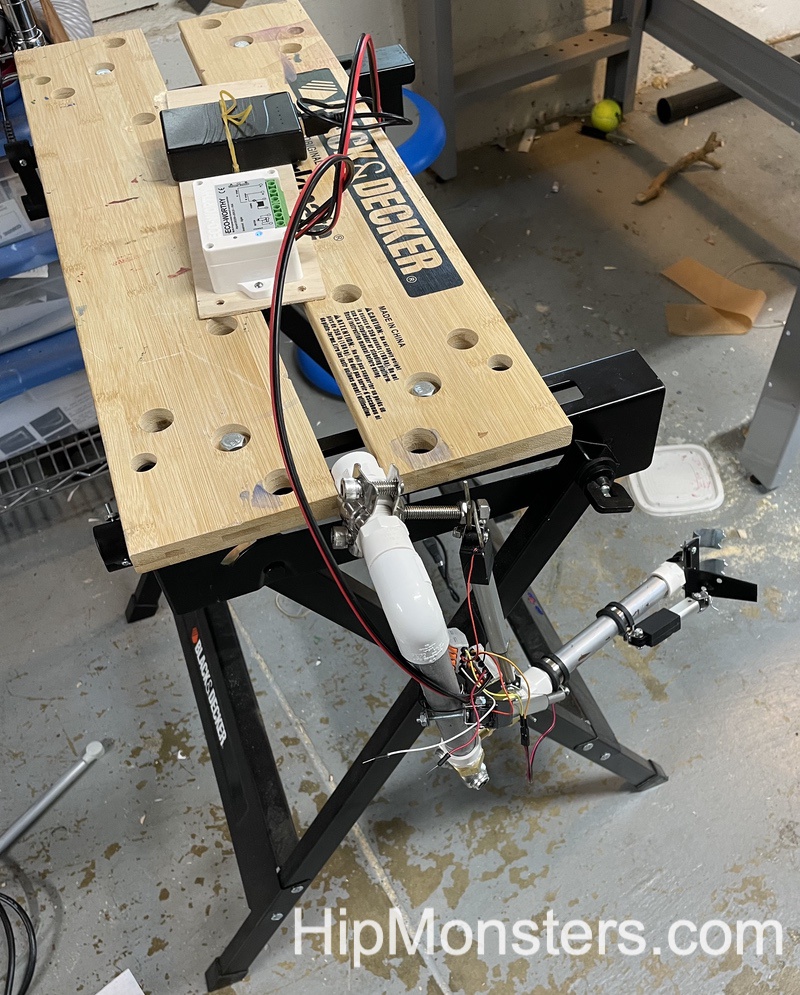
Then we attached lightweight linear actuators to the joints to move them. Given we wanted more controlled movement and a quieter robot for our front parlor, we opted for electronic verse pneumatic power. We attached the linear actuators so that when they extended, the arms reached out and when they pull back, the arms bent.
And finally, for controls, we used a remote control unit for garage doors. Since we need the polarity to switch (the wires reverse, positive/negative to negative/positive) to have the linear actuators go in and out we had to make sure the control unit reversed the polarity not just turned the power off and on.
And now you see the update Number Three testing its arms with Professor Brockenhoff at the controls!
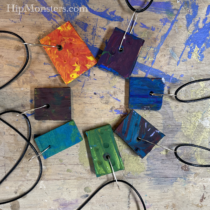
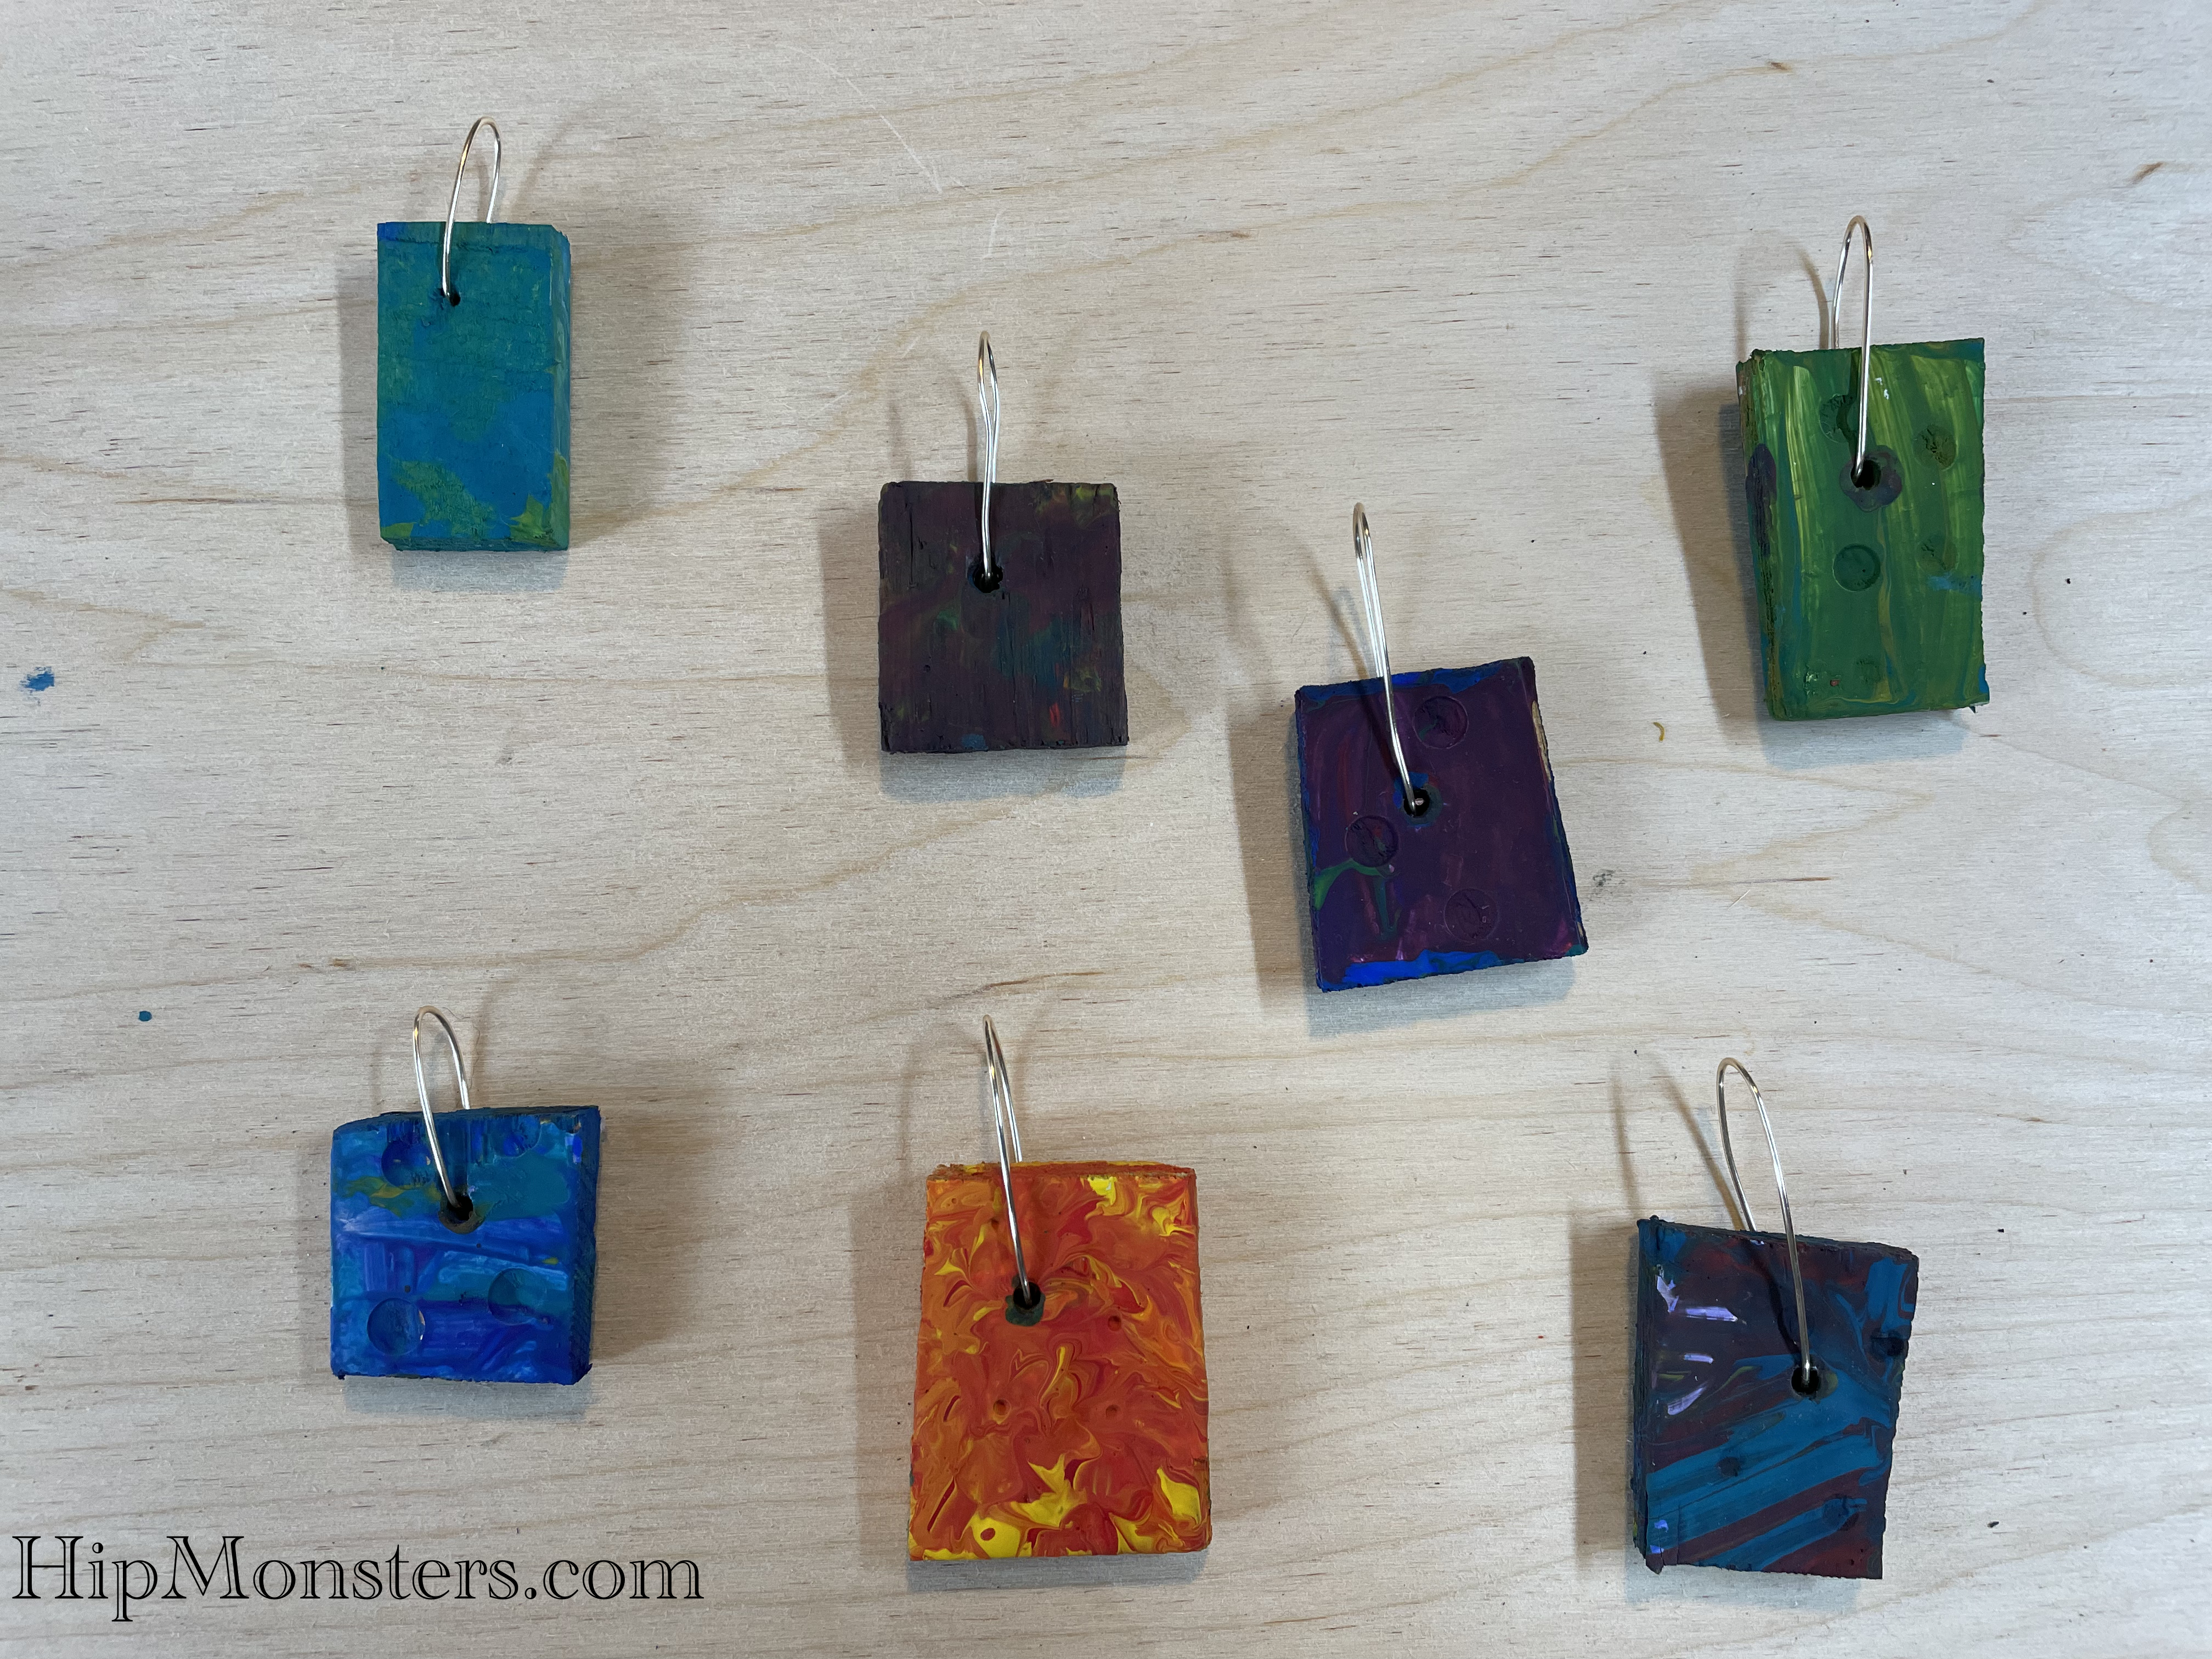
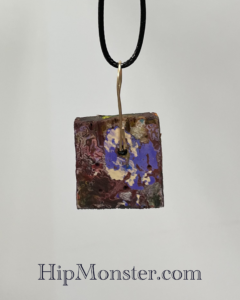
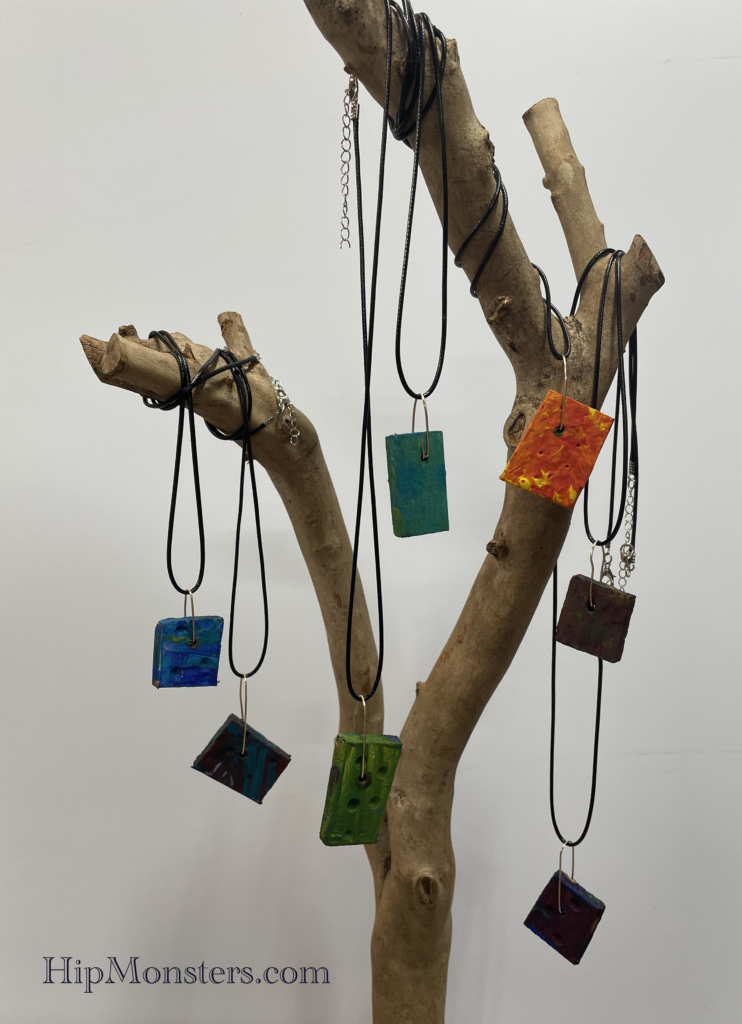
The Summer 2023 release of the Color Splash Collection is in!
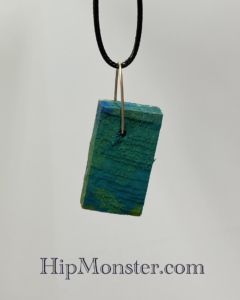
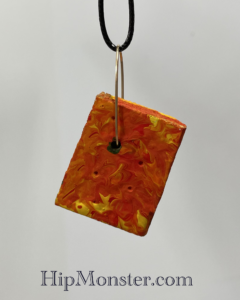
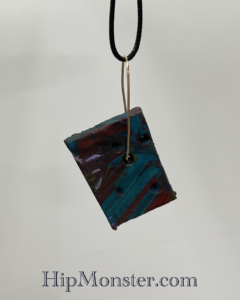
Made from wood and painted in acrylic paint, each necklace is uniquely painted and secured with a silver wire. The color pallet is rich and drawn from nature. The wood is rough cut to give a natural, unrestrained look and feel. Look below to see each necklace in detail.
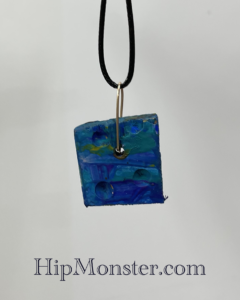
Sea Foam
Lava Flow
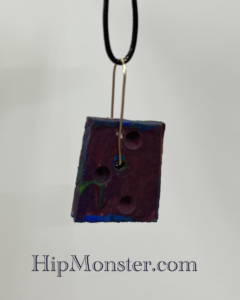
Night Ocean
Red Night
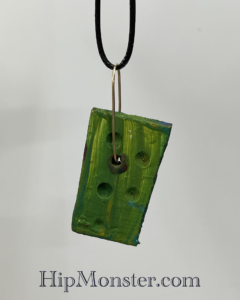
Summer Pond
Orange Sunset
Night Waves
All jewelry made at HipMonsters is crafted and designed by kids. Each is made with love and inspired by nature, science and a love of creating something new.
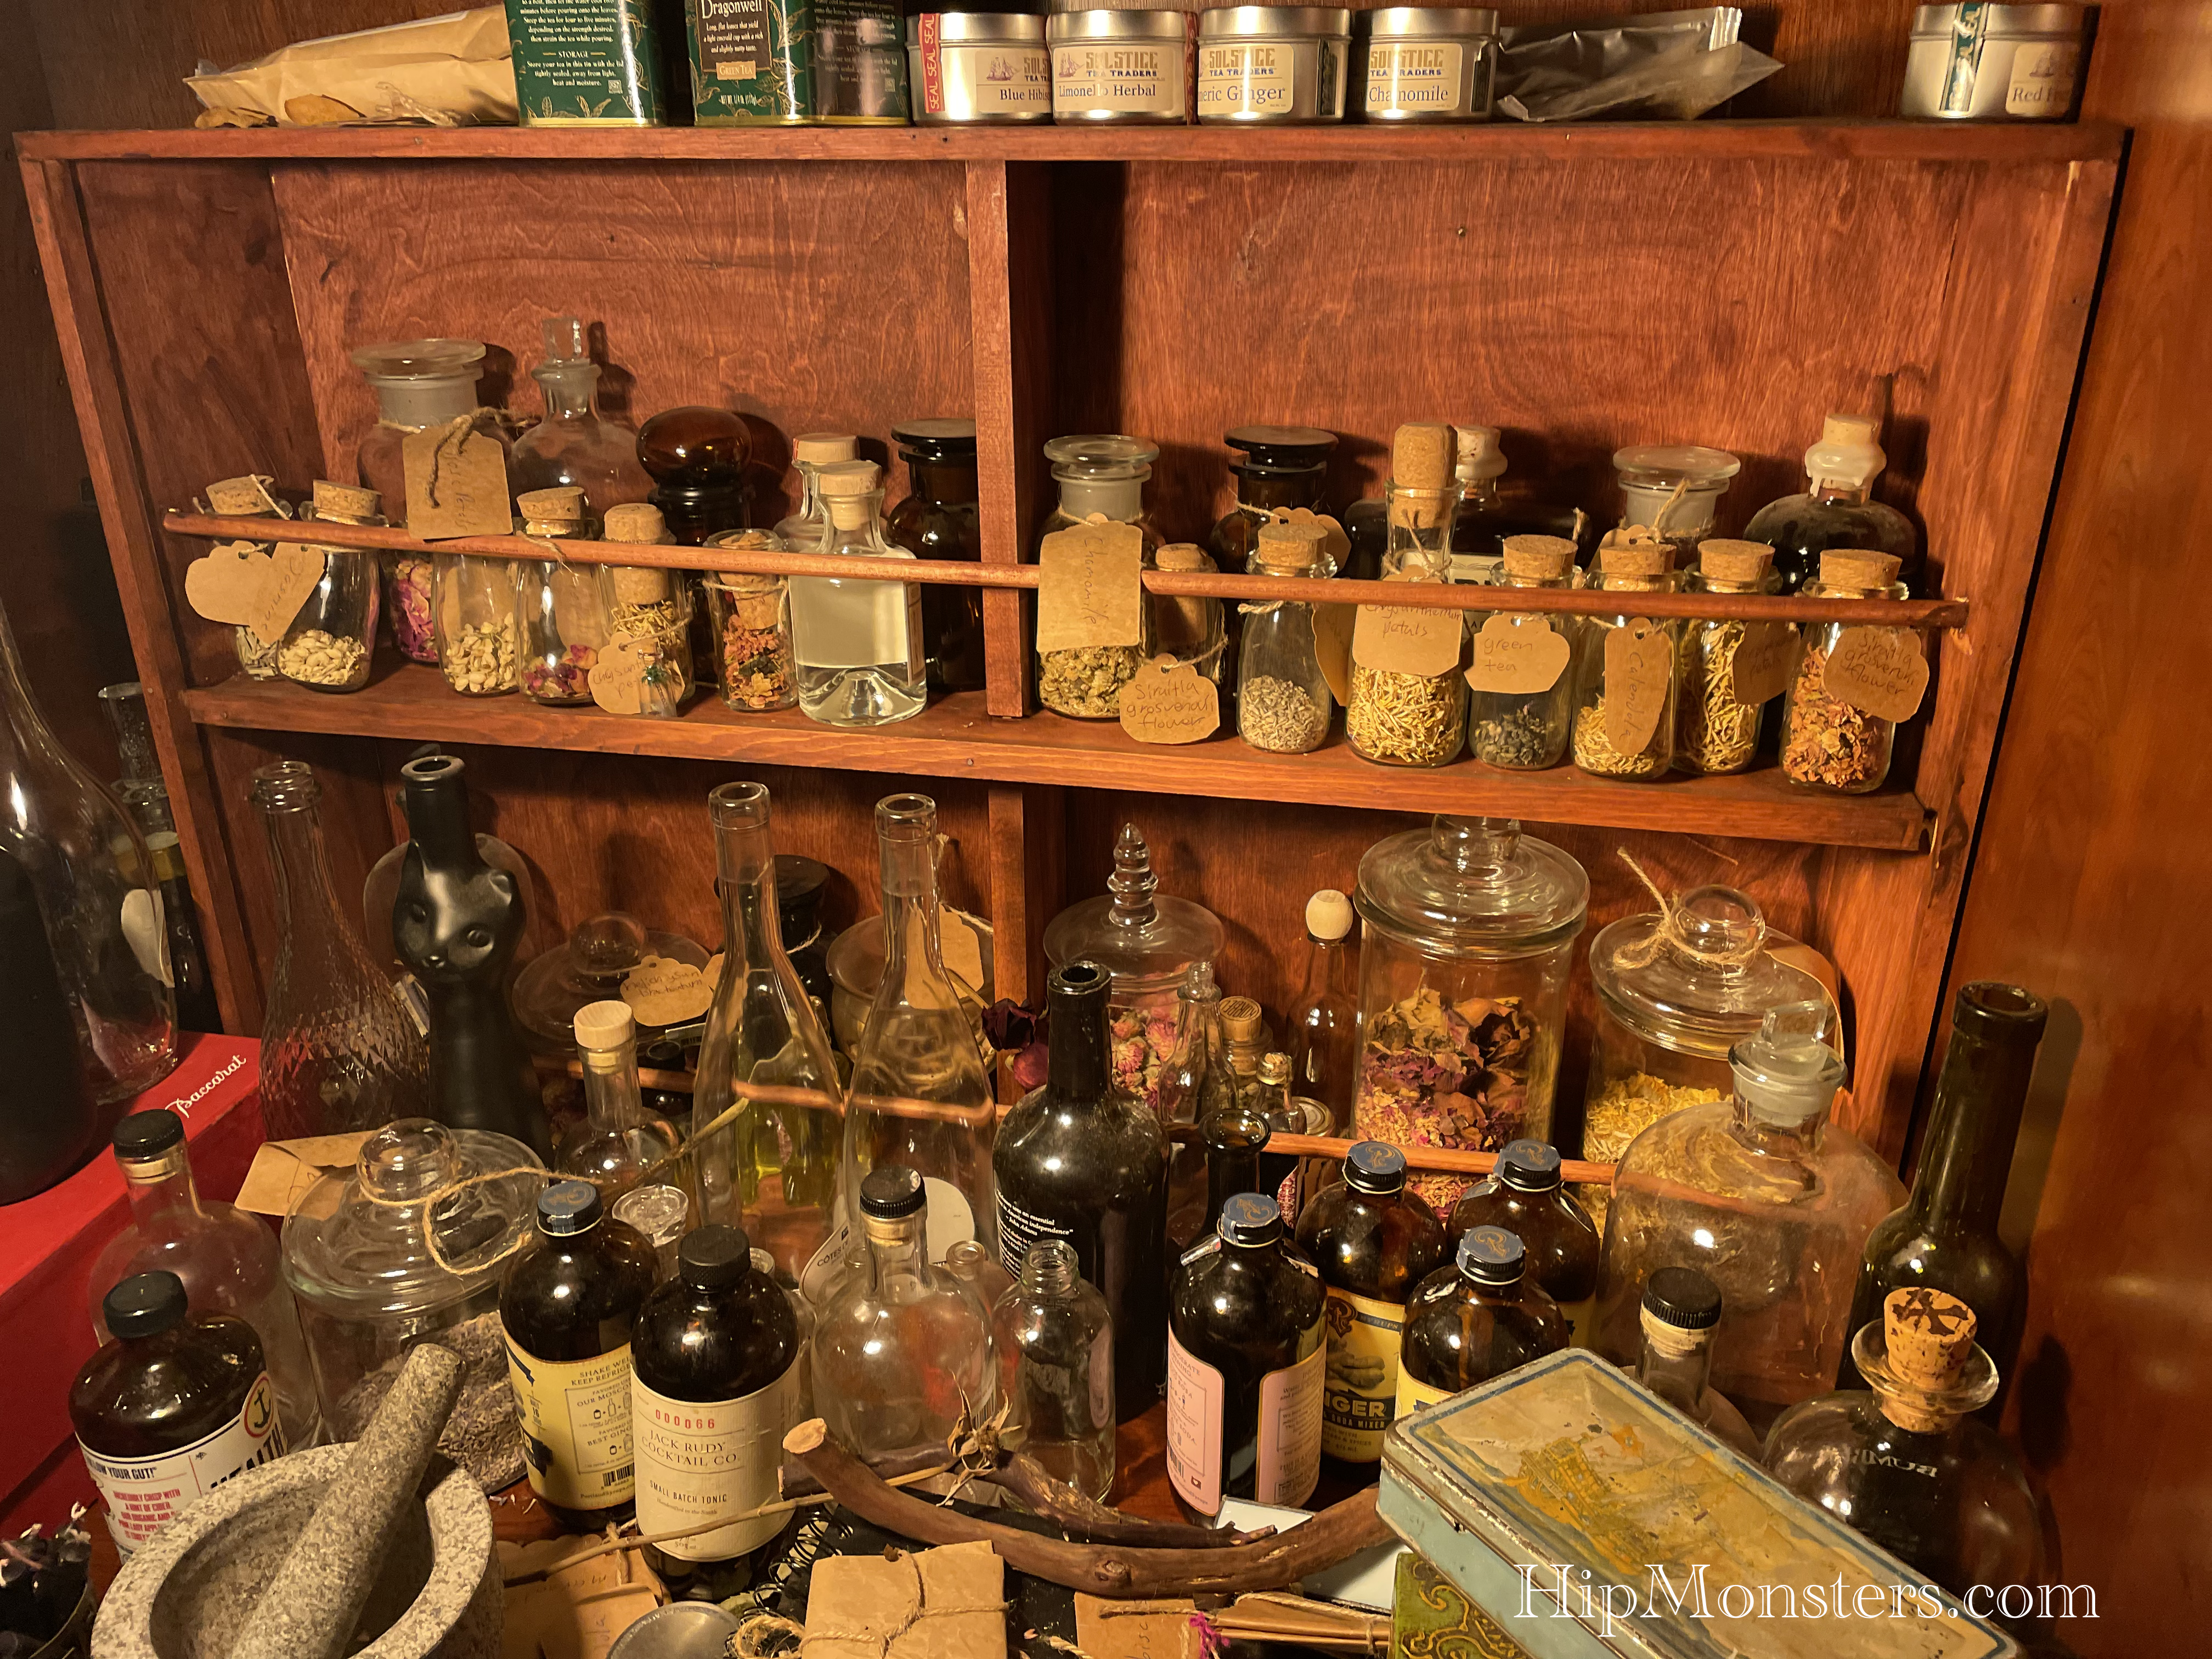
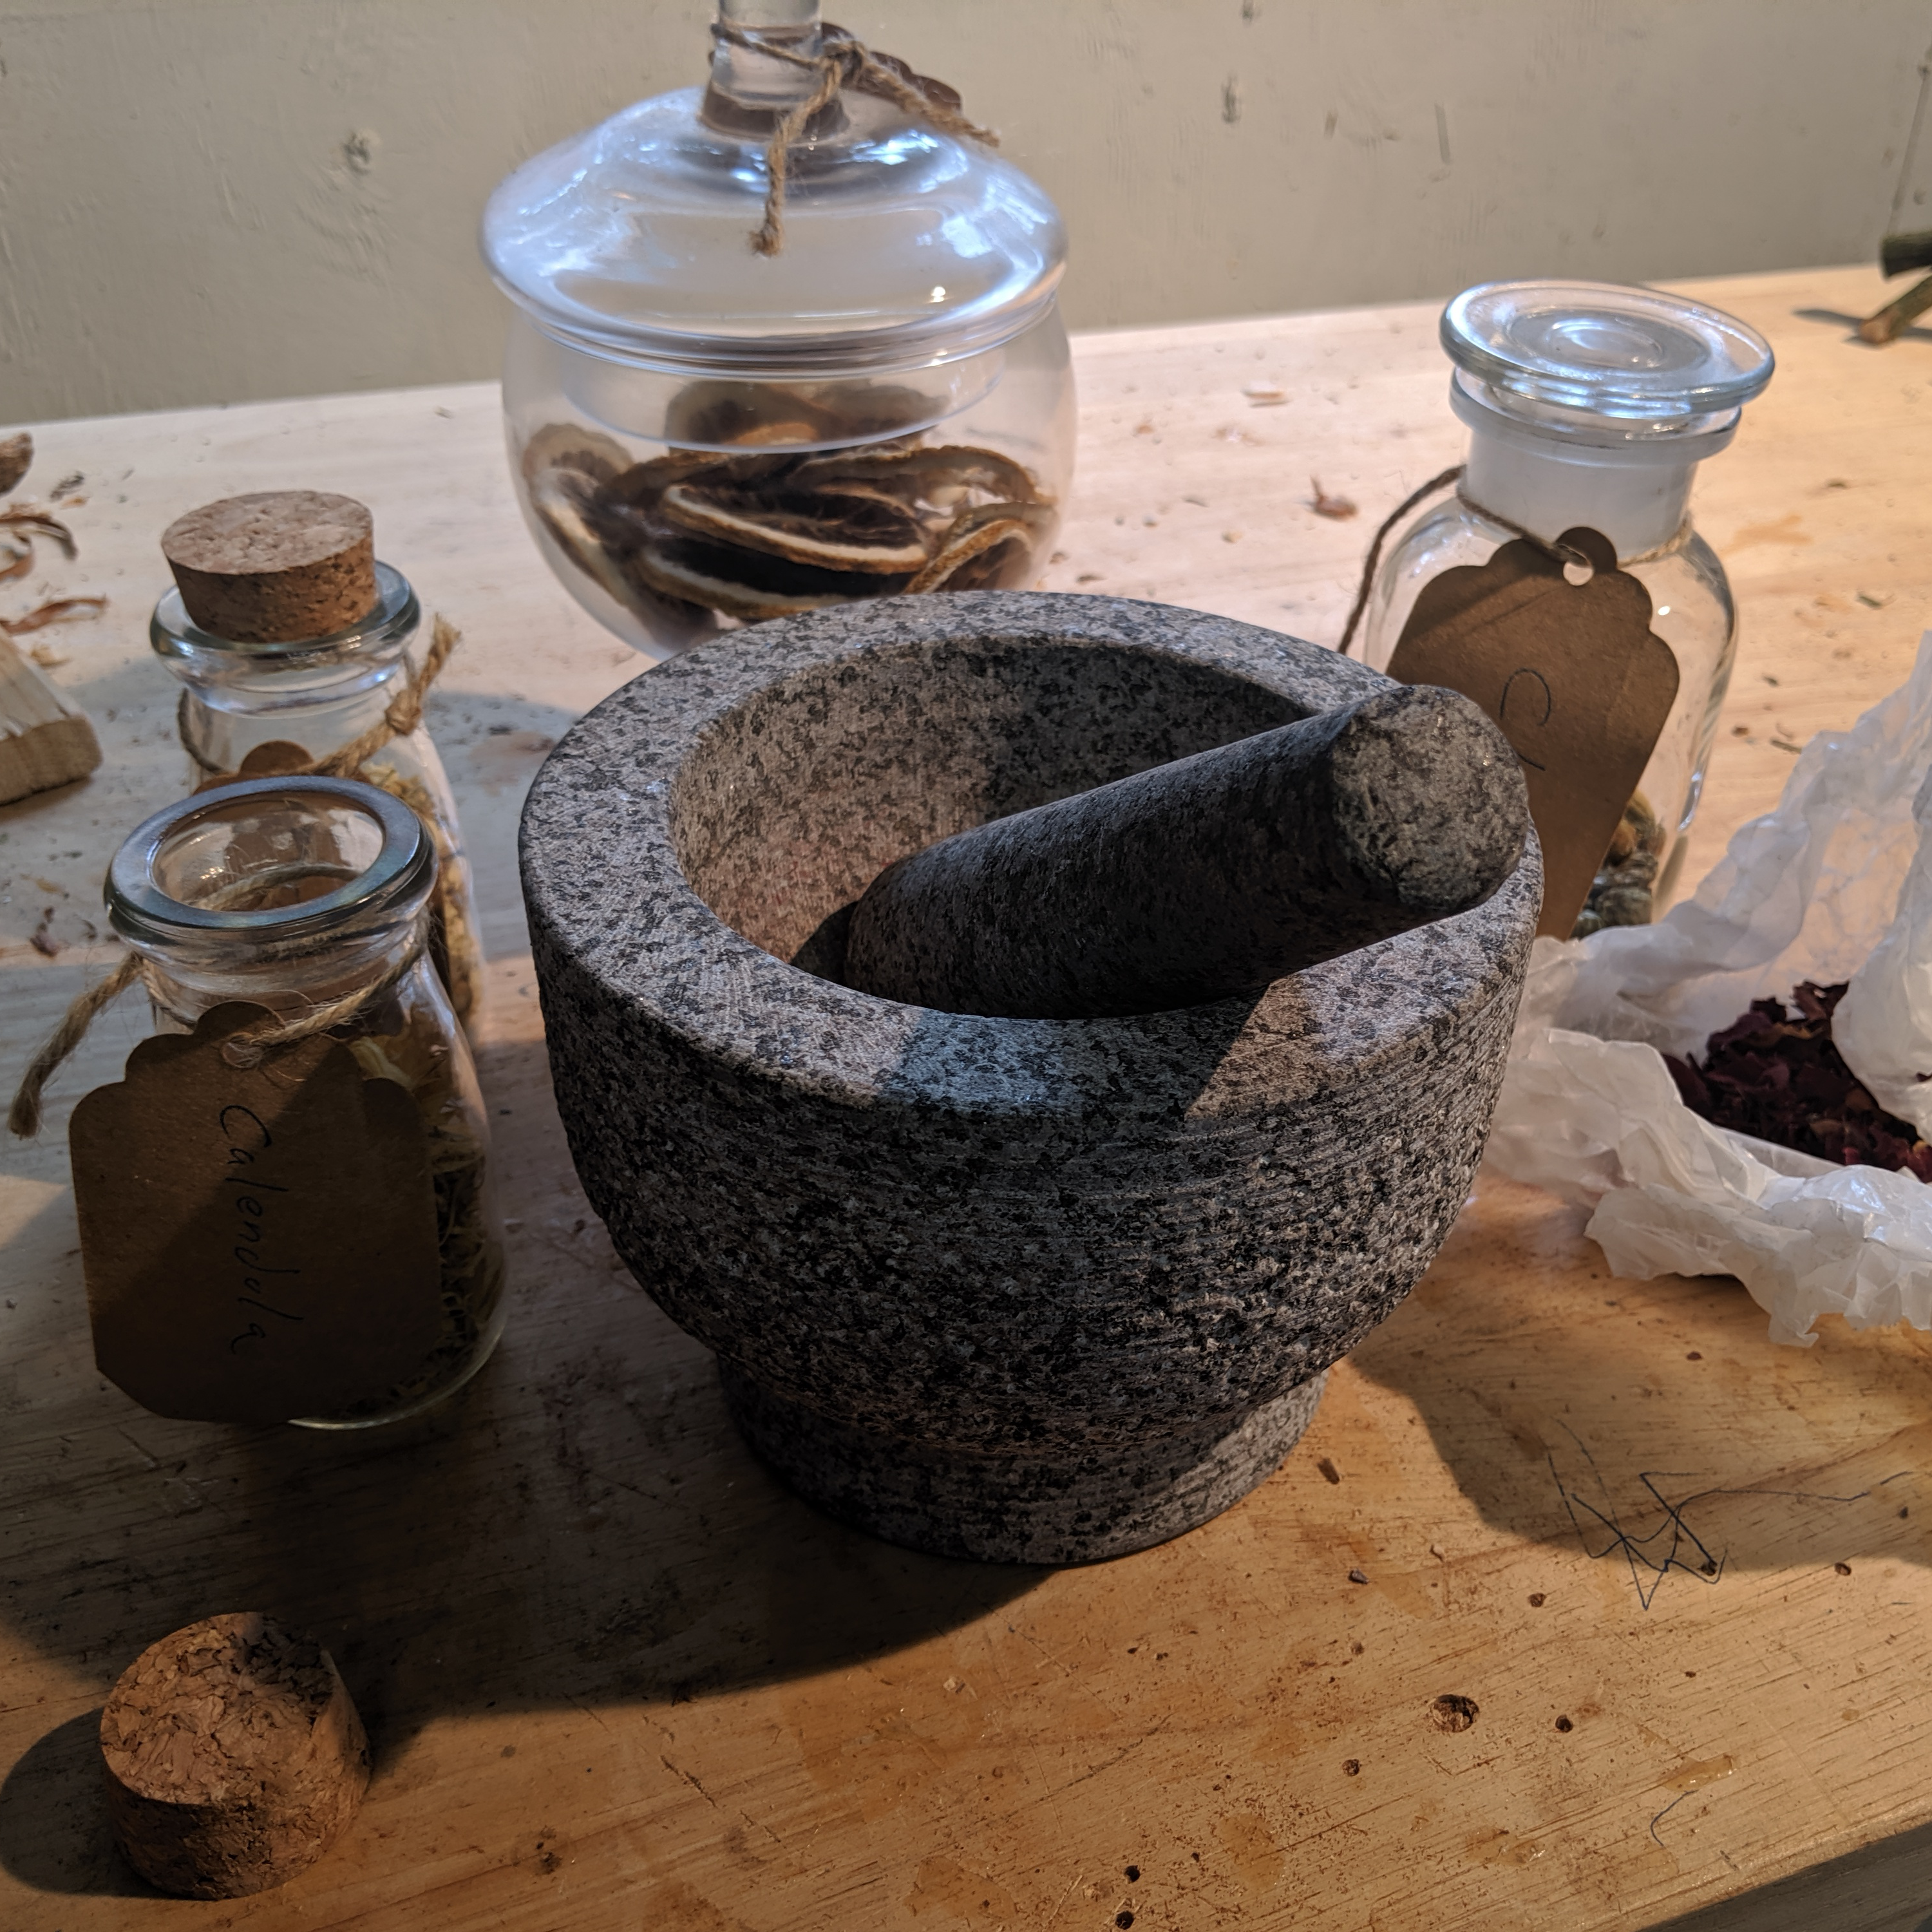
One of the small projects that we do is make herbal potions, tiny jars or pouches full of crushed up herbs and flowers from our herb garden. They keep away the spiders and smell very nice. We also use some of our dried herbs for cooking, to give the food more flavor.
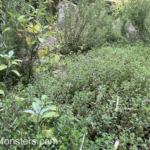
We grow lots of herbs in our yard, so when we trim the branches, we can dry them and put them in jars to be used for potion making. Make sure to label the jars so you don’t forget what they are filled with.
You don’t want to add lavender into your potions instead of rosemary! We also use some of the dried roses to make herbal potions because they smell very good, but they are much harder to crush.
herbs
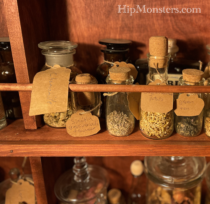
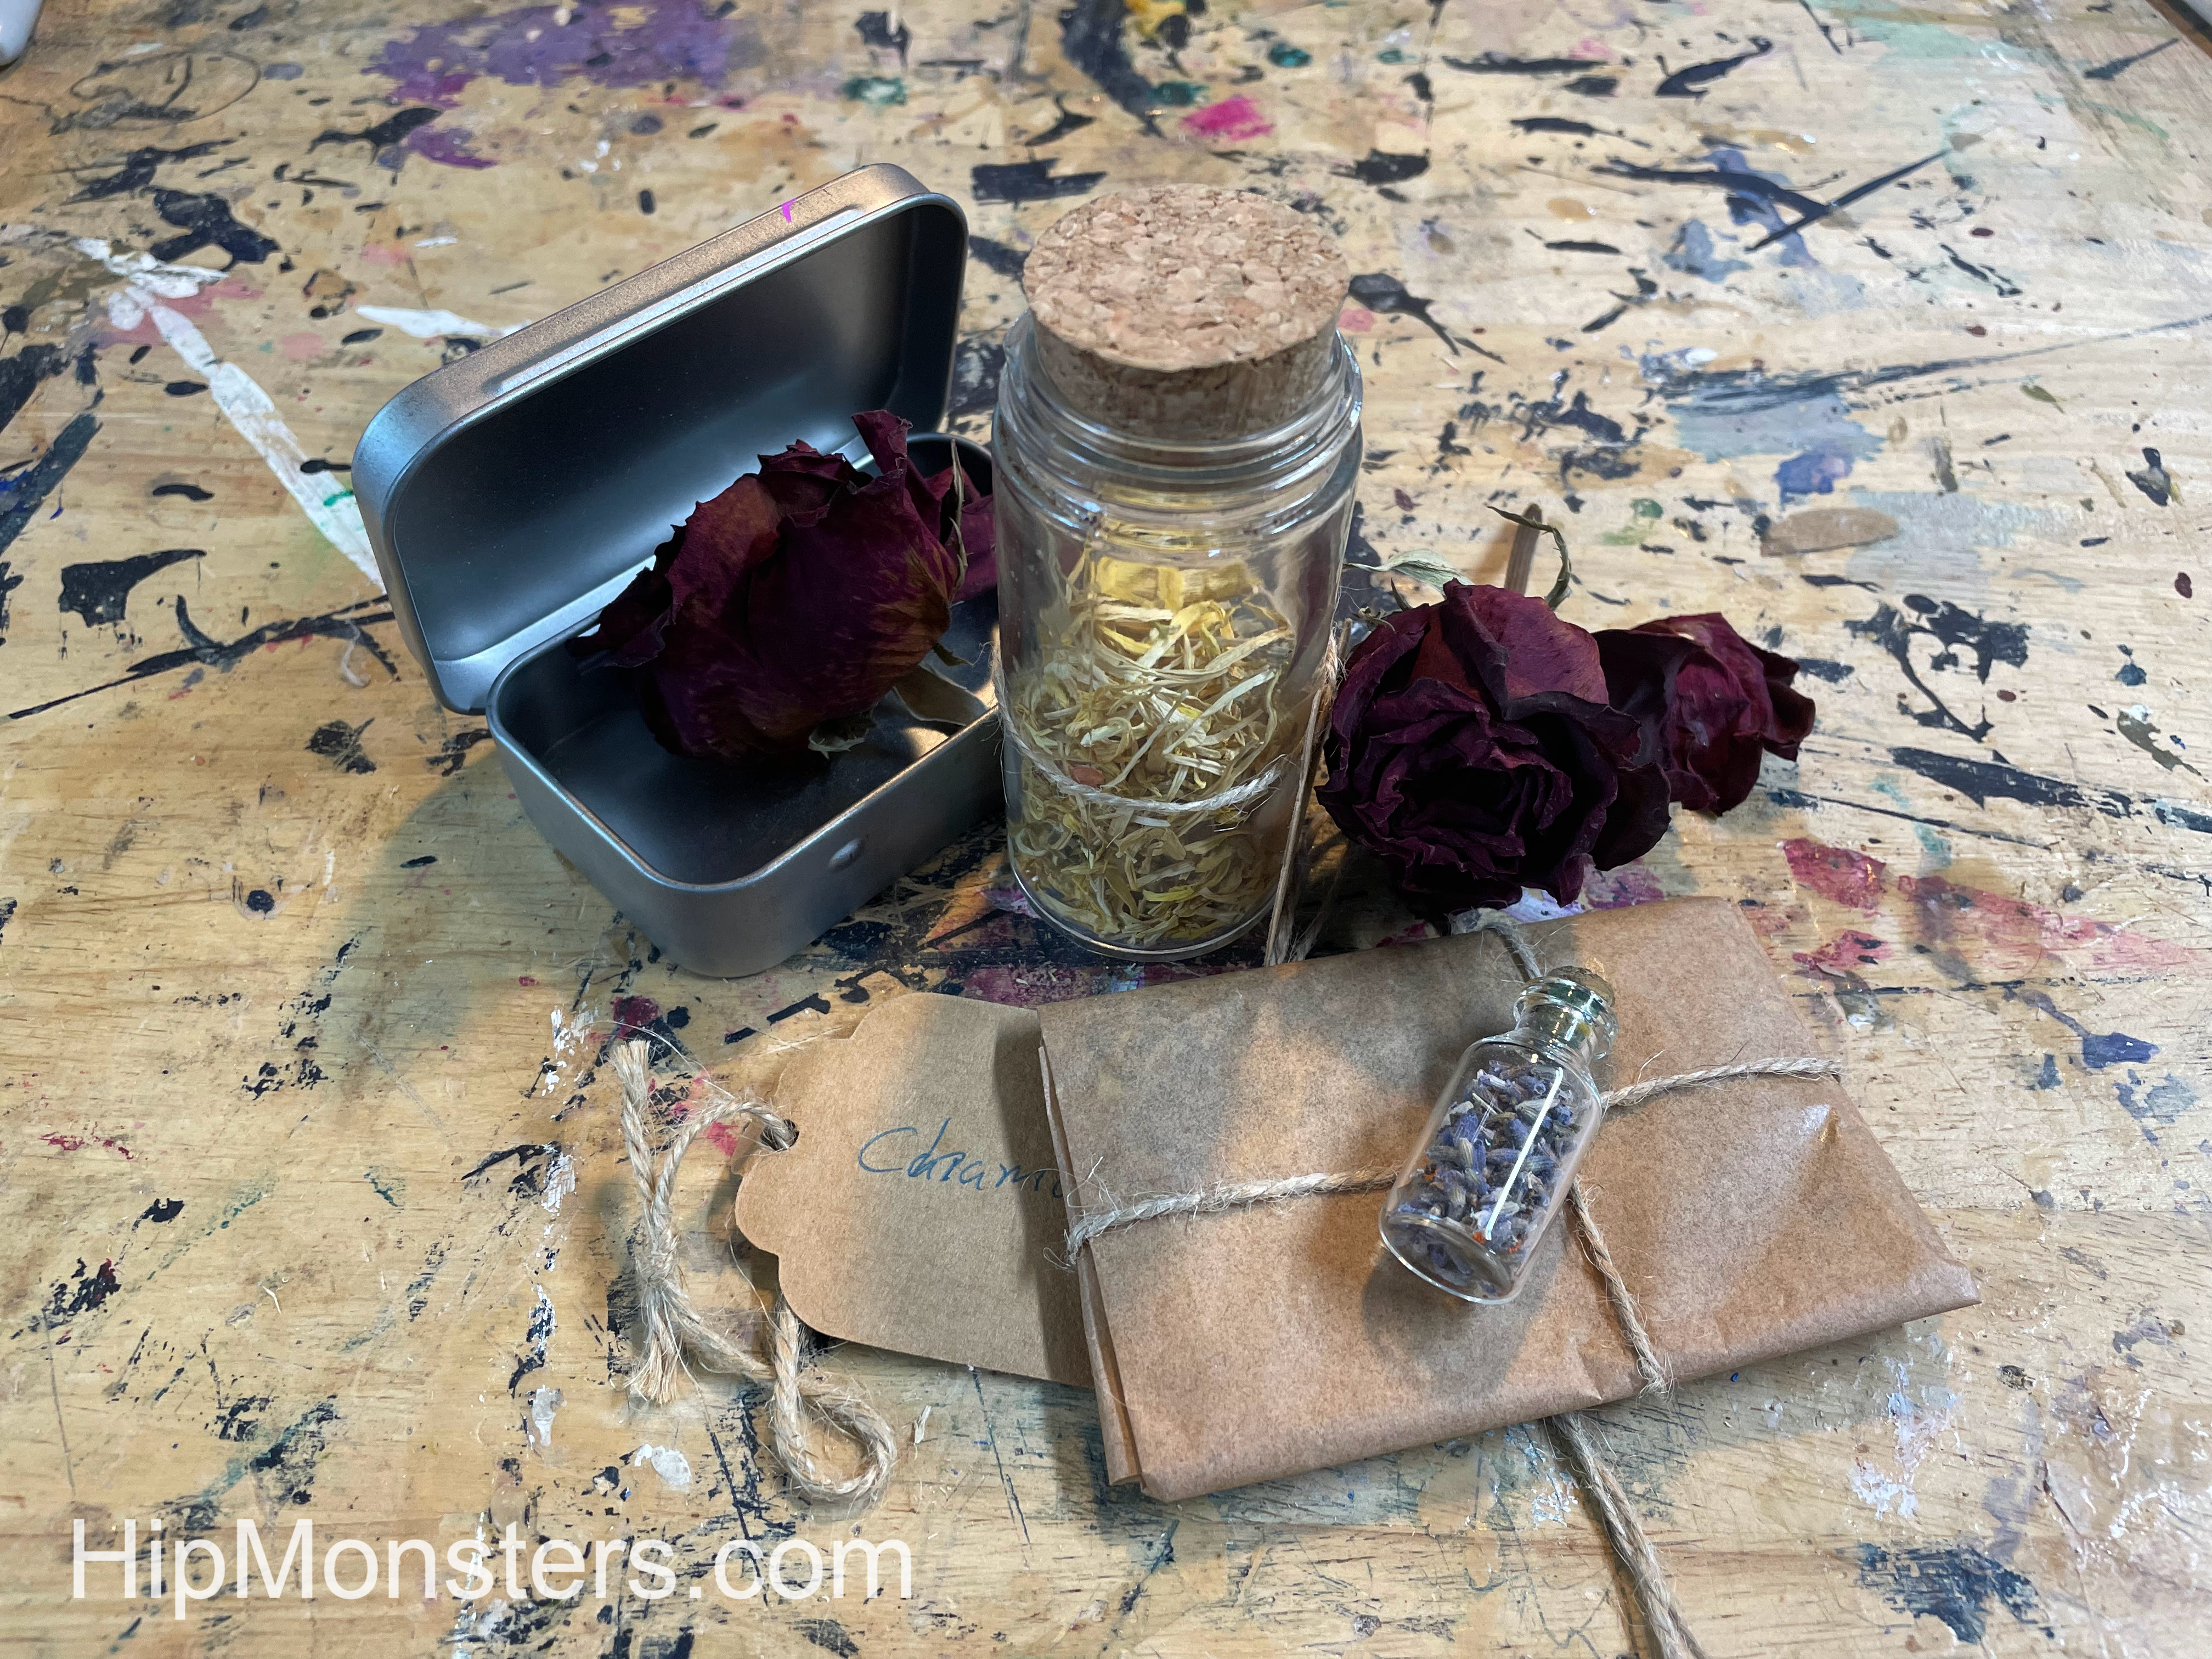
After we finish grinding them up, we carefully pour the herbs onto wax paper, or in a tiny jar. If you pour them on wax paper, make sure to fold it carefully so the herbs don’t fall out. We also tie them up securely in twine after folding them. If you put them in jars, use a funnel or a rolled up piece of paper to make sure that you are pouring into the jar, not onto the table
This it what they look like when completed. You can gift them to a friend, keep them, or use them for cooking.
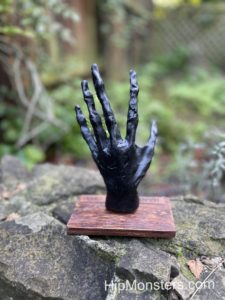
Inspired by Harry Potter, the HipMonsters team made our own Hand of Glory out of Foam-Mo. The Hand of Glory is a mix of realistic and creepy, making it the perfect Halloween decoration.
Please note, this material is provided for informational purposes only and is not a guide on how to create the designs. Please read our disclaimer.
Foam-Mo is a foamy clay that we use for many of our projects. It is great for making organic stuff like plants and animals. After it dries, you spray it with a plastic coating to make it last longer. You can paint over the plastic coating.
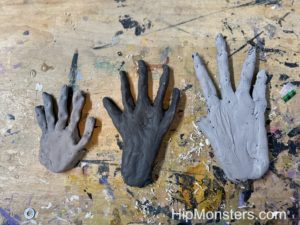
For our first attempts, we used our own hands as a model to make them, but we felt like they didn’t look very much like magical objects. They were also very flat and 2d looking, not like the real hand of glory at all.
For our final hand of glory, we made the fingers more long and skinny to make it both more realistic and creepy. To get the shape, we rested it over a bowl to dry. We also added more texture to make it look more like dry skin instead of making it smooth. We also defined the knuckles more to make it more creepy. like it is trying to grab you. We also added more of a wrist to make it more like it is in the movie, and so we could easily mount it.
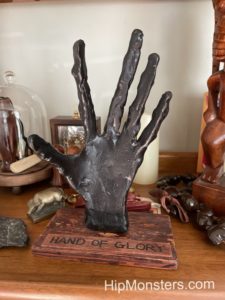
Once we finished the hand, we made a wooden stand for it to be mounted on. We stained it and sanded it to make it look distressed, and made a wooden plaque. We attached the Hand of Glory to the stand by screwing it in.
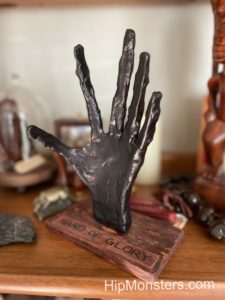
The completed Hand of Glory
This is it completed! It is a great addition to our Halloween decoration cabinet, just don’t touch it, unless you want it to grab you.
It was the end of the school year and we want to make a toy for one of our teachers. She loved bunnies and Beatrice Potter, so we thought that we should make her a toy bunny.
First, we drew a design for the toy bunny. We wanted it to be able to move its legs and ears so the design had to have a lot of details. It make sure it could more we used balsa wood for most of the parts to the bunny put together with nuts and bolts.
Please note, this material is provided for informational purposes only and is not a guide on how to create the designs. Please read our disclaimer.
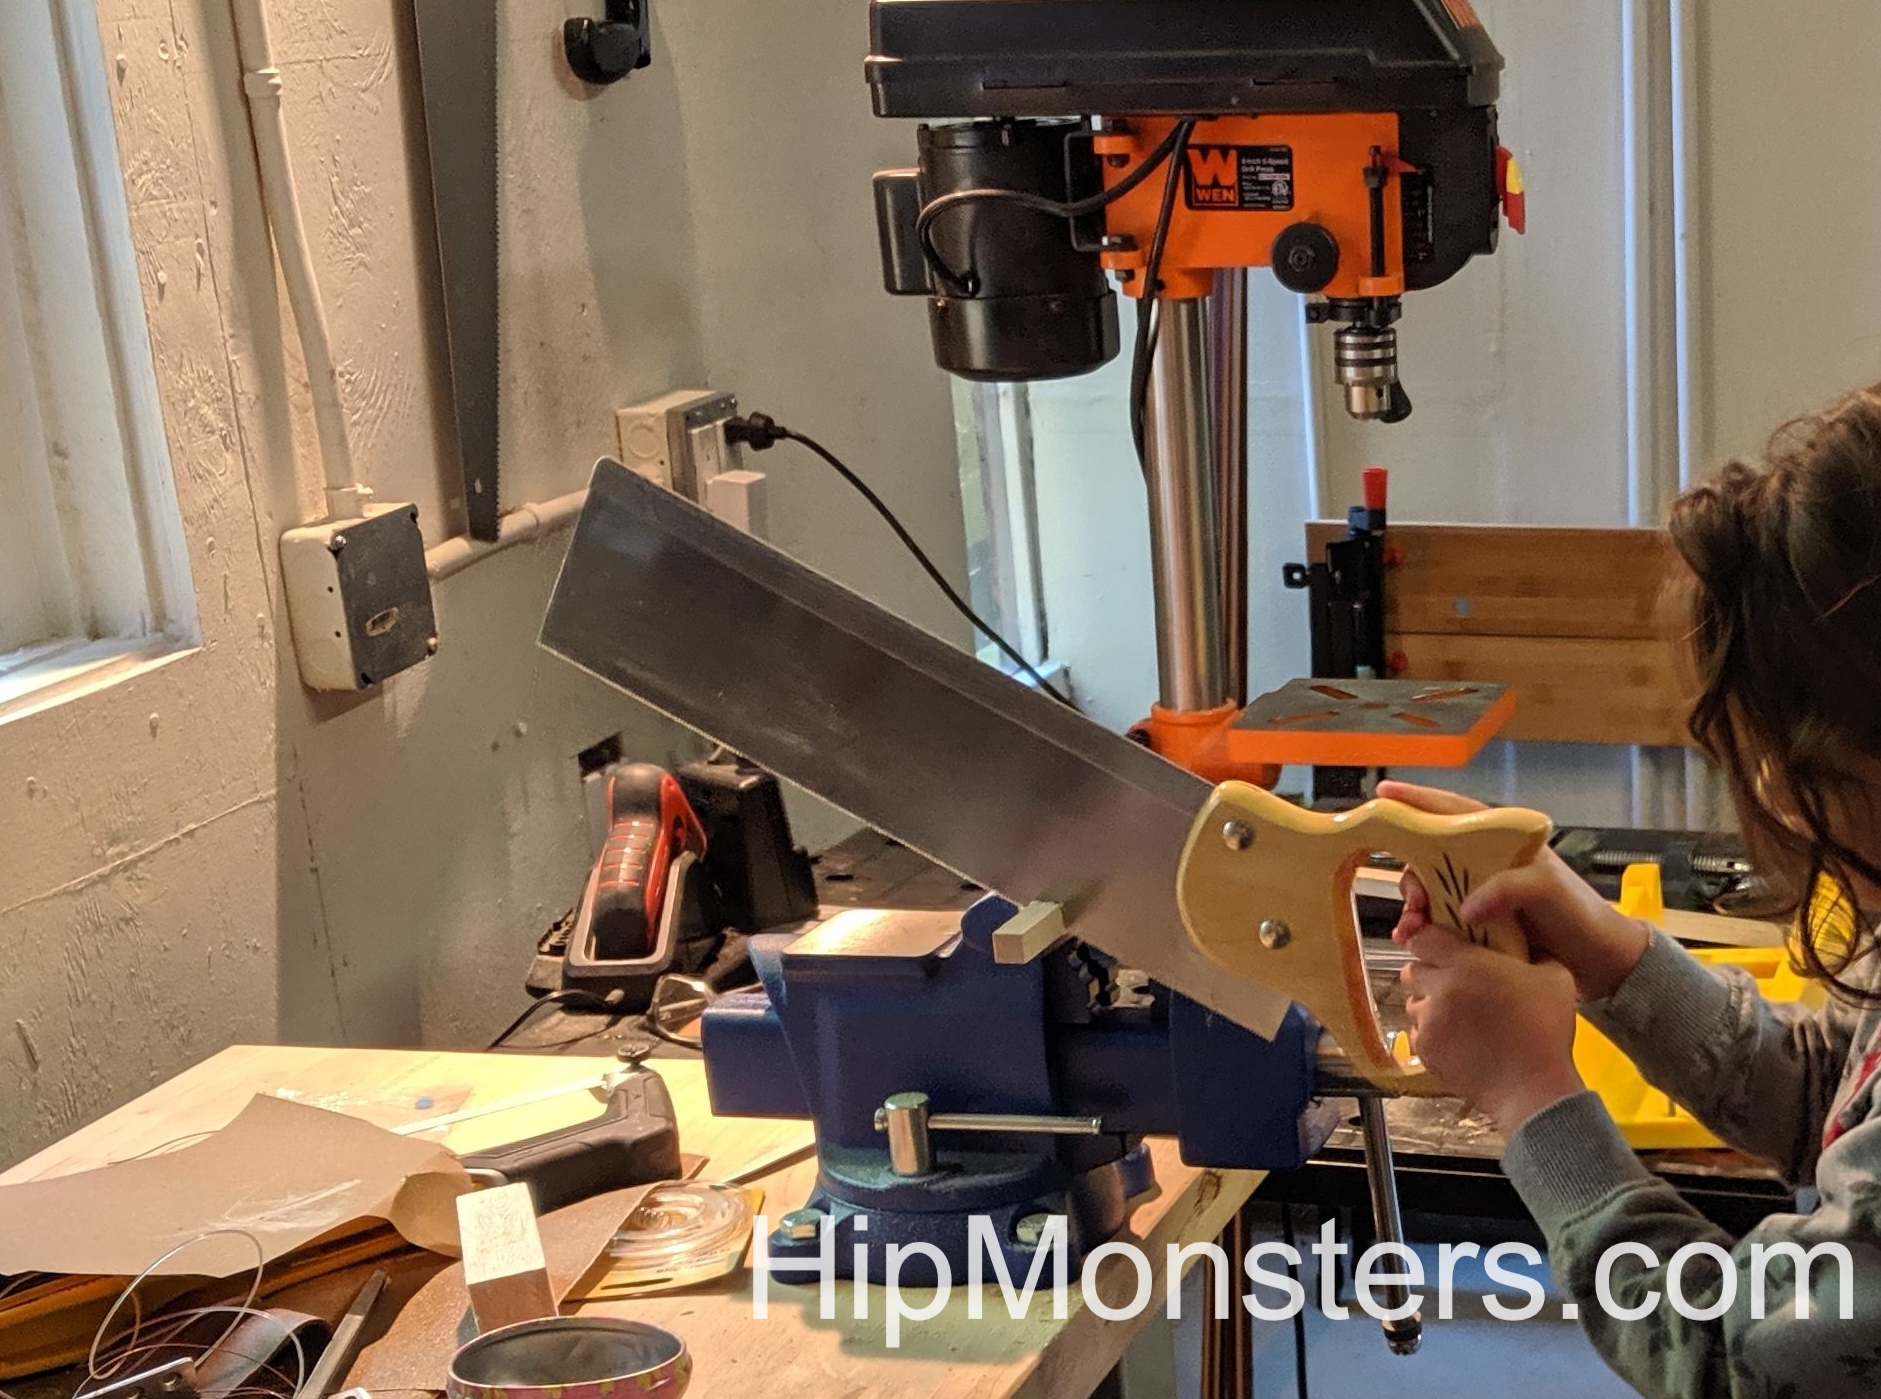
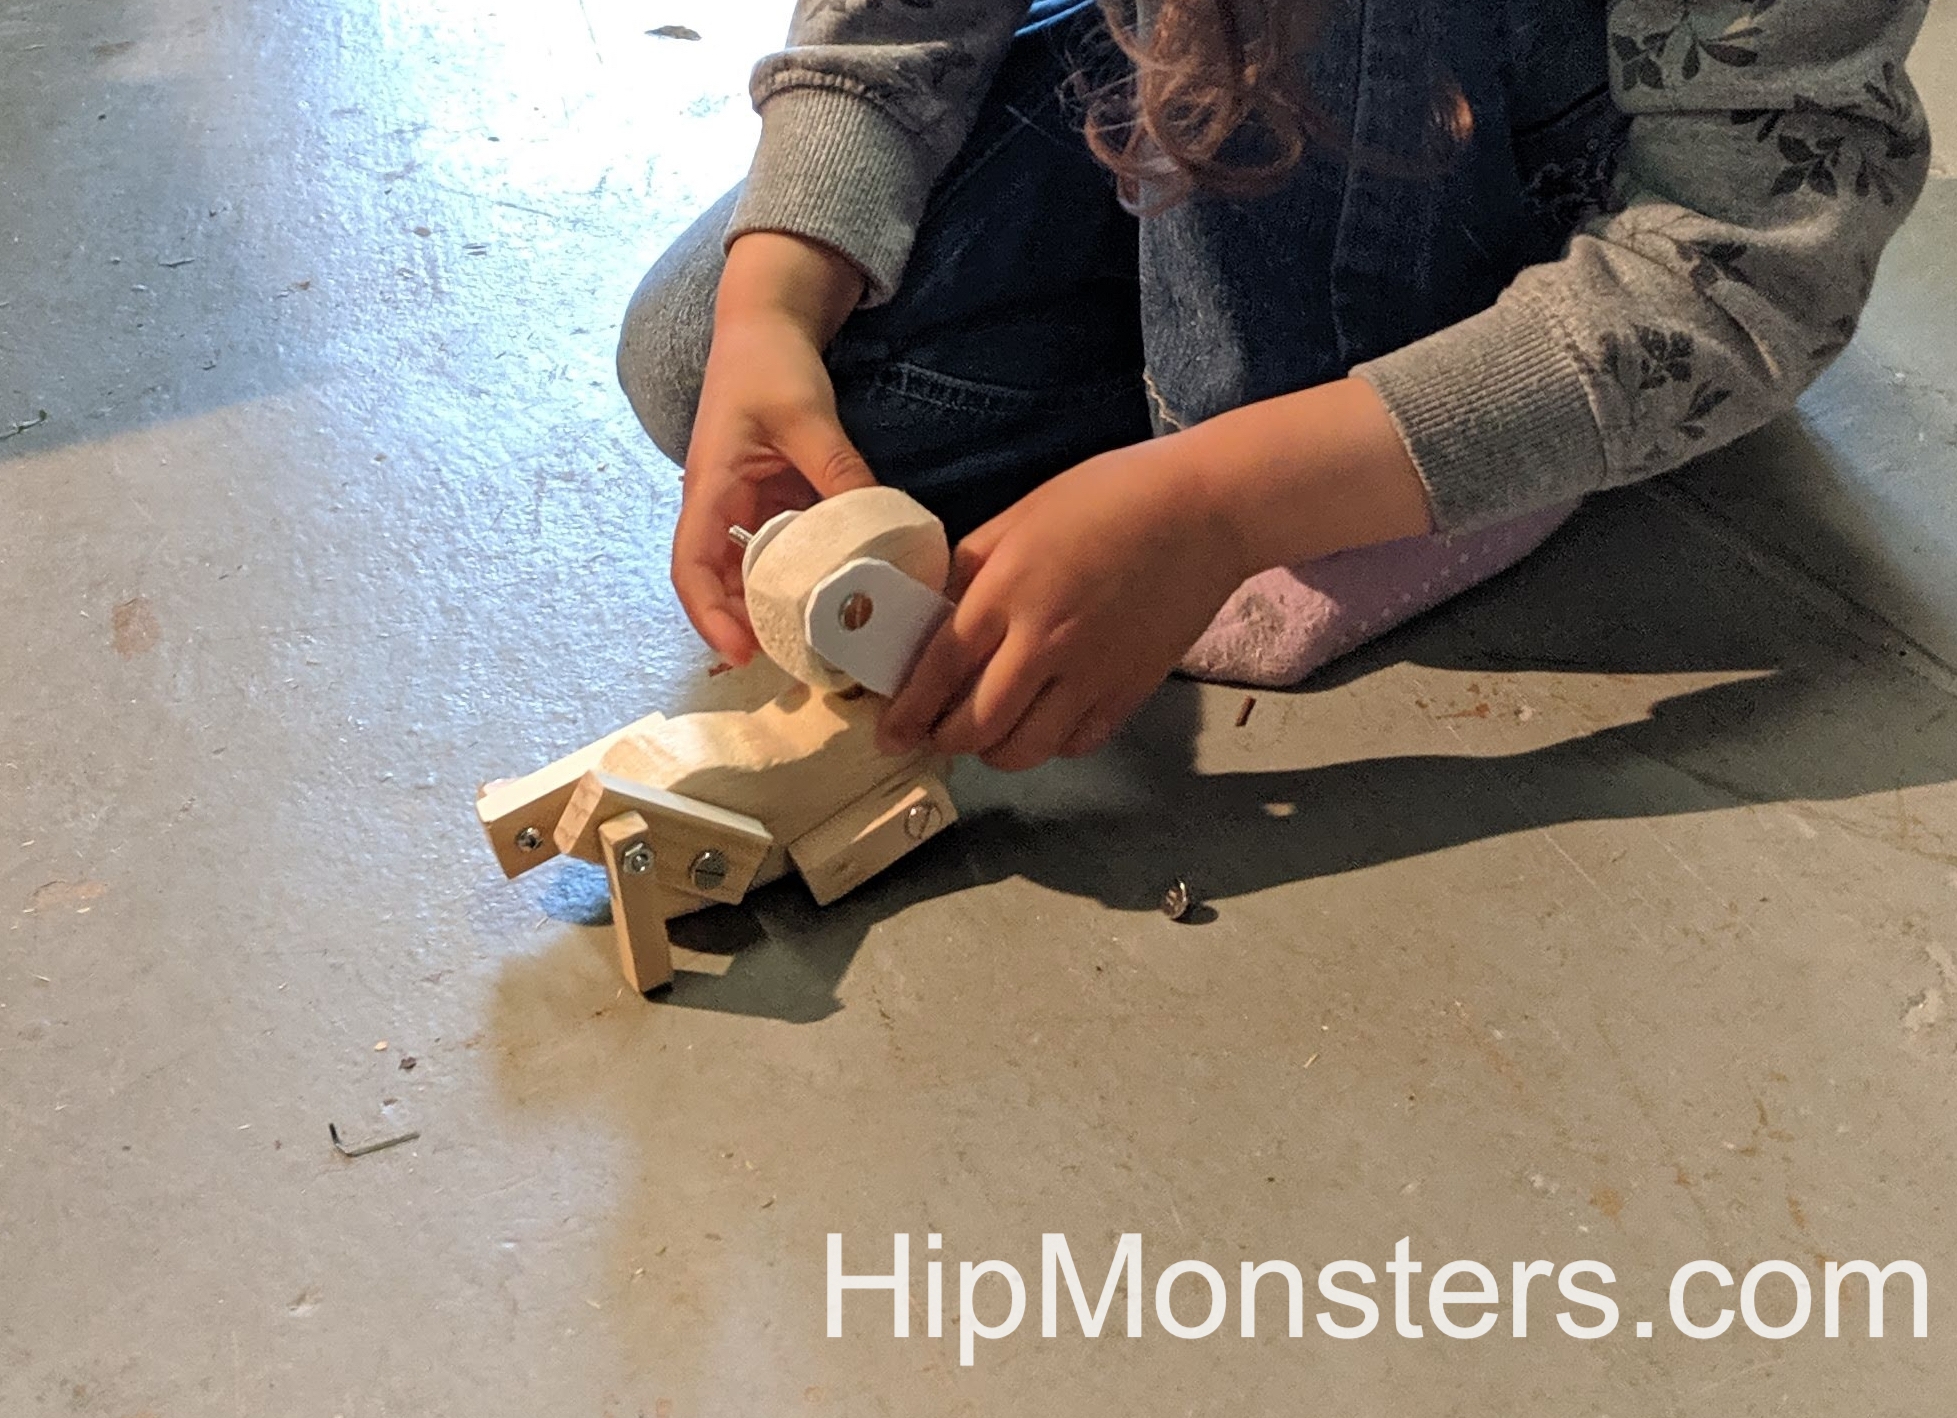
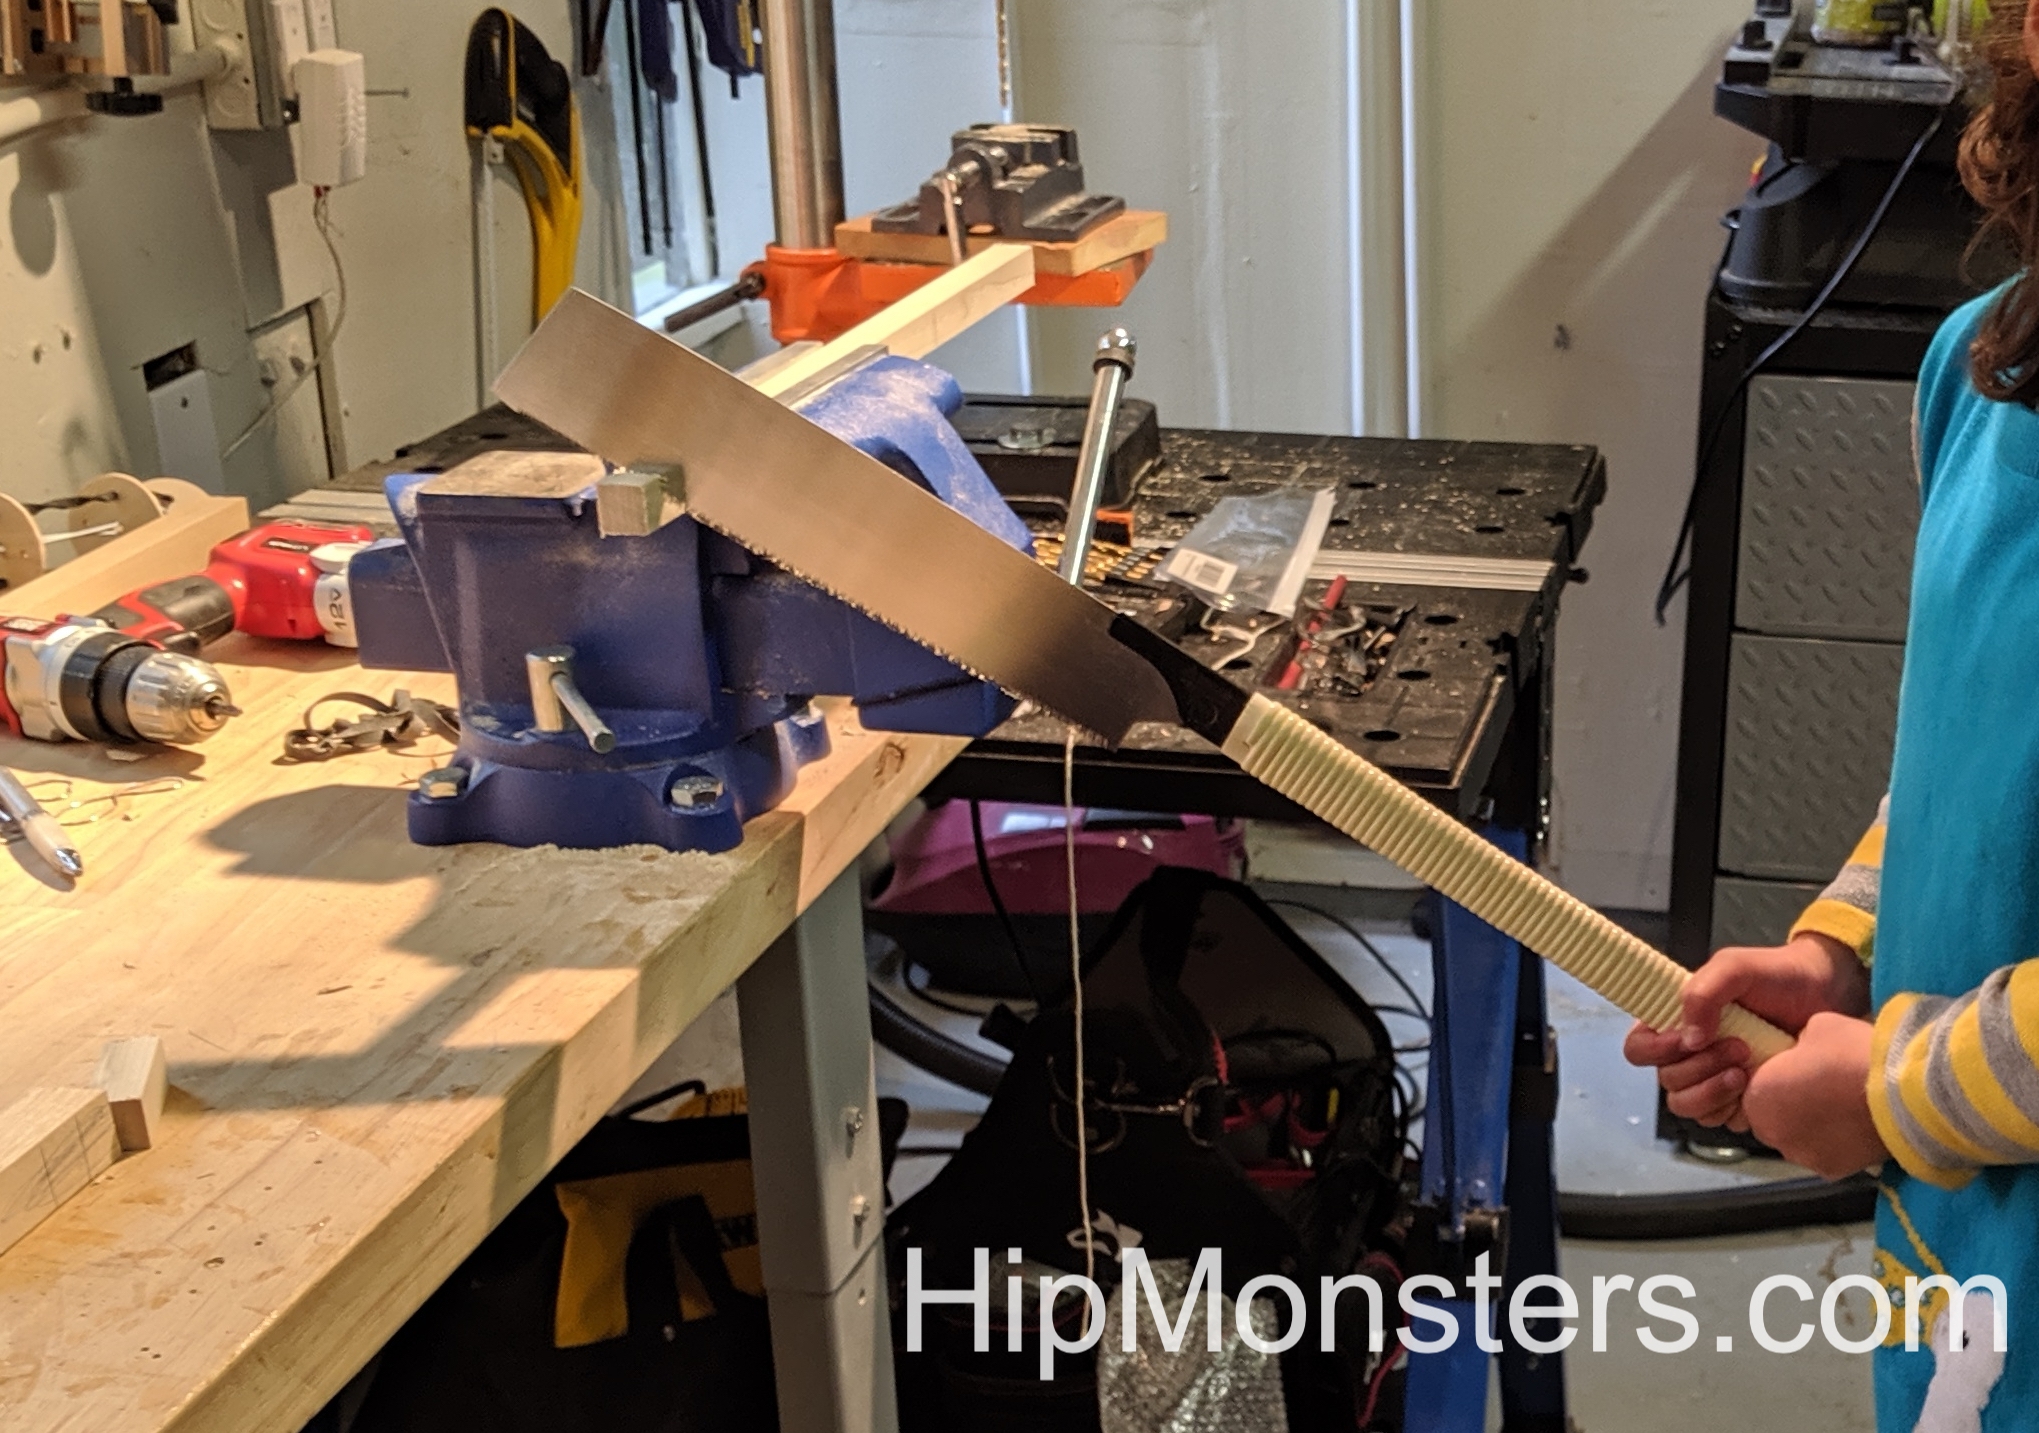
Here is a picture of us cutting the wood. We had to use a fine saw because the balsa wood split with the Japanese saw.
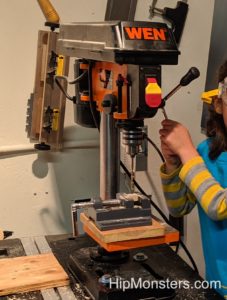
Next, we drilled holes for the nuts and bolts. We don’t use wood screws because over time they loosen and damage the wood if the toy is played with it. To drill the holes we used a bench press and a secured the wood carefully. Because Balsa wood is so soft, it couldn’t be hand drilled.
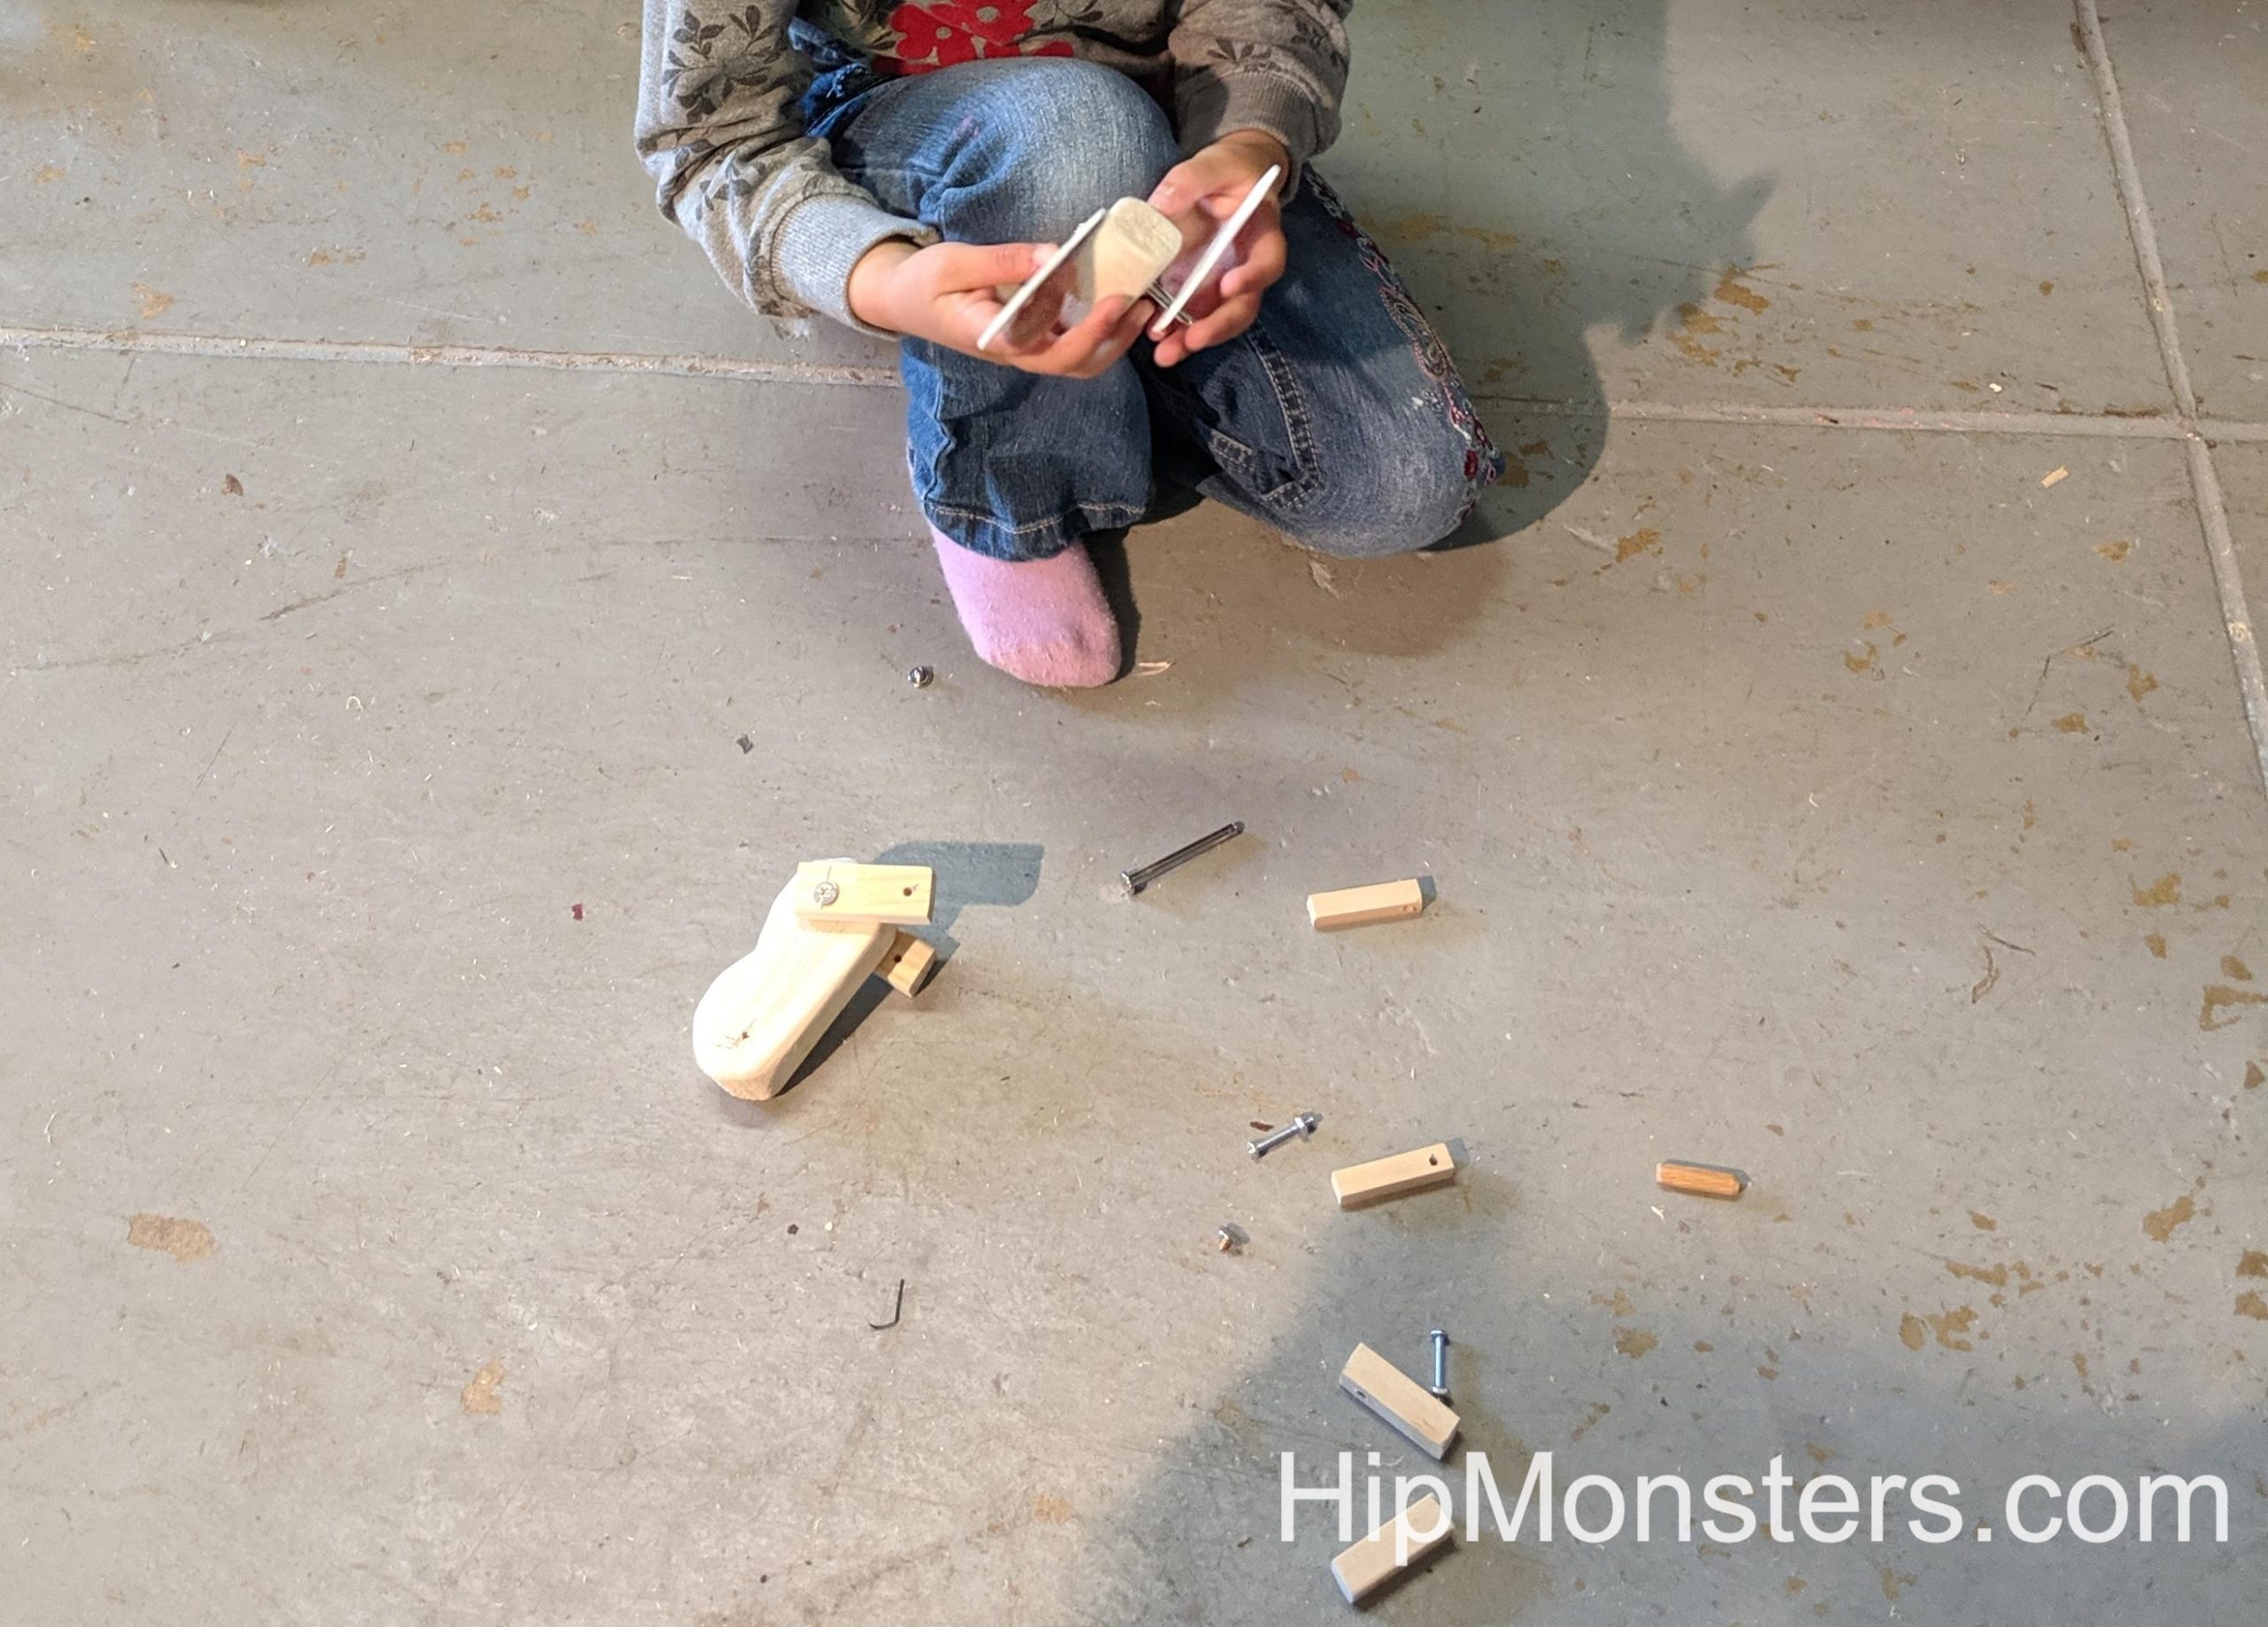
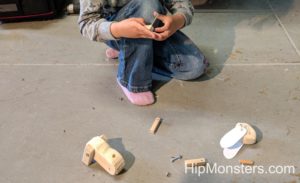
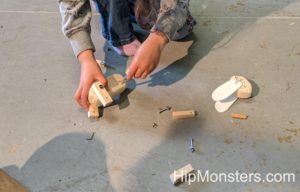
After all the parts were cut, drilled, and sanded it was time to assemble!
If the plans are good enough, once you have the pieces done, it is like assembling a puzzle!
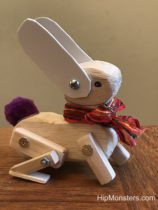
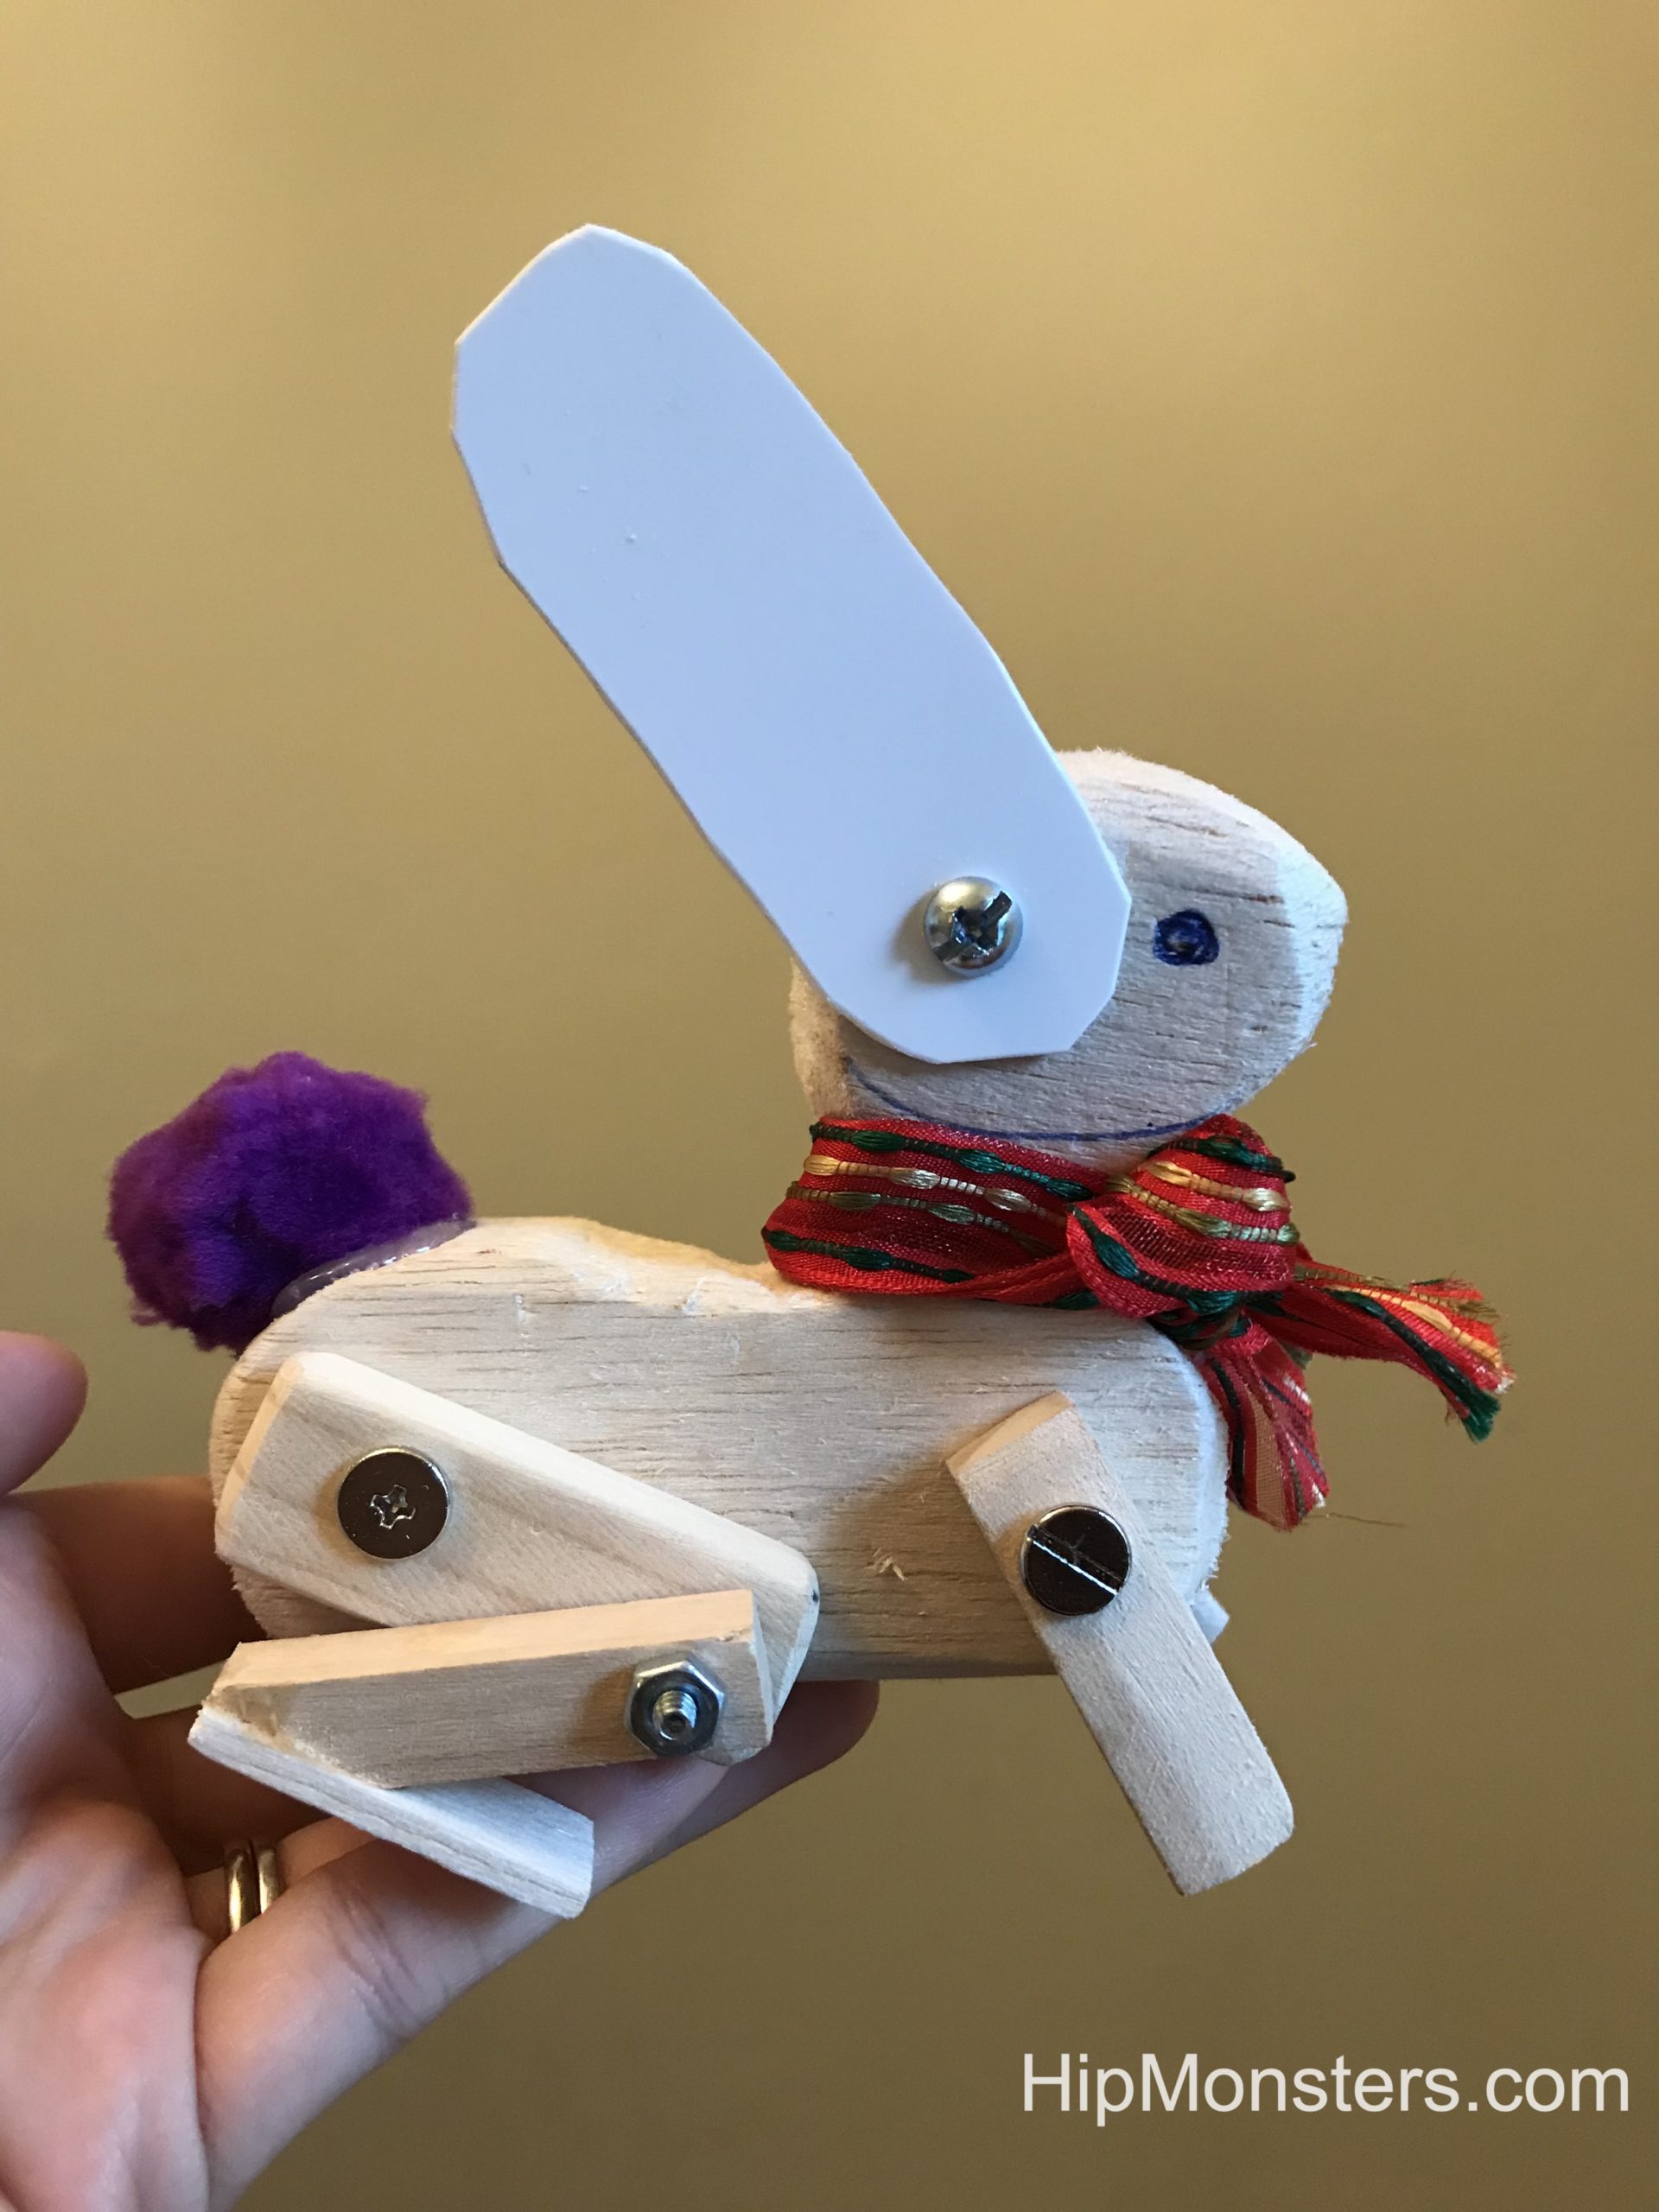
We made the ears out of plastic because the wooden ears broke too easily. We could also easily cut the plastic to be whatever shape we want.
To finish it off we added a purple pompom for a tail. And here is the completed bunny with a scarf!
Because it is posable, you can change how it looks year round!
Inspired by the Boston Dynamics robot videos, steampunk art, and Girl Genius, the HipMonster team set out to make their robotic dog walk to take for a walk on our city street. This project ended up being a lot harder than we imaged and took two years to complete. This greatly impacted our work on the HipMonsters’ website which is just now being updated with new content. So, finally, we give you the making of Number Five!
Please note, this material is provided for entertainment and informational purposes only and is not a guide on how to create the designs. Please read our disclaimer.
Getting Started
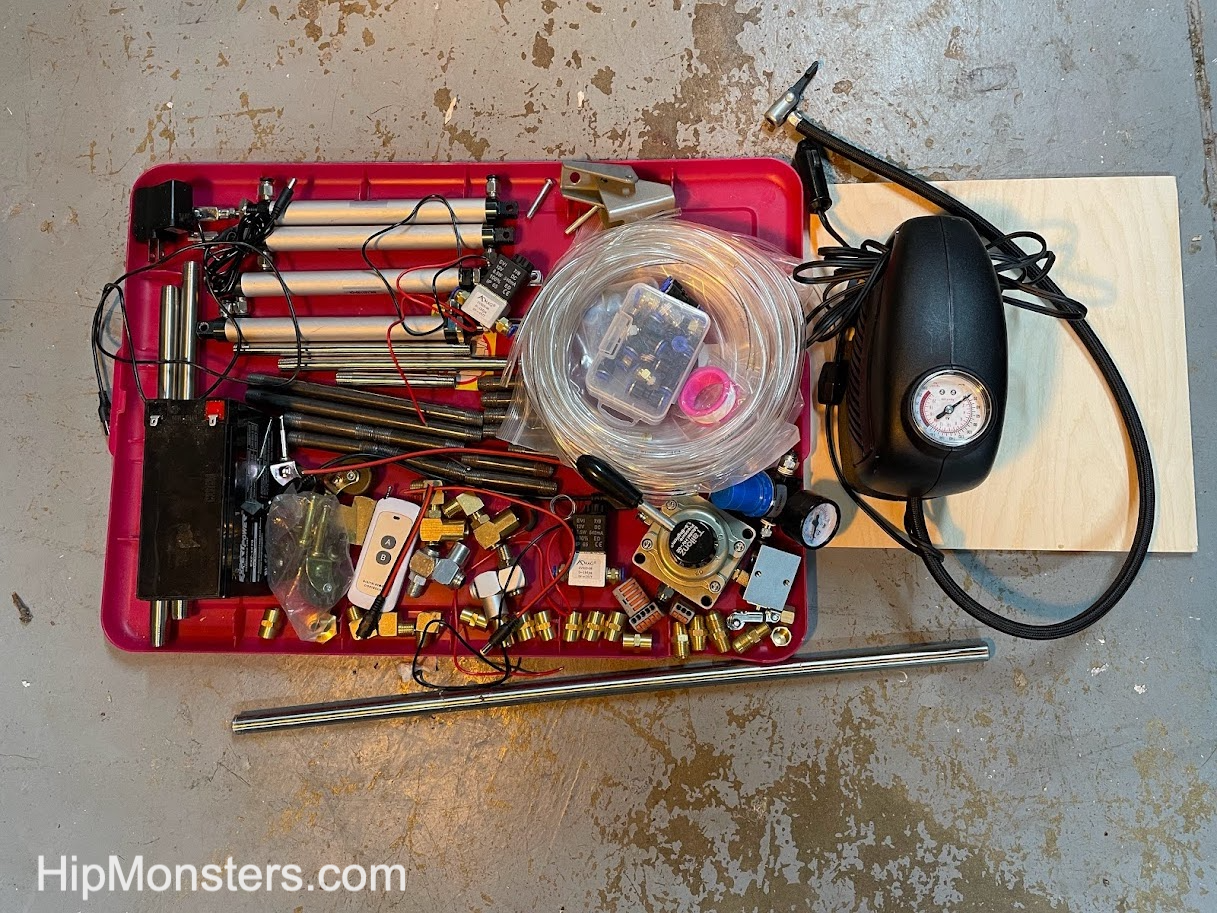
Base supplies to get started:
Brass Pipe Fitting, 4-Way Tee, Female Pipe (1, 1/4″ x 1/4″ x 1/4″ x 1/4″ NPT)
Brass Pipe Fitting, 90 Degree Barstock Street Elbow, 1/4″ Male Pipe x 1/4″
Brass Pipe Fitting, Barstock Tee, 1/4″ x 1/4″ x 1/4″ NPT Female Pipe
Black Steel Pipes ,close nipple pipe, 1/4 in. x 8 in, Black, 5 Pack
Black Steel Pipes, close nipple pipe, 1/4 in. x 6 in, Black, 5 Pack
Black Steel Pipes, close nipple pipe, 1/4 in. x 2 in, Black, 5 Pack
Hex Nipple Coupling Set – 1/4-Inch NPT x 1/4-Inch NPT,Solid Brass, Female Pipe
3/8 Inch Stainless Steel Cable Clamp
90-degree Swivel 1/4-Inch Male NPT x 1/4-Inch Female NPT
Clear 6mm OD 4mm ID Polyurethane PU Air Hose Pipe Tube Kit 10 Meter 32.8ft
Pneumatic Rotary Lever Hand Valve 1/4” N PT Air Flow Control 3 Position 4 Way
Pneumatic 16mm Bore 150mm Stroke Air Cylinder Double Action
Bike Pump
Building on our experience creating Number Three, we used piping to build the skeleton for the robot. To make it stronger to withstand the force of walking we used 1/4-inch steel pipes and pneumatic pivot joints rather than PVC tubing. After that, we assembled the legs using the pivot joins to allow the legs to move.
Assembly begins!
After the legs were completed, we built a spine to help attach the legs and provide an attachment platform for the batteries, controller, and engine.
The skeleton is coming together
When Number Three moved, the legs would frequently come loose so we made sure to be attached tightly to the spine. We knew from other robots we built that the vibrations of a running robot tended to unscrew bolts and screws. So, getting everything put together as tight as possible is essential.
Final tightening of the frame
The spine takes a little patience to screw together because we used three parallel sets of pipes for strength. It proved difficult to screw them in at the same time and the best approach was to take it slow and calmly.
Side view of the completed skeleton
This is the side view of Number Five with most of the pneumatic pistons in place. We had two powering the back legs and four to power the front legs which did most of the pulling. We found from the full-scale test pull was better than push for control. If a front leg got stuck and the back legs still pushed forward the robot would veer to the left or right.
Below is a top view. The front part of the skeleton does not have a spine. This was originally to enable us to adjust the strides of the legs but that ended up being too finicky and we instead locked them in place. Sadly, we don’t have a clean attachment point for a head if we ever want to add one.
Top view of the skeleton
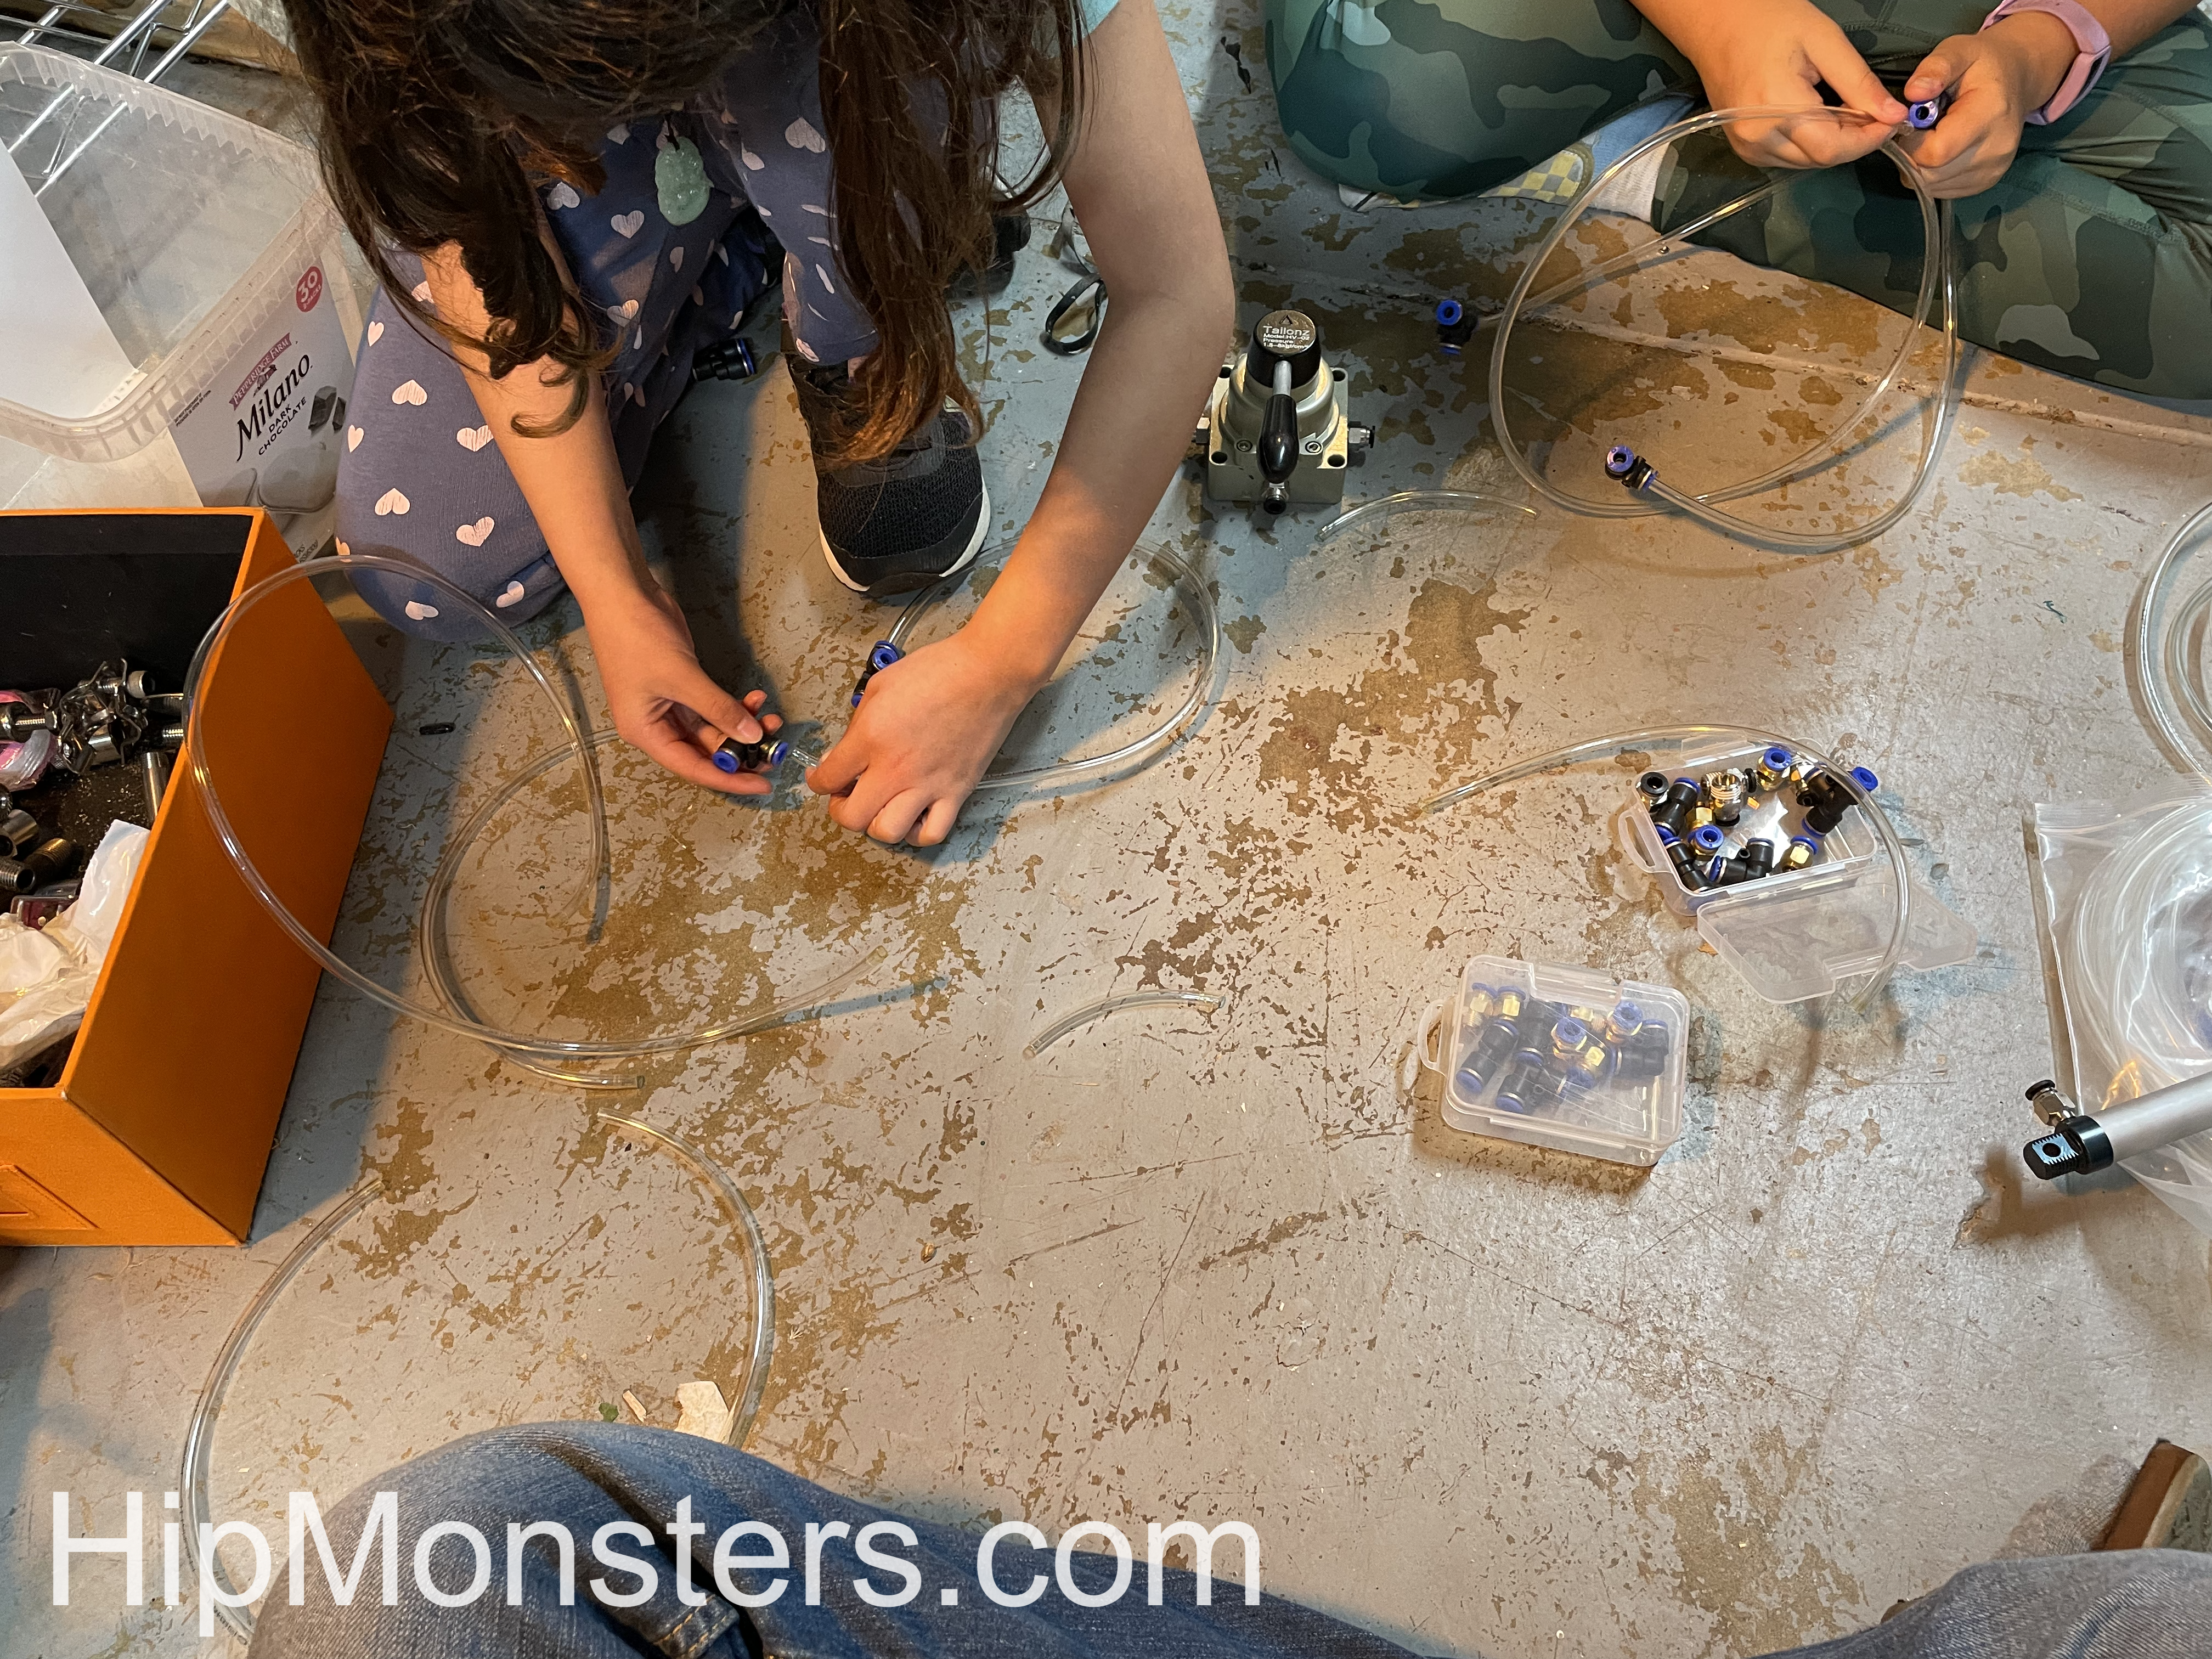
Next, we started connecting the air tubes to the pistons. We first laid out how the piston would attach to the frame then cut the tubes to link them to the engine. We made sure that they were long enough not to get yanked out, but short enough not to get caught in the robot’s legs.
Fitting the pneumatic tubes
The tubing took a few attempts to get the length right. It is better to be too long than too short, so we have a bag filled with little bits of extra tubing. The tubing connects the piston to the engine. In the beginning, the engine was a bike pump powered by a kid but the final version would have a car air pump.
While attaching the pipes we recommend color coding the pipes with a little bit of nail polish or colored tape. You want the legs to be connected oppositely. If a right piston is rigged to push when the air is redirected, you want its mirror to pull.
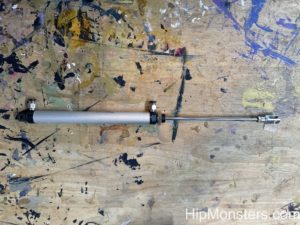
Each piston has two connections:
one at the top which makes the rod push out,
one in the middle pulls the rod back.
Close-up of an Air Piston
Below is a gif of two pistons connected in opposition. This will enable the robot to walk with a stride.
Testing the pistons
Below is the first full-scale test. We used a bike pump to better control power. The bike pump worked remarkably well for most of our small-scale tests and was significantly quieter than the air pump. Plus it is cool to power a robot with a bike pump. As you can see… this test failed hilariously.
Test number one
The first test showed that controlling double-jointed legs was very difficult so we decided to shorten the legs as well as do tons of additional modifications. With lots of tubing, it tangles easily and it is hard to figure out where the problem is. We also added knees to stop the legs from overextending and falling.
After tons of modifications
The second full-scale test was much more successful and operated as we expected. This floor has a slight downward tilt but it also works in the opposite direction; admittedly a bit slower. It is still operated by a manual switch but the engine is now a car pump.
Test 2
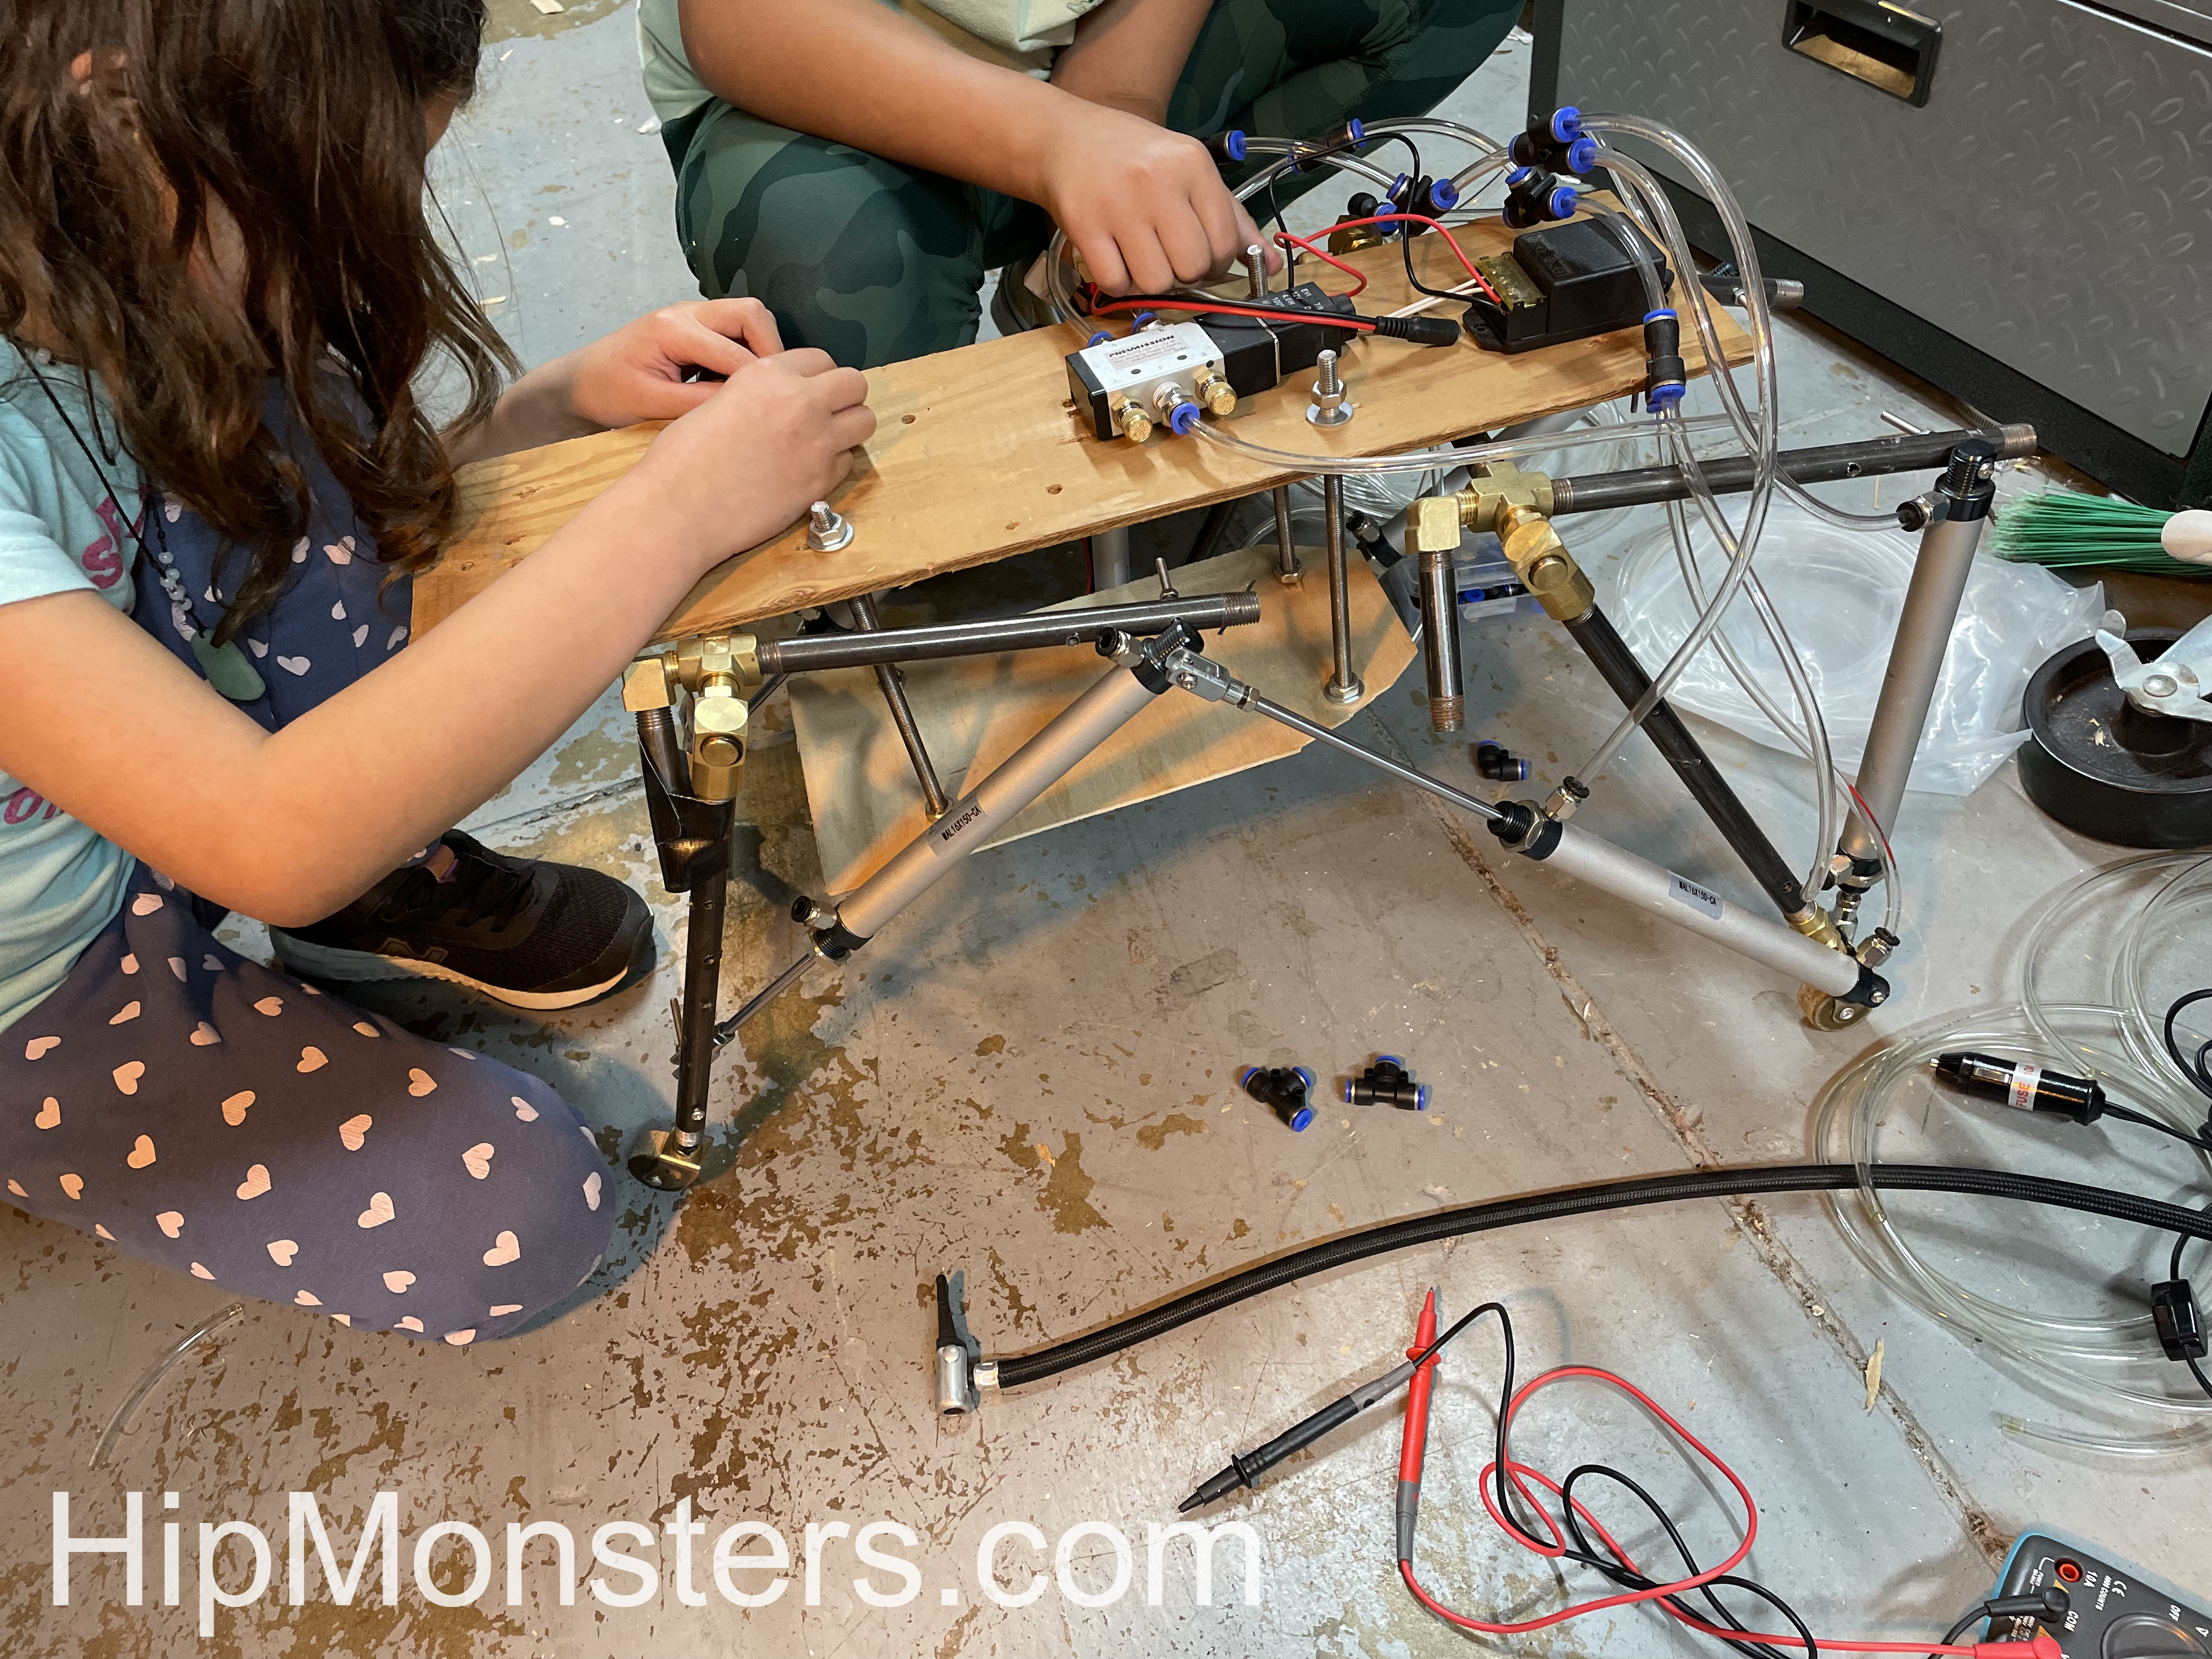
At this point, number five was powered externally and controlled with a manual switch. Our final goal was to be able to walk number five in our neighborhood on Halloween, so we added batteries, electronic air flow controls, and a remote control.
Adding control units
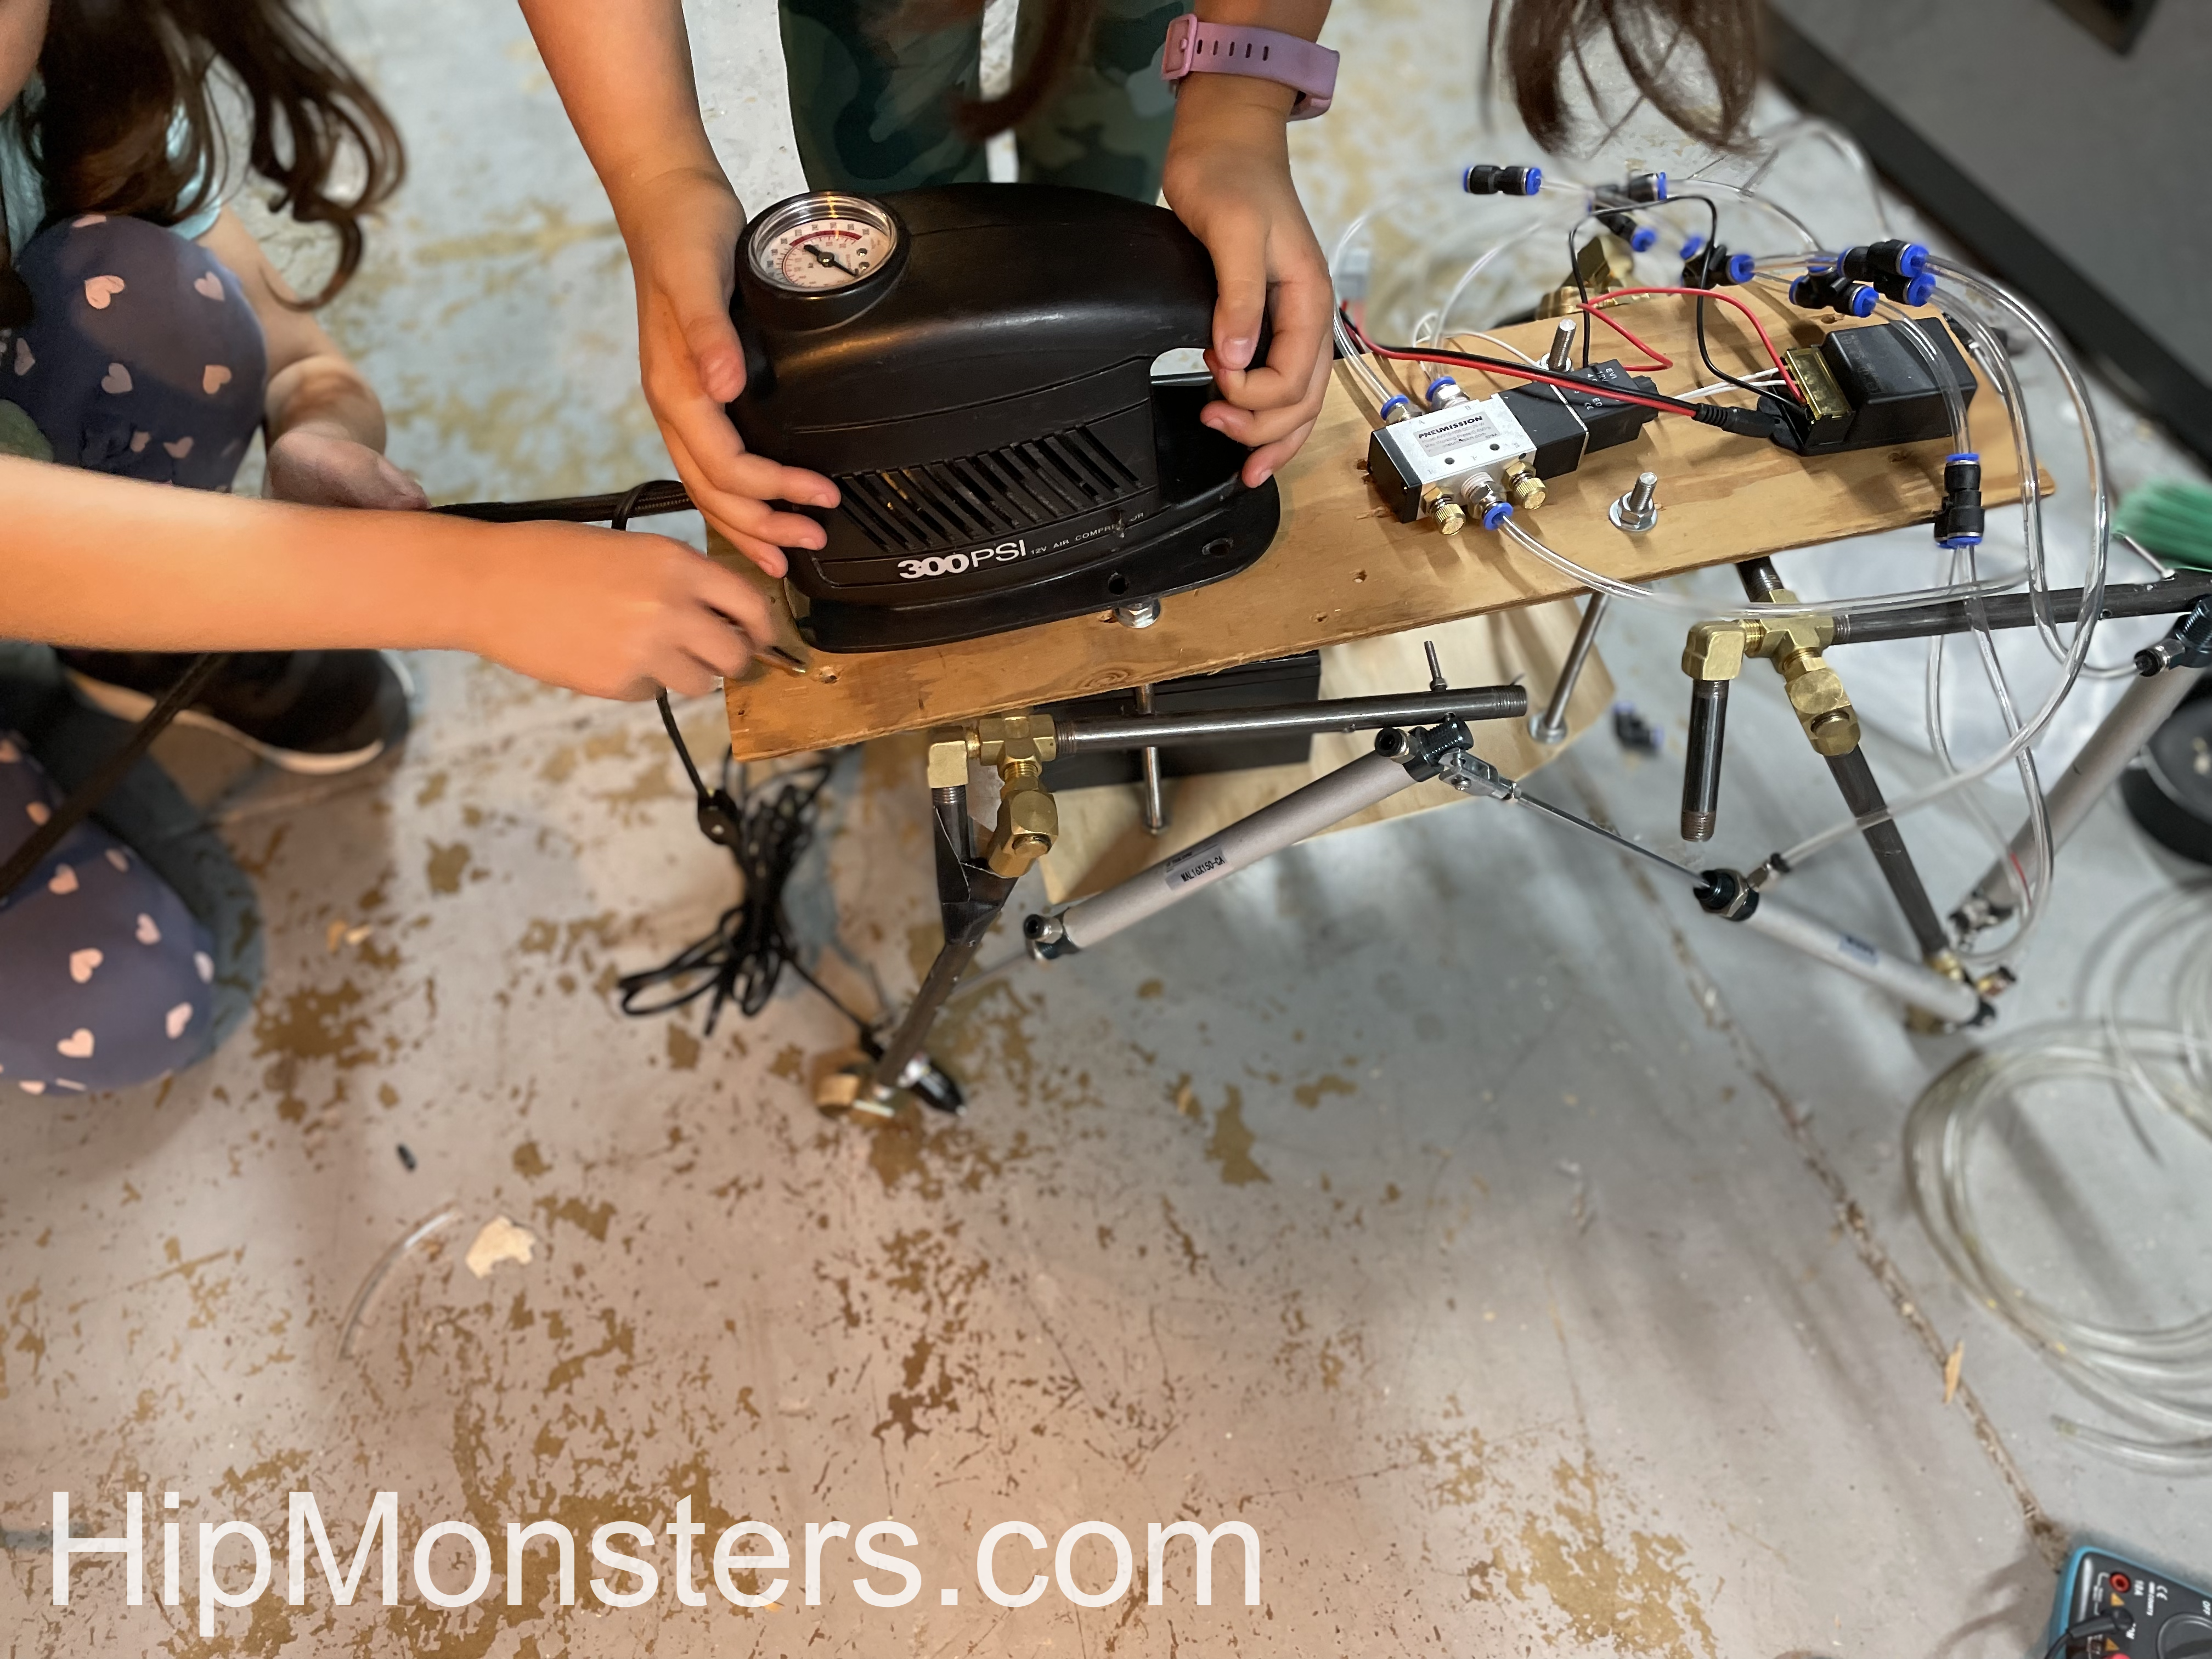
The engine was an old portable air compressor for car tires that was super light and used little power. To make Number Five portable, it needed to run on a 12-volt battery which meant all the electronics had to run off of 12 volts as well. Luckily 12 volts is the standard power supply so finding the right parts wasn’t too difficult.
Adding the engine
At this point Number Five was completely self-contained and controlled by a remote. We moved the battery to the center of Number Five to give it a lower center of gravity. When we first put it together the first time it was clear it would fall over easily if the battery was on top. So we quickly built a lower platform that rested between the leg. The pump was light enough to stay in the back clear from the movement of the front legs.
Here is the first test of the fully remote Number Five. We had more slippage than we had in the prior tests; the weight of the battery and air pump impacted the wheel traction more than we expected. So back to tinkering…
The key improvements this time were:
A rubber wedge in the wheels made them only spin in one direction
Shifting more weight forward.
Extended the forward stretch of the front legs giving a lurching motion forward that was very effective on flat or downhill surfaces.
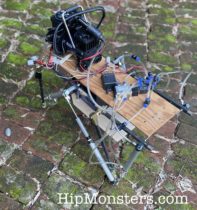
Taking Number Five for a Walk
After the modifications were complete, the sister team was ready to take Number Five for a walk in our neighborhood! Number Five worked well on the rough city sidewalks and could even manage to walk up a slight incline as shown in this clip. Downhill Number Five went almost too fast. We have learned a ton and stay tuned for the next modifications!
For high res videos of Number Five in action check out our YouTube Channel!
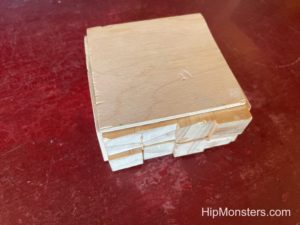
After building a number of dovetail puzzle boxes the HipMonsters sister team set out to make their own unique design. We explored many designs and drew influence from creations like this one on YouTube. The sisters wanted something that looked deceptively simple and easy to make. Thus was born Push My Button!
Please note, this material is provided for entertainment and informational purposes only and is not a guide on how to create the designs. Please read our disclaimer.
Side View
Here is Push My Button from side view. The sides of the box are made from a several of 1/4 wooden square dowels. These are our go-to material for many of our designs.
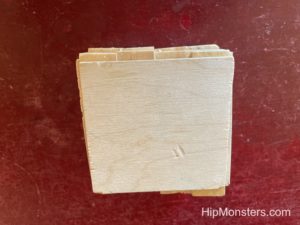
Top View
The top, sides and bottom are made from 1/8 inch plywood.
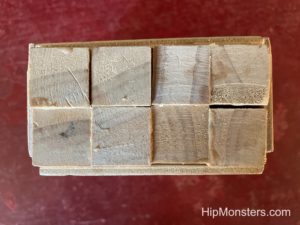
Corner view
Here is a view of a corner. We purposely made it look slapped together to confuse people. The lopsided look makes it appear that the sides of bottom can be slipped off – which cannot be done.
Which button to press?
But the key to opening Push My Button to to press the correct button… but which one? We added spacers between some of the dowels and aligned them irregularly to make harder to tell which one is the key.
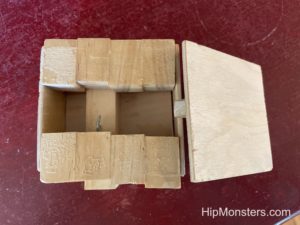
Opened!
When we give it as a gift, we usually leave earrings or chocolate inside to reward the receiver once them uncover the trick.
We wanted to give people a scare on Halloween and was inspired by a visit to Rosicrucian Egyptian Museum so we set out to make our own mummy, George the mummy (he got too curious).
Please note, this material is provided for informational purposes only and is not a guide on how to create the designs. Please read our disclaimer.
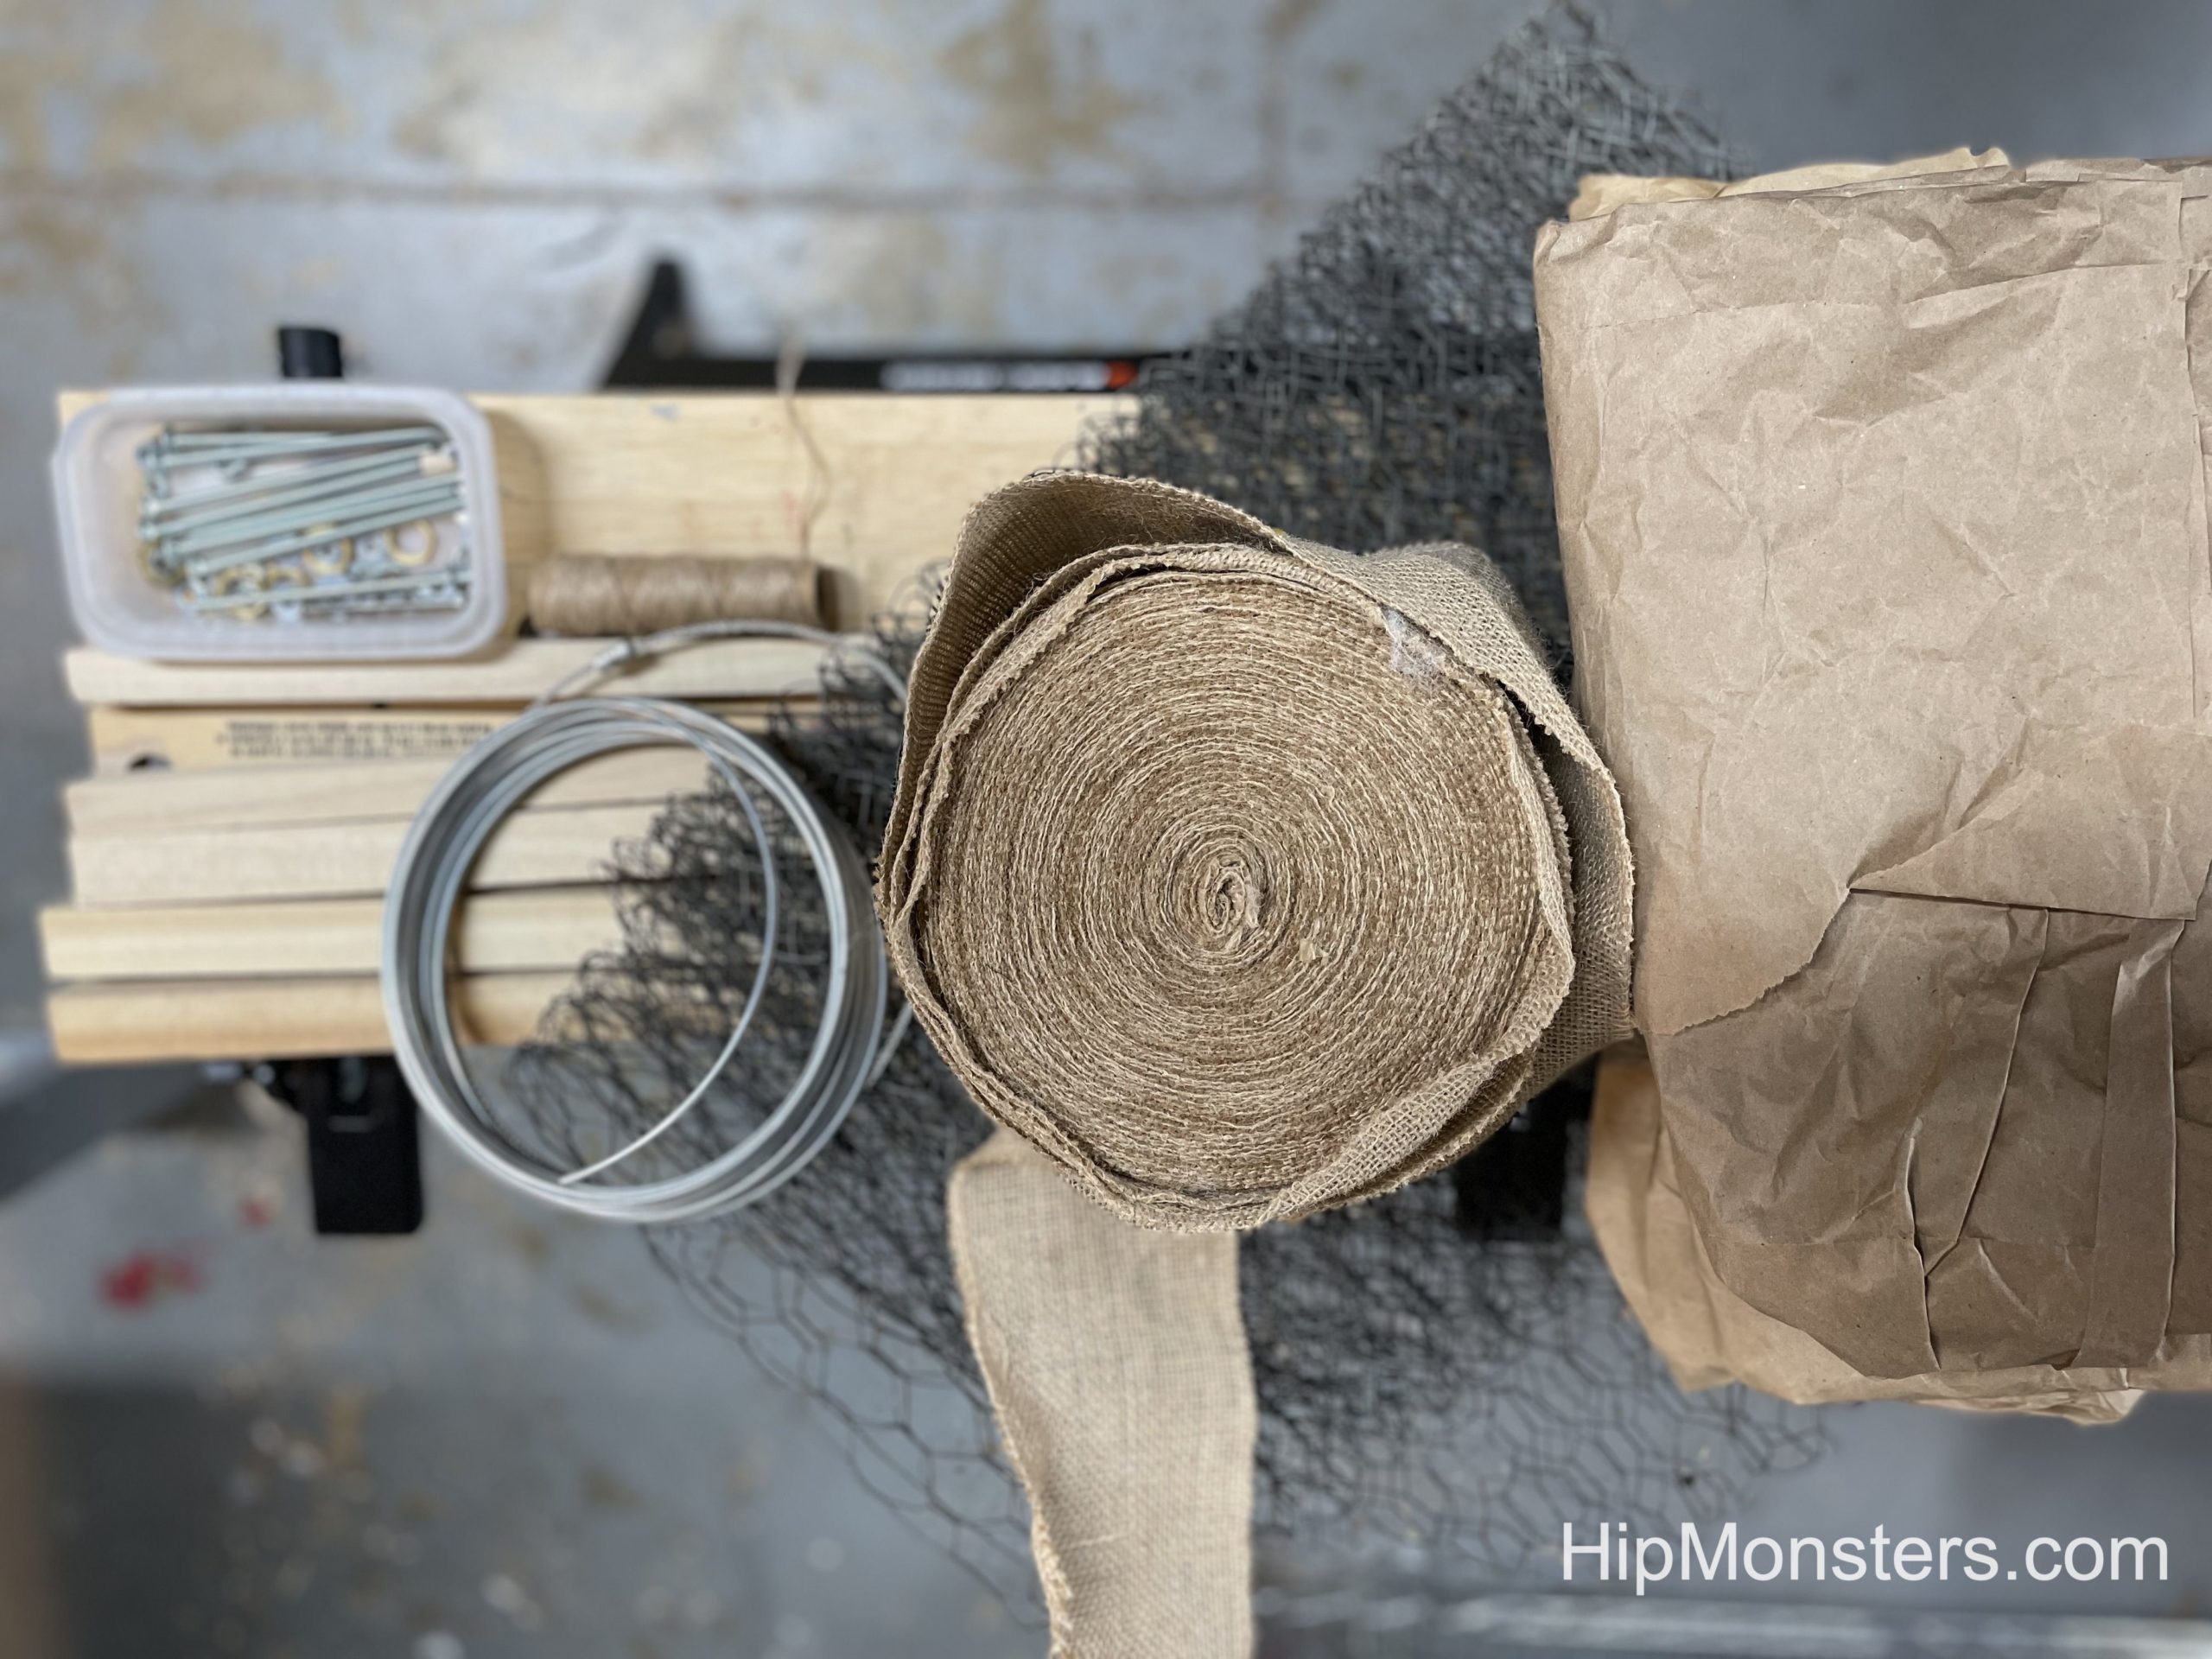
Materials
For the mummy, we used:
A roll of burlap fabric
Lots of brown shipping paper
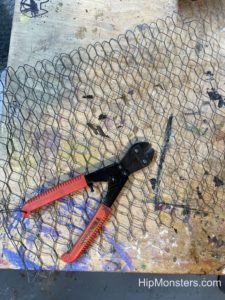
Chicken wire
Aluminum fense wire
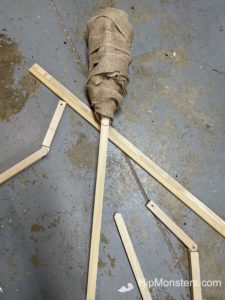
5 1/4×1/4X 5 Wood
Twine
nuts and bolts.
We needed it to be pretty light so we didn’t use a lot of wood and padded the skeleton with lots of shipping paper. We had been storing the shipping paper for years and had bags of it in a closet for just such a project. It is perfect because it looks like old dried skin!
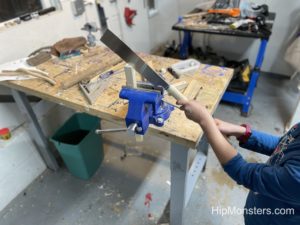
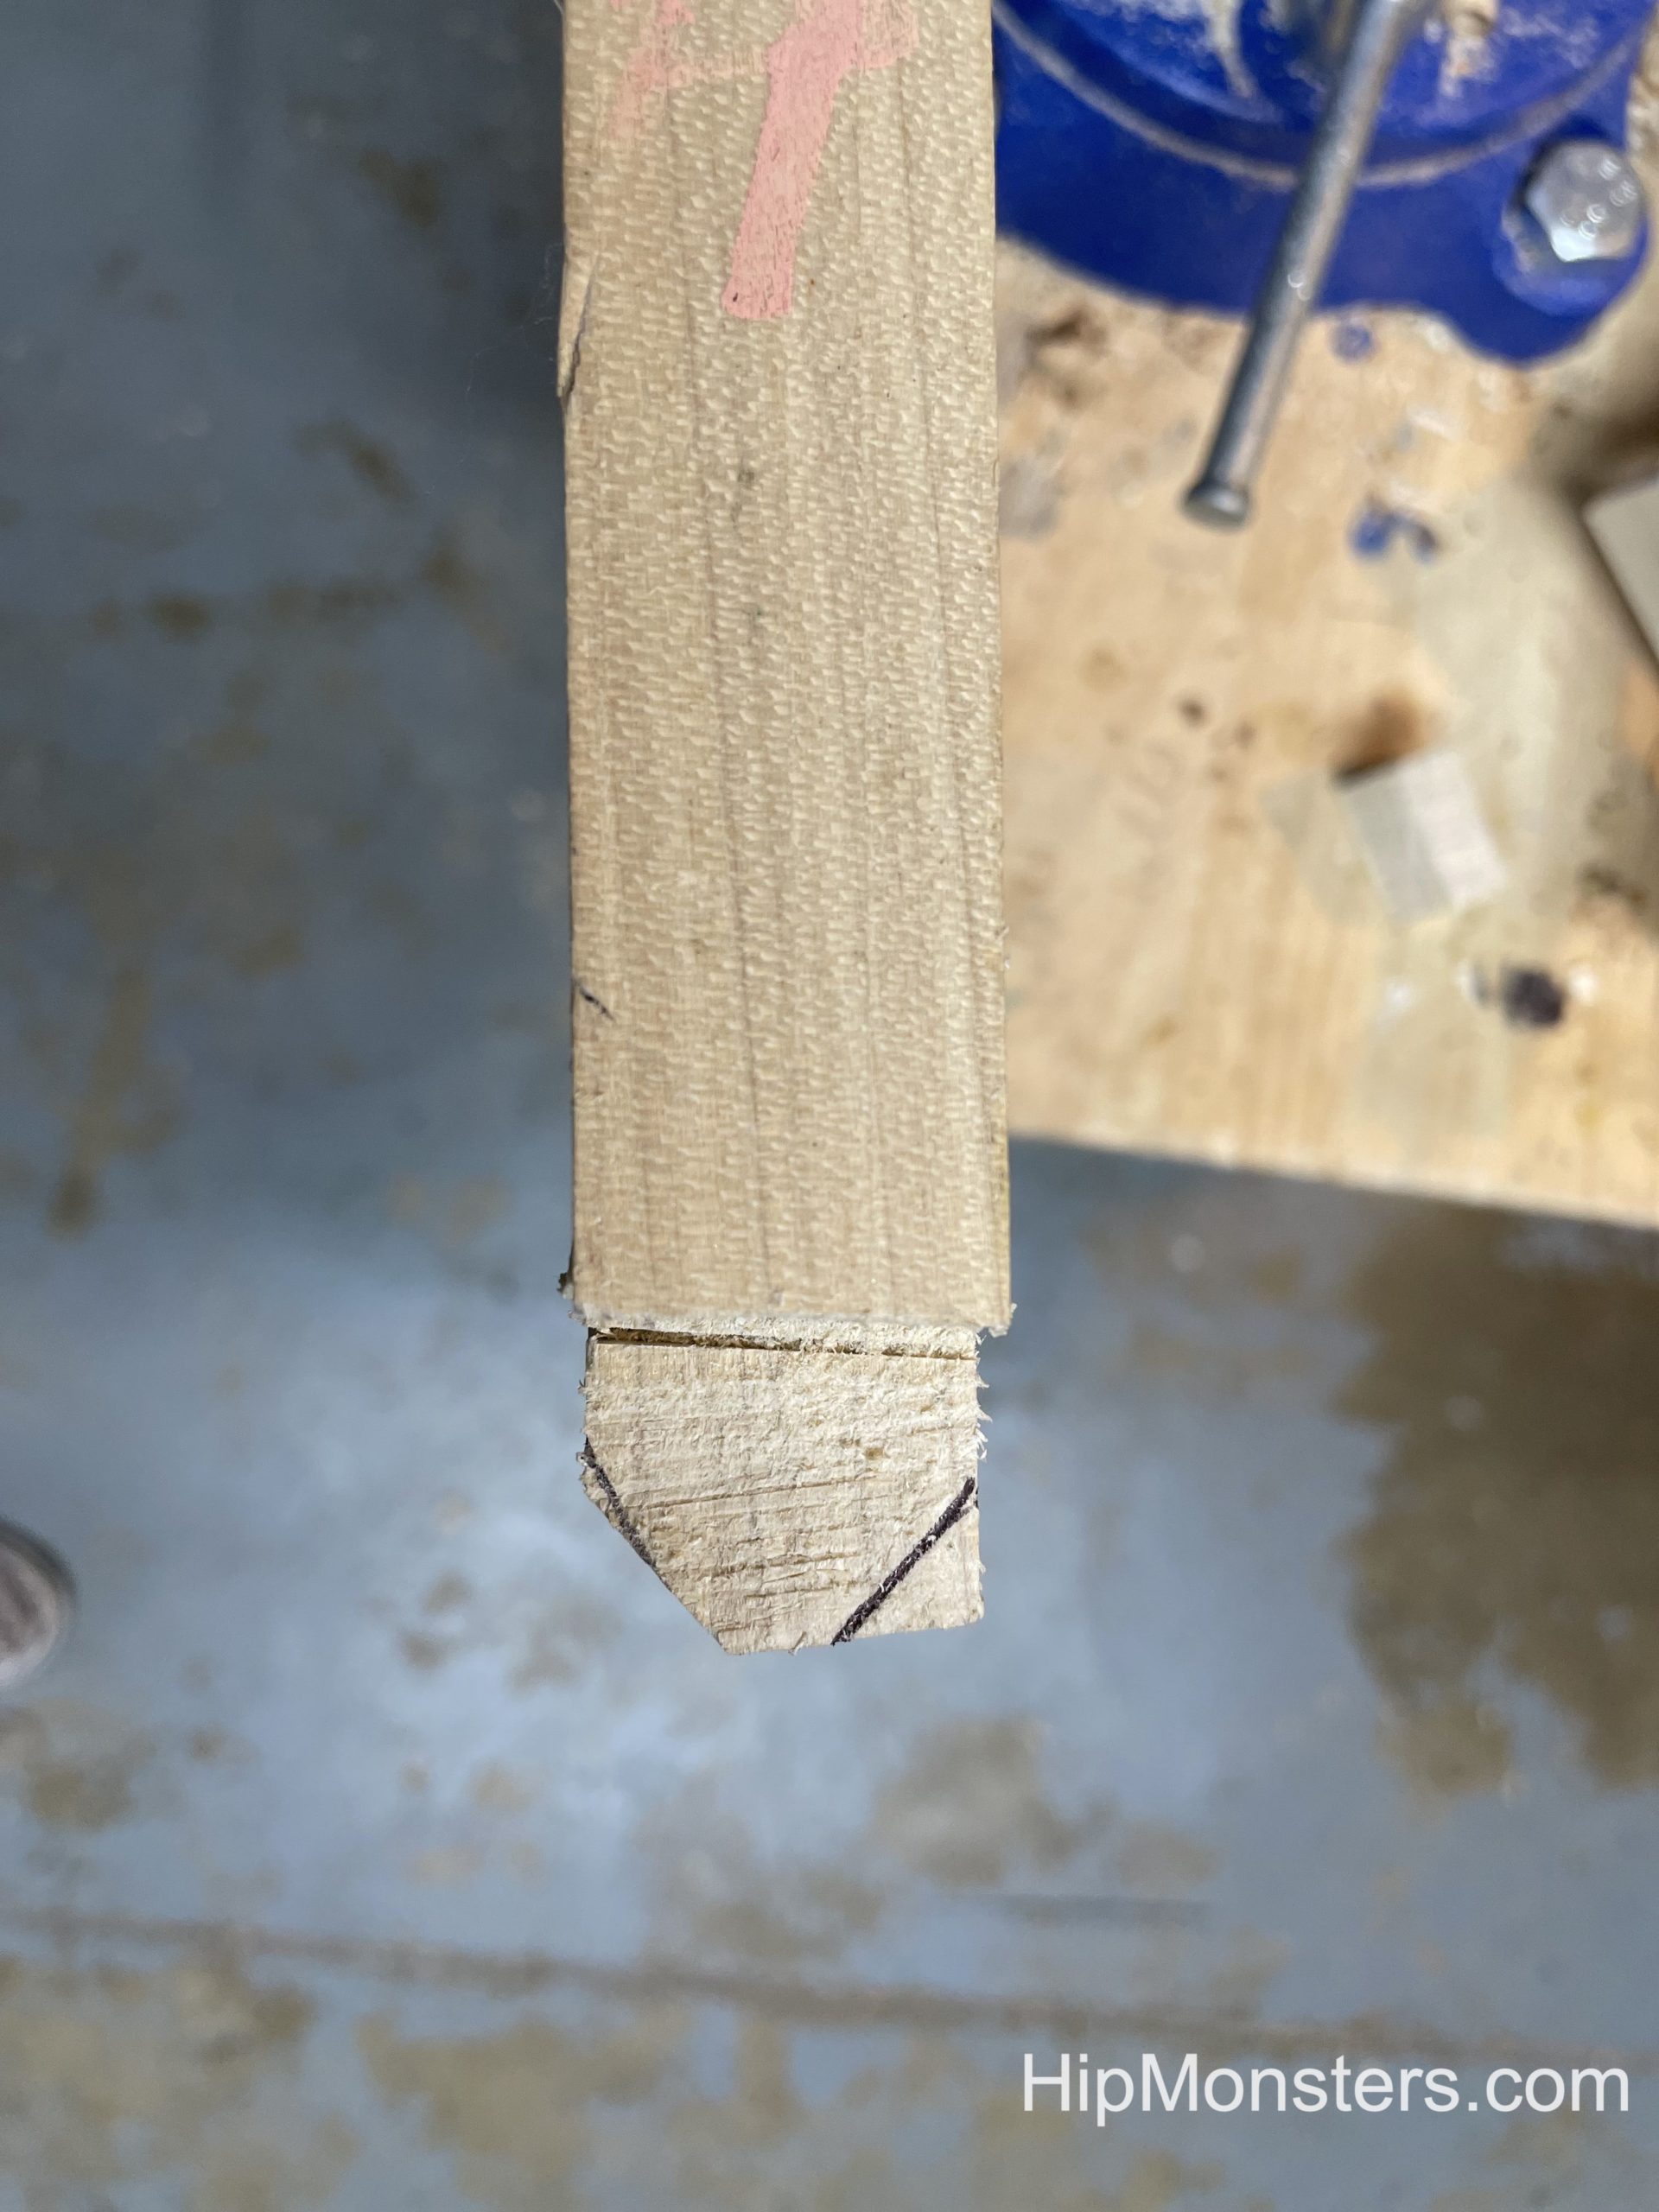
Cutting the joint
We wanted George to be flexible so we could place him through out the house and even take him on car trips.
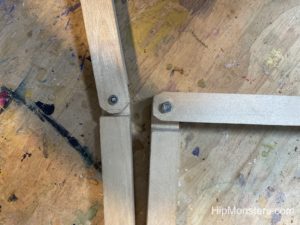
Close-up of the joint
This is one of the joints that we made. George is fully articulate but not powered like our robots.
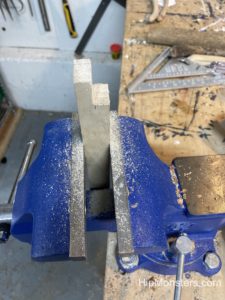
Trimming the sides
We cut small pieces of the wood off to make it more rounded then sanded the edges to get a clean joint. Since these joints would not be seen we used only rough grade sandpaper.
The finished joint
We drilled holes in the joints so that we could put them together. To drill the holes we clamped the two pieces together to assure the holes would align.
Putting them together
We used a rubber washer between the two pieces so George the Mummy would not be too wobbly. After screwing the bolts down we crimped end to make sure they would not come undone after George was finished.
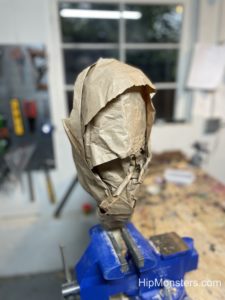
Starting the head
We used chicken wire to start making the shape of the head. The chicken wire was so sharp so we had to be extra careful not to cut ourselves. Best to let a parent do this part. One trick we used was to warp the end pieces in duck tape to make them less pocky.
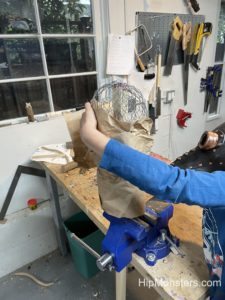
The basic shape of the head
We molded the head into shape. We recomend wearing thick gardening gloves because the chicken wire is very sharp.
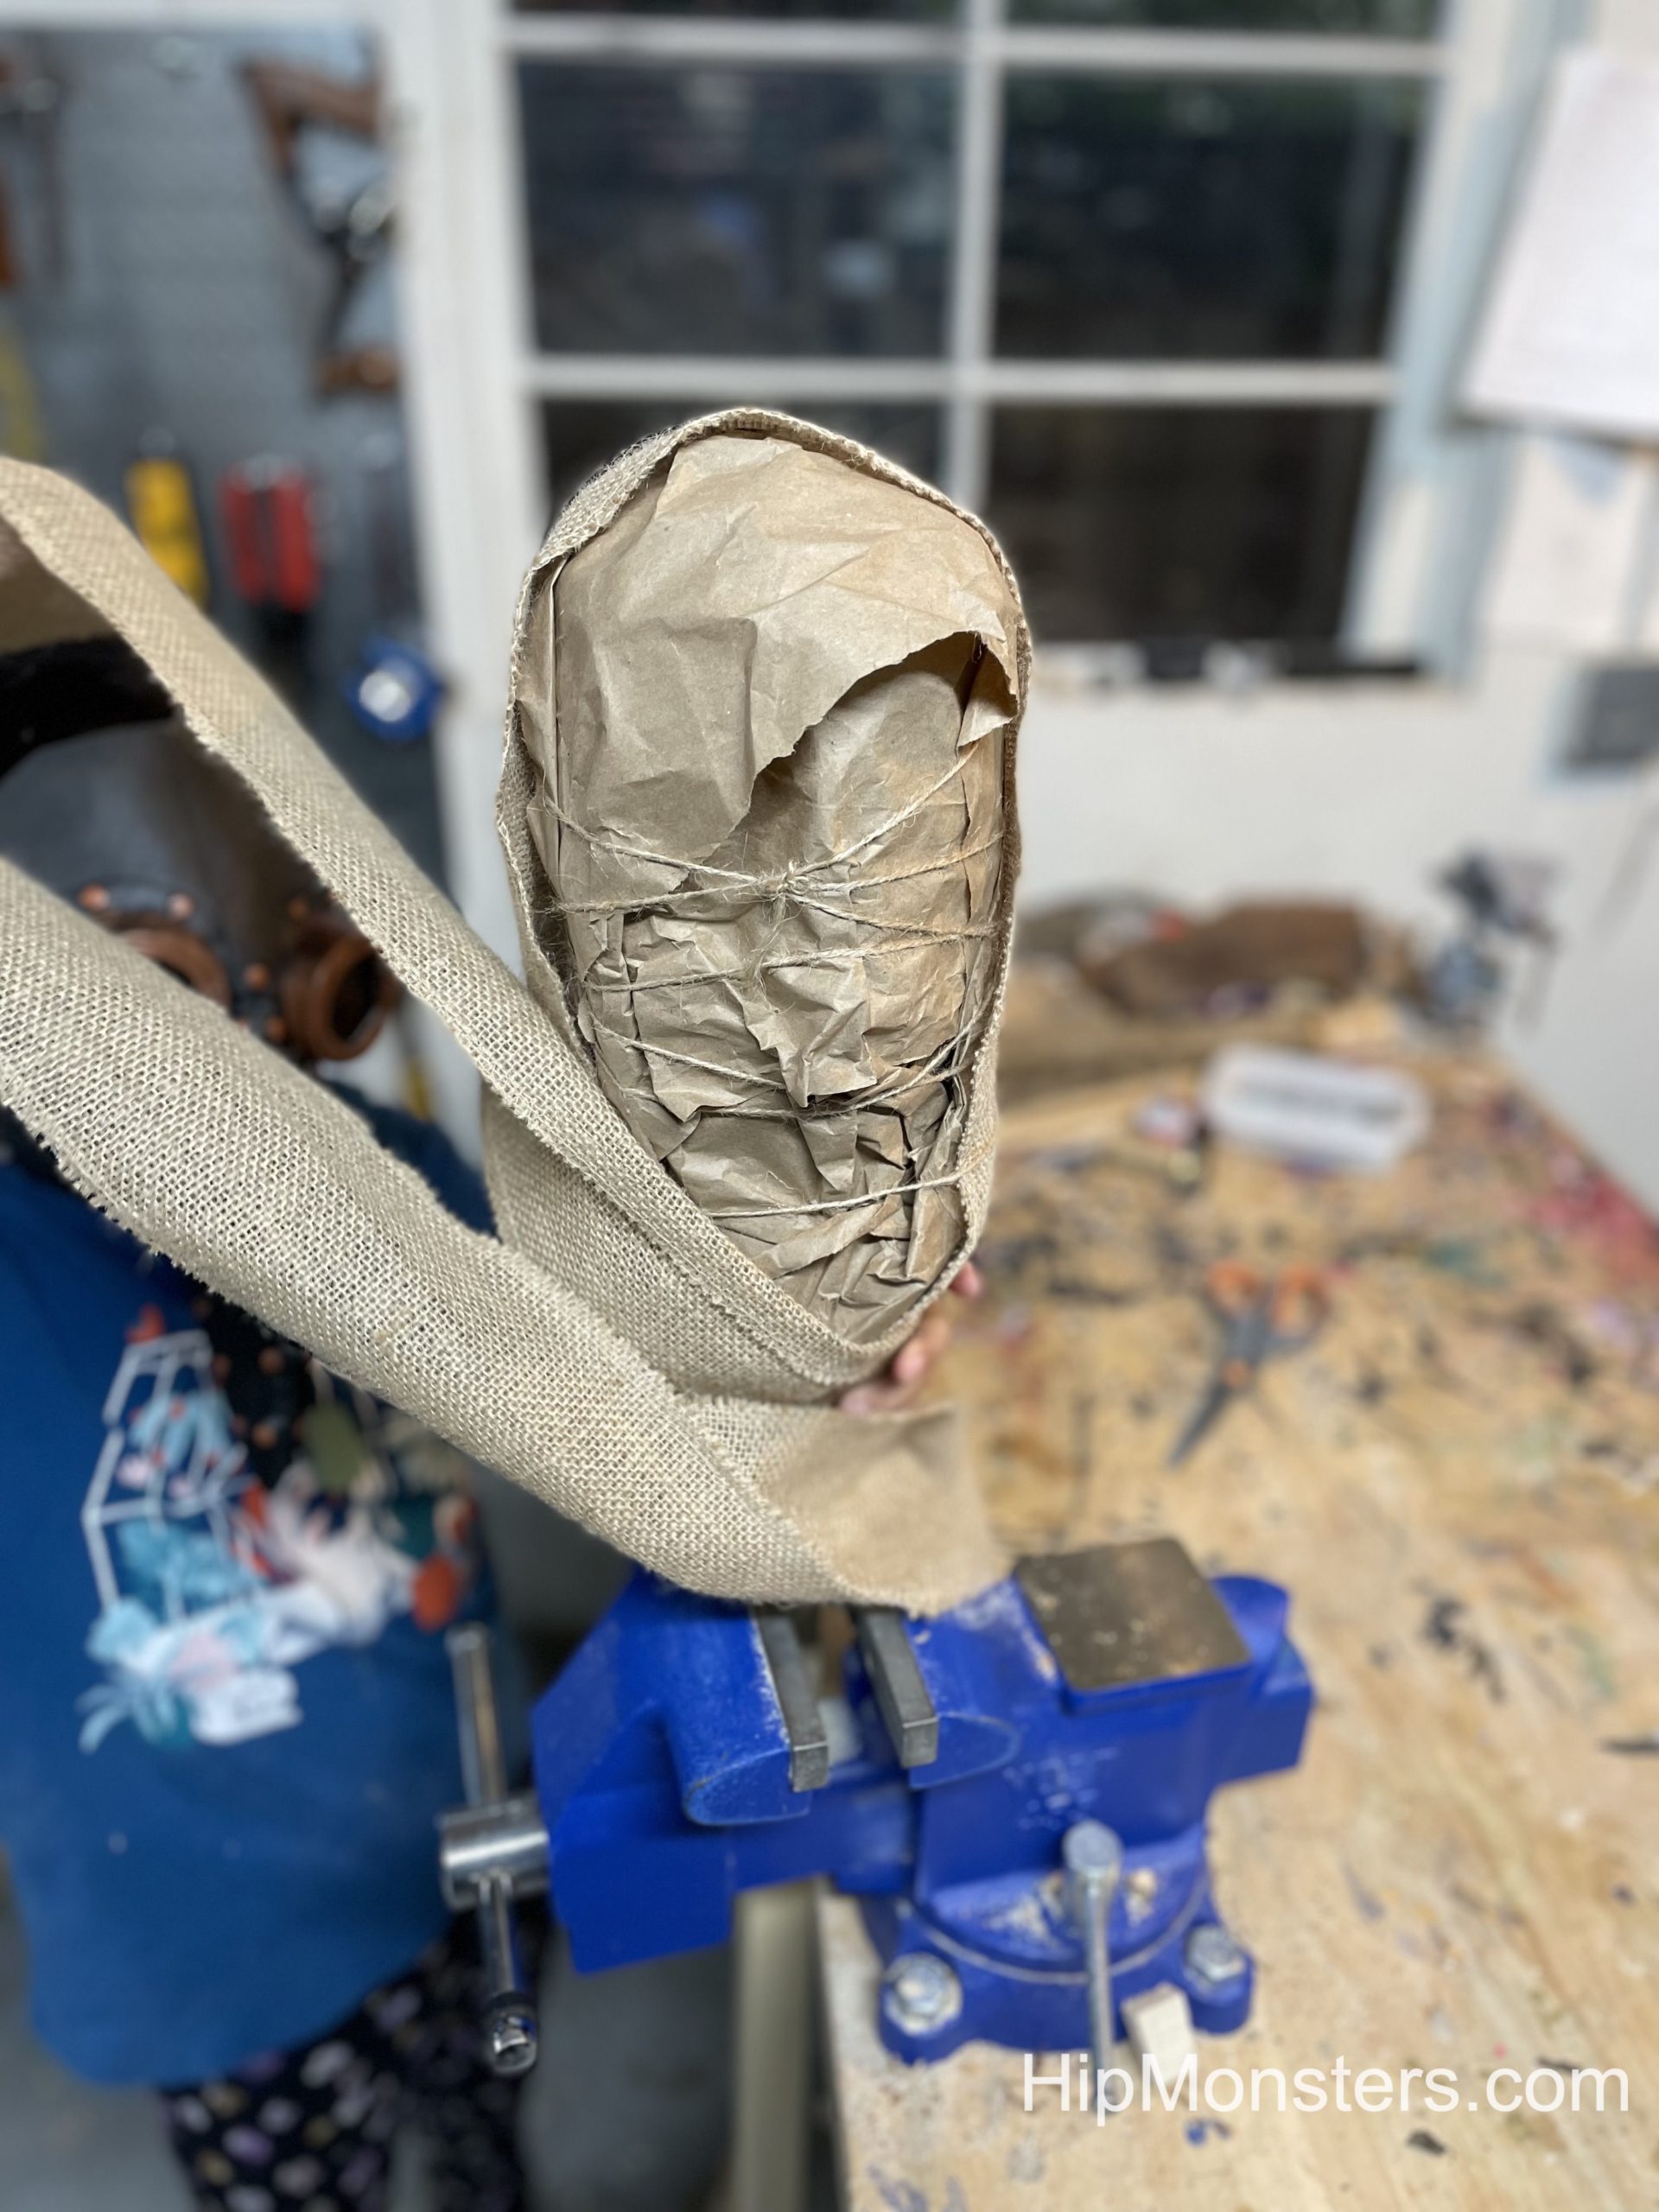
Wrapping it in paper
We wrapped it in paper to make it less sharp and because the paper looks like dry skin. The paper alos helps makes the linbs more circlular.
George’s head with the skin
The head fully wrapped in paper.
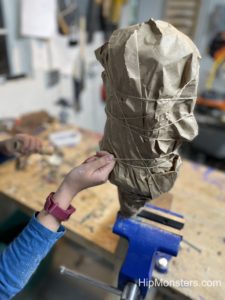
Securing the paper
We secured the paper by tightly wrapping it in twine. we used twine because it is strong, but also because it is the same color as the paper, so if a little shows it would blend in with the paper.
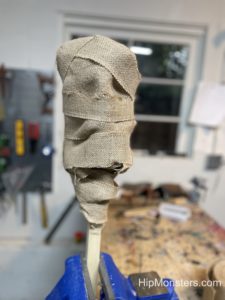
Wrapping it in burlap
We wrapped it up in burlap after we finished securing the paper. We did several layers so it wouldn’t come off and towards the end split the burlap into multiple strips
The completed head
After the head was done it was on to the rest of the body. The wooden skeleton we made as simple ae possible and used bolts and bolts with crimp washers to make sure it would not come loose after the wrapping for completed.
Put it together!
Now assemble the skeleton and wrap the body in the same fashion as the head. Wrapping the hands and feet proved to be very hard, and we ended up not making wooden fingers, we just wrapped the arm and secured the ends.
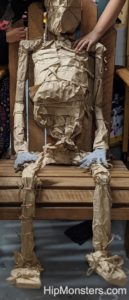
Waiting to be wrapped
Here is the completed skeleton fully covered in paper and tied together with twine. We needed to remove the final wrapping from the head in order to better integrate it to the body. Also, we tried using left over hand from out Hand of Glory project but in the end, they did not look as real as we want.
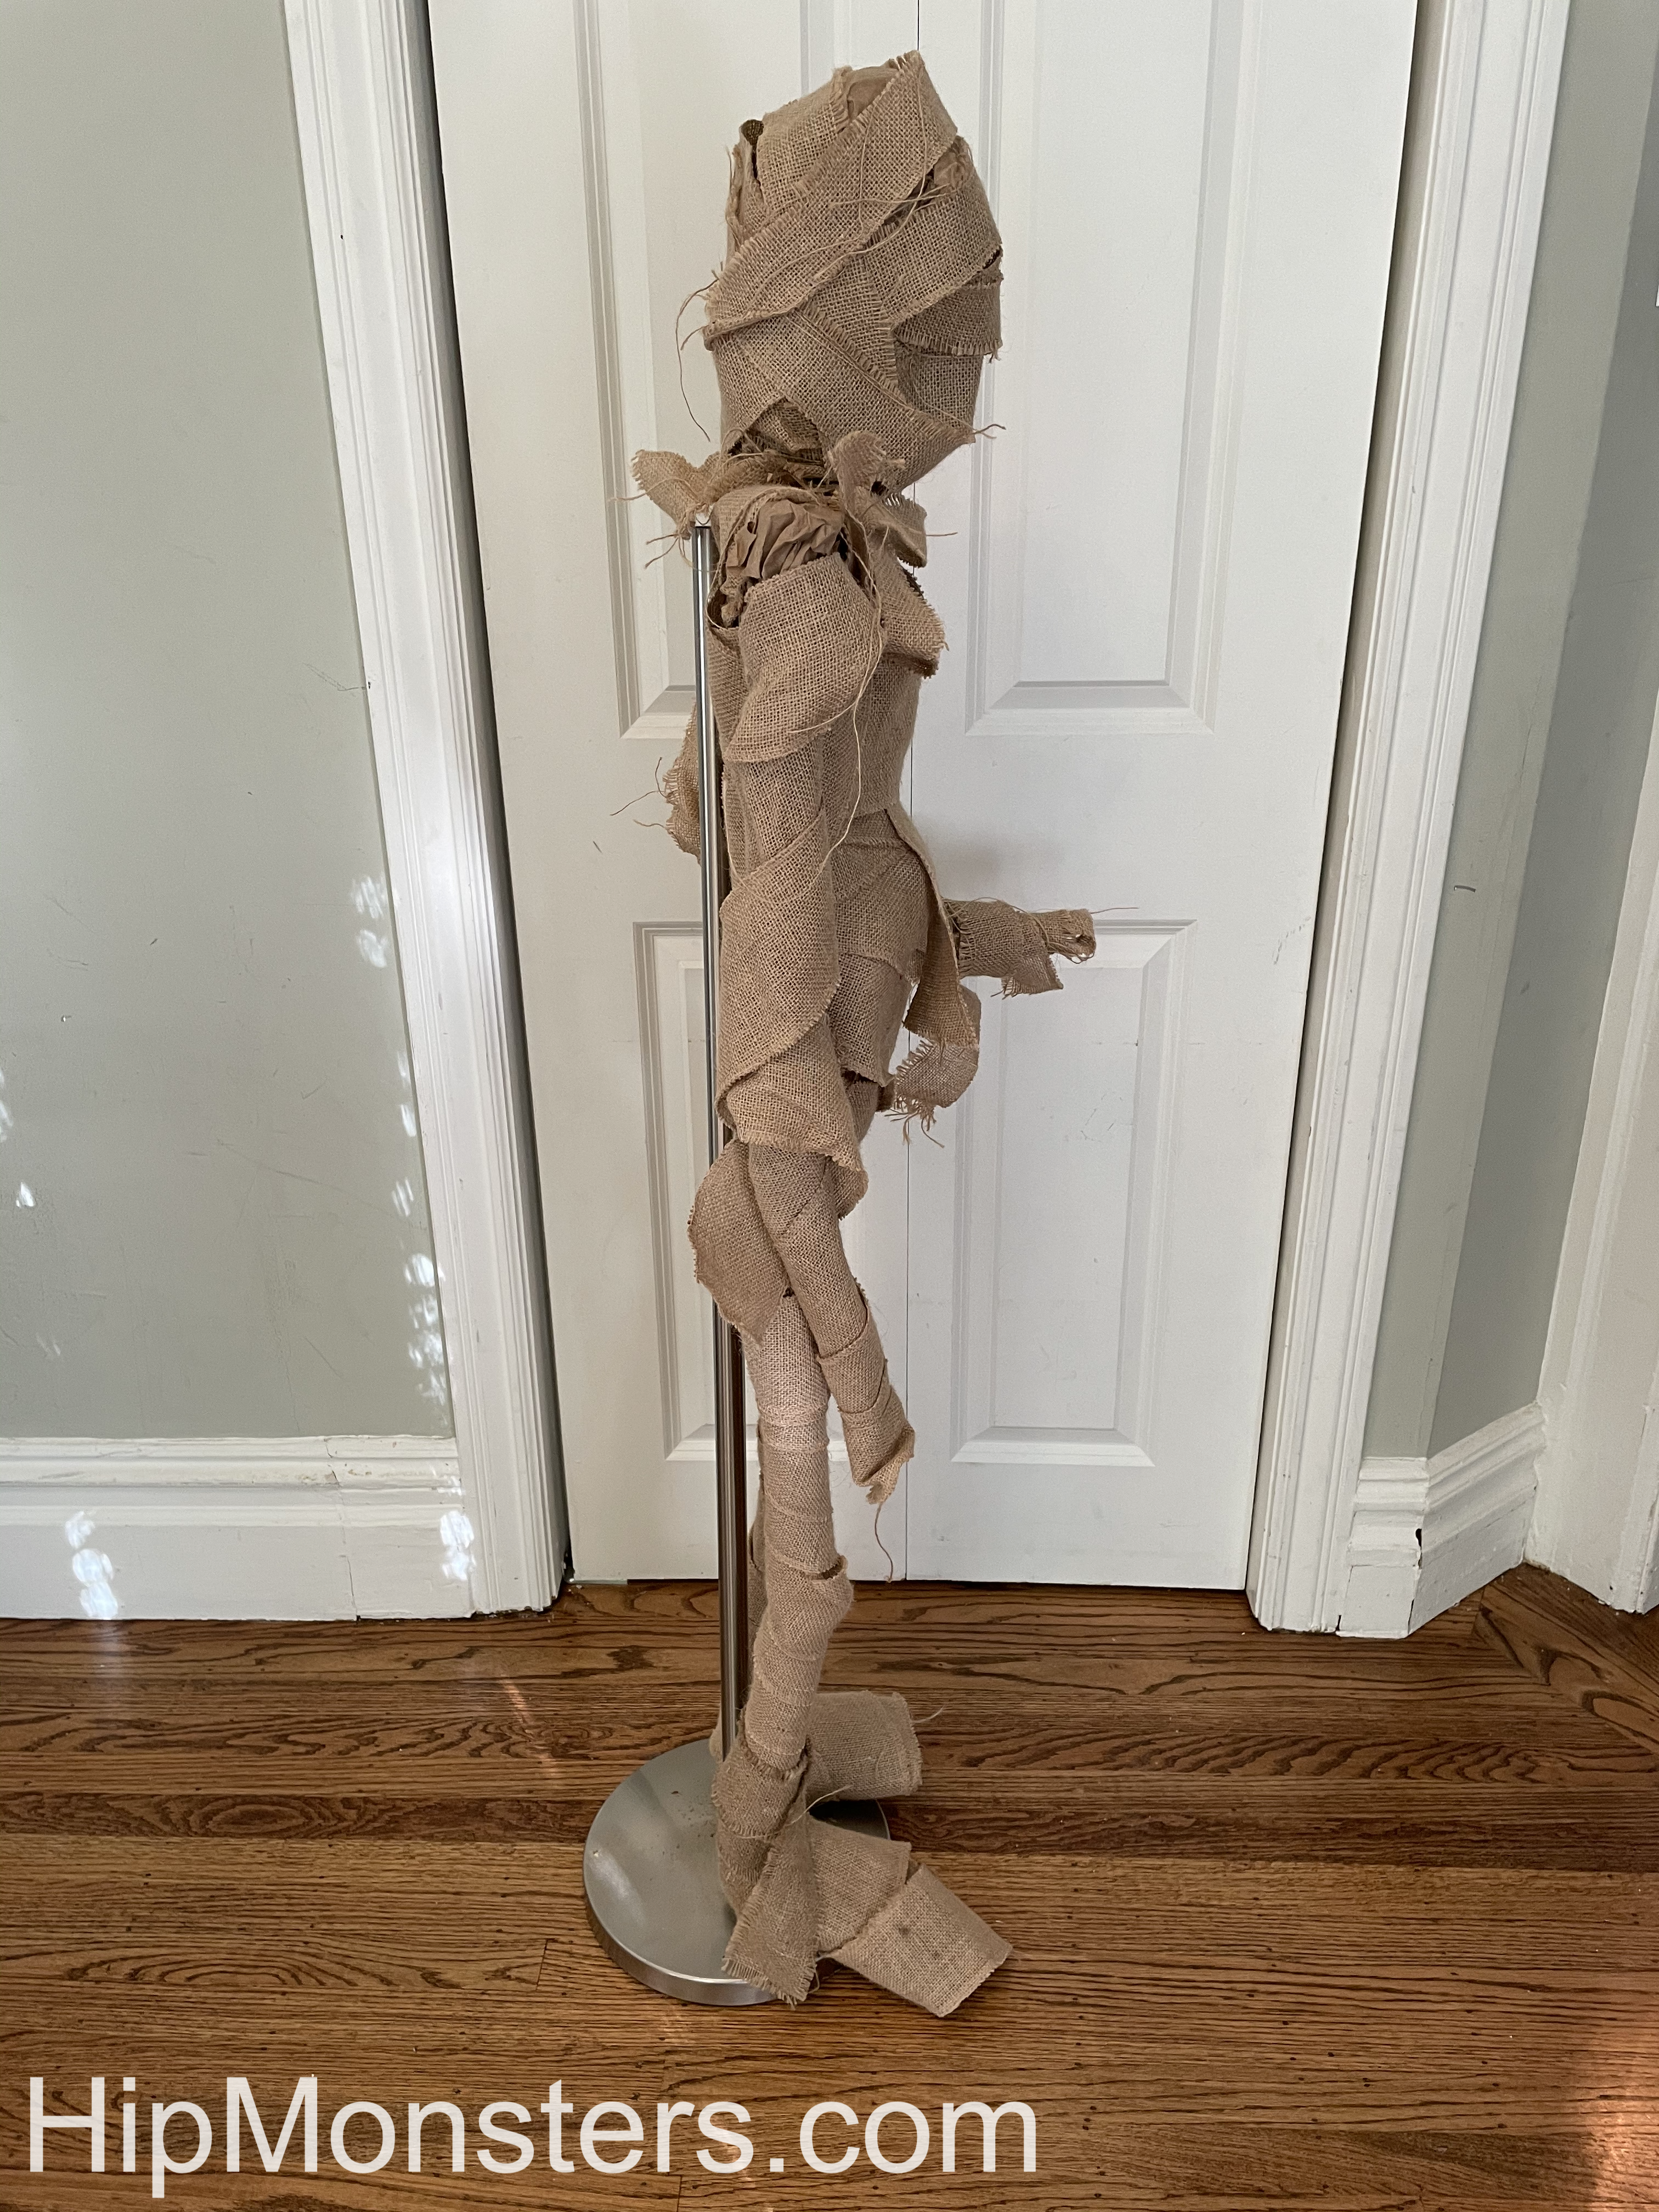
The side view
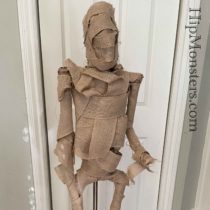
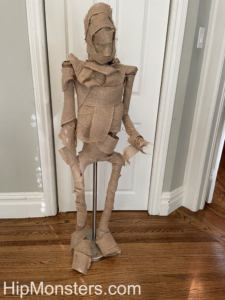
Front view
Now you can see George out of the workshop! We originally tried to make him be able to stand up on his own, but that would mean either making the body weirdly small or making the feet gigantic. We ended up attaching him to a lamp post instead.
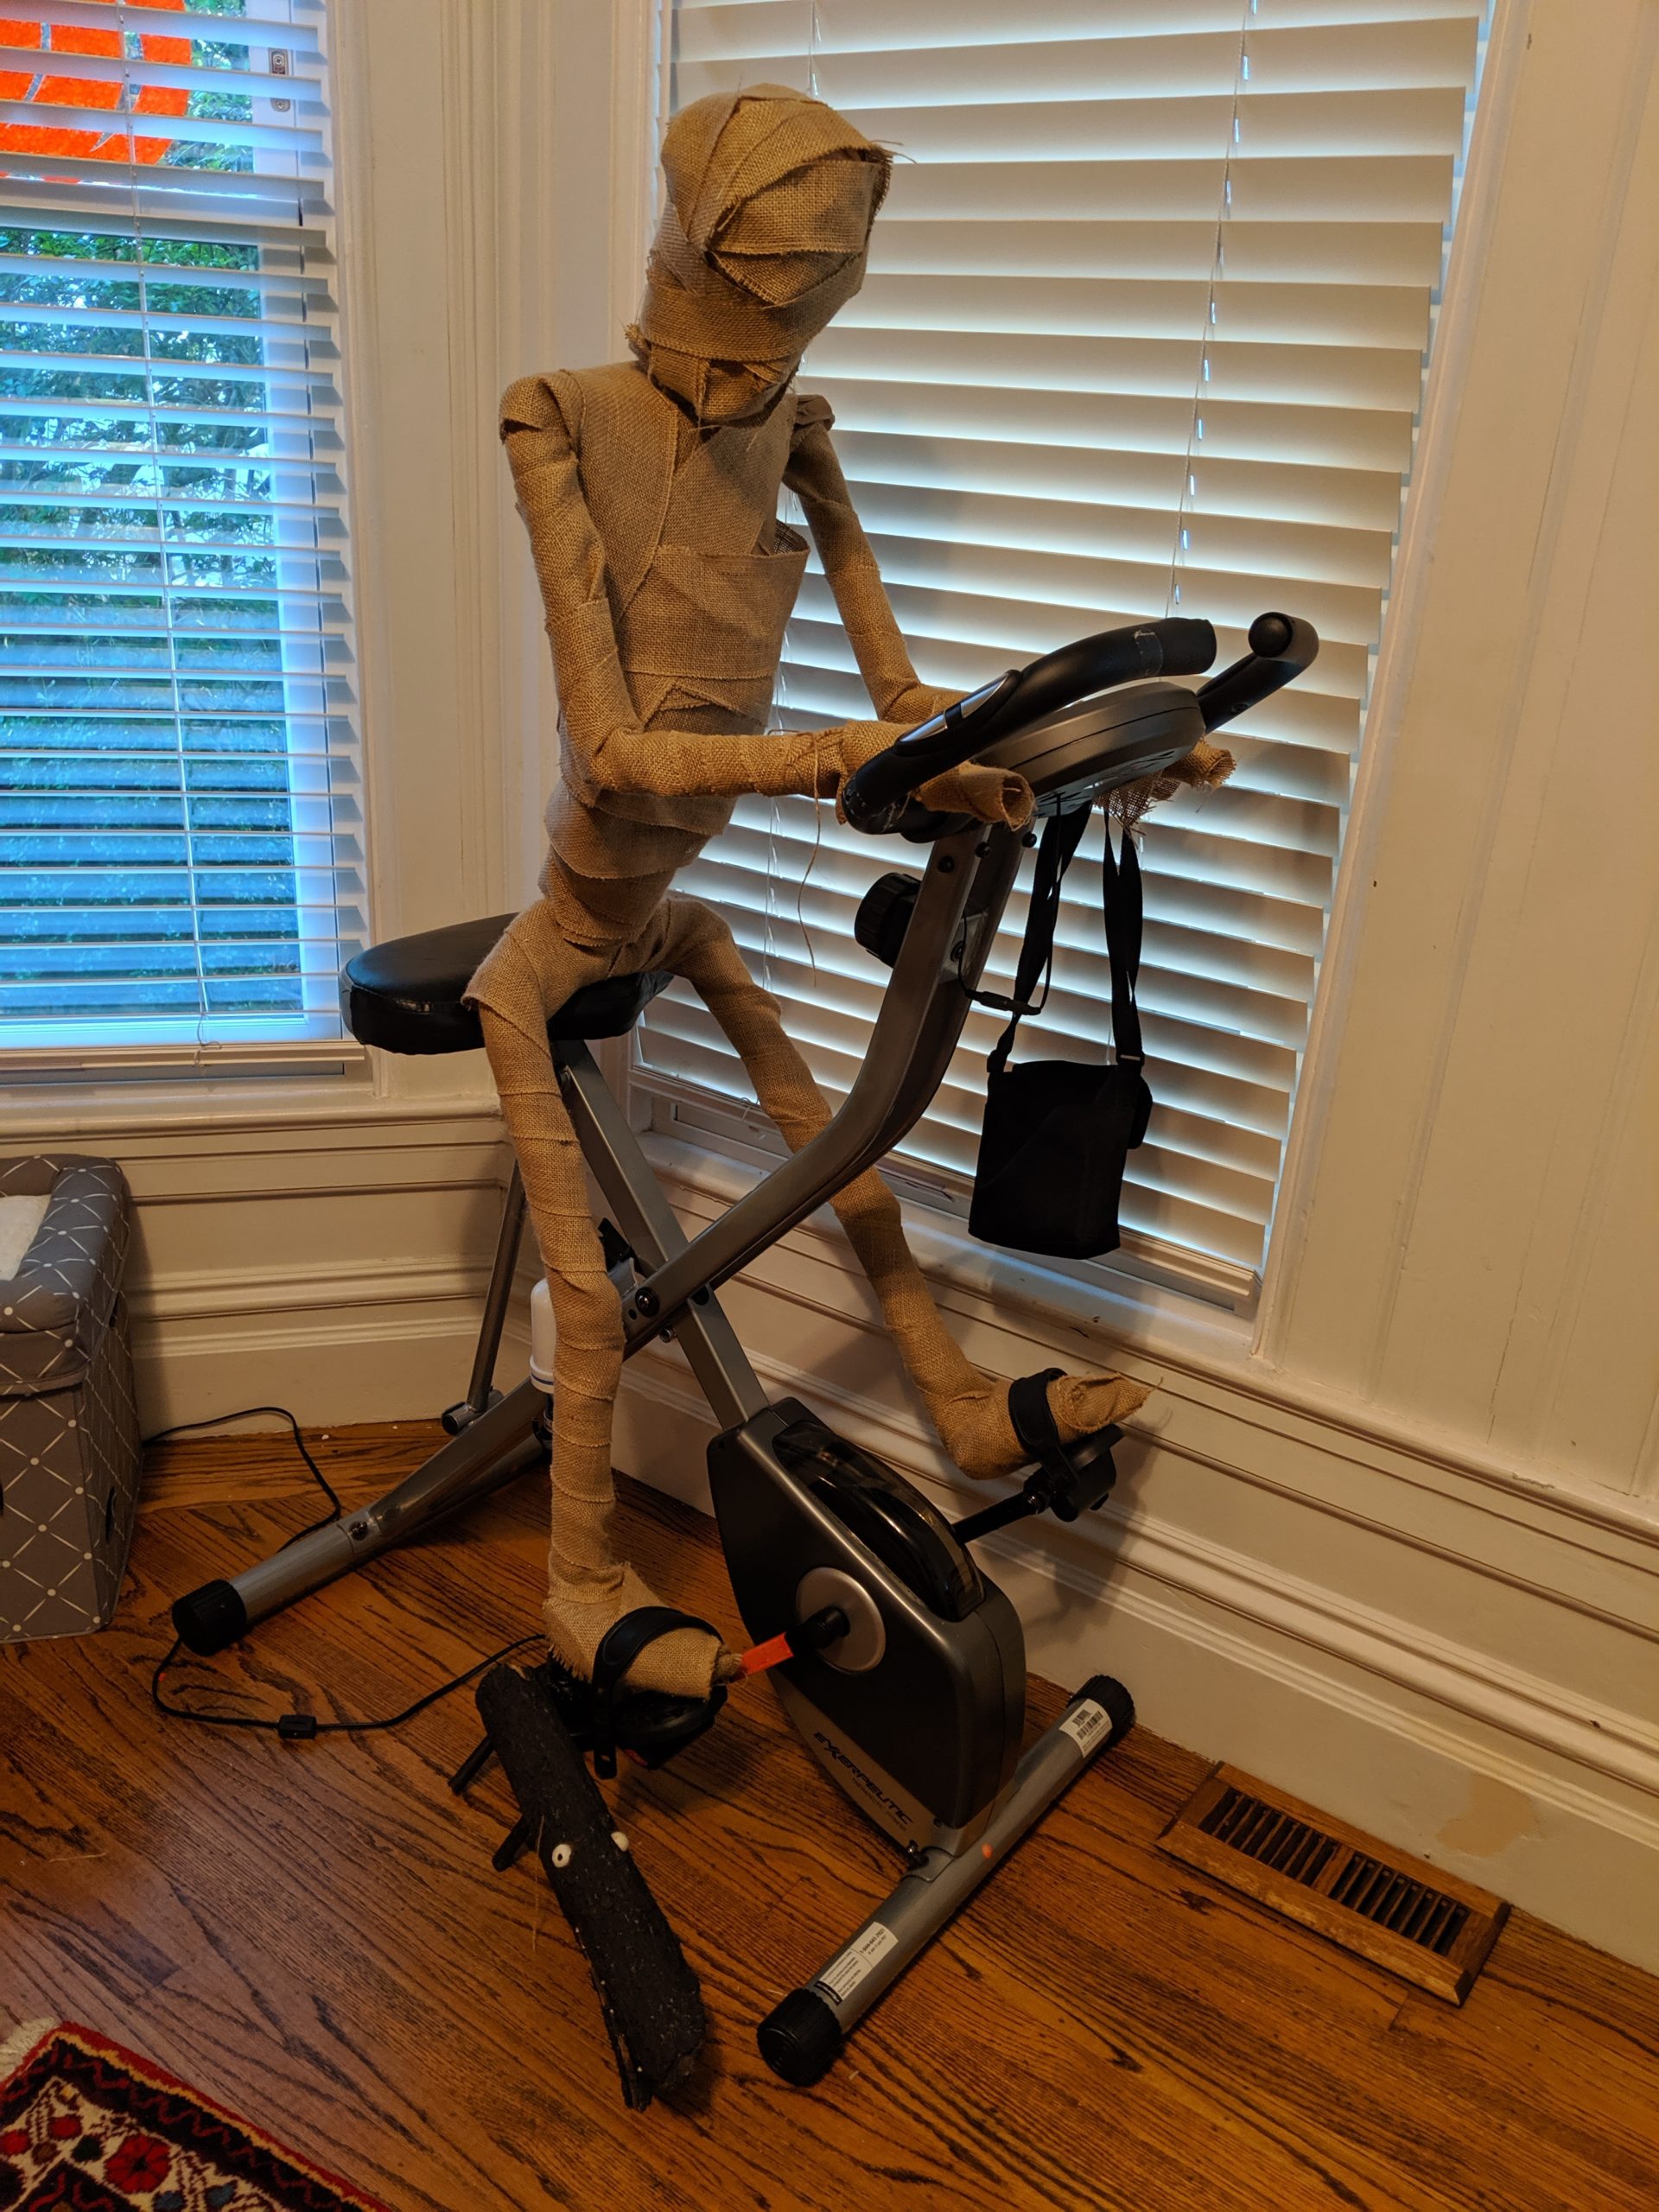
George the mummy exercising
In this photo, George is sitting on a stationary bicycle. This shows off how George’s limbs can move and that he can be detached from the lamppost. It also shows that George is about the same size as a normal human, which makes him more realistic and creepy.
George taking down holiday decorations with Number Three
In this video, George the Mummy is taking down Christmas decorations with Number Three, showing off how well he stands and how much he enjoys wearing hats. He is also sturdy enough to hold Christmas tree ornaments without his arm bending.
We decided to make a special present for our teachers at school. One of the teachers really loved alligators, so we decided to make one for her out of wood.
Please note, this material is provided for informational purposes only and is not a guide on how to create the designs. Please read our disclaimer.
So we set out to make one out of wood. First we cut the wood into the rough shape of the toy.
Next, We drilled the wood that we cut. We cut lots of little pieces so the tail could move. We also drilled a small hole in the center of each small piece.
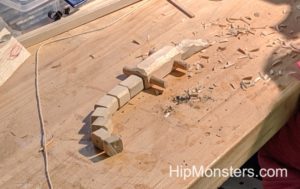
To smooth the edges we used a wood plane. Then we sanded each piece with fine grain sandpaper. For the details on the head we made rough cuts using an alligator saw then sanded repeated to get the shape we wanted.
We laid out the final design before threading the wire through the holes we drilled.
Here we are threading the wire though the holes. We used pipe cleaners to get a snug fit. This will make the toy alligator flexible but will also hold its shape well.


 We laid out the final design before threading the wire through the holes we drilled.