Our Apothecary Cabinet

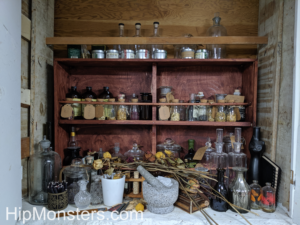
As well as working with technology, the Hip Monsters team also works with magic. This is our handmade apothecary cabinet, which we use to store all of our apothecary supplies and extra bottles.

Please note, this material is provided for informational purposes only and is not a guide on how to create the designs. Please take a look at our disclaimer.
DIY apothecary cabinet with herbs

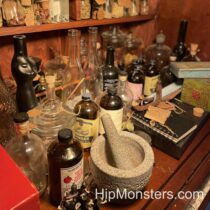
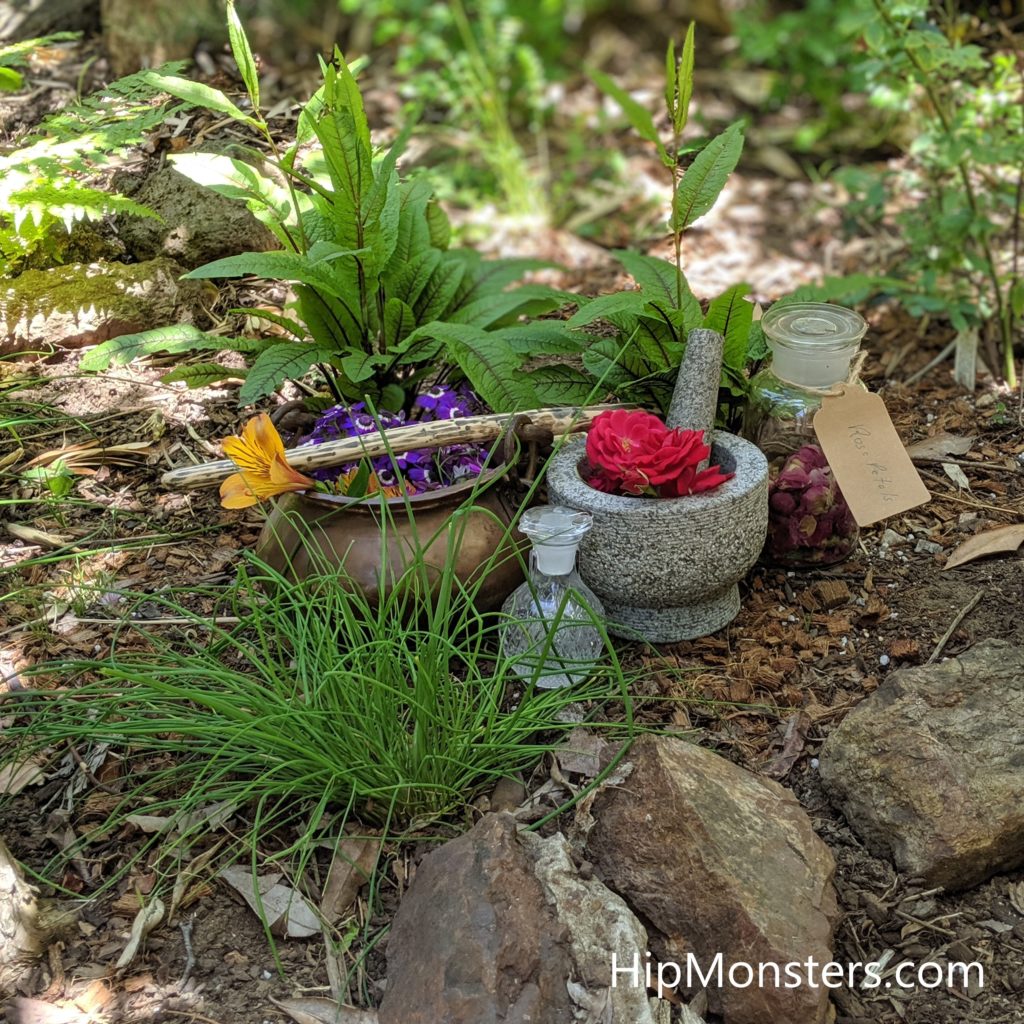
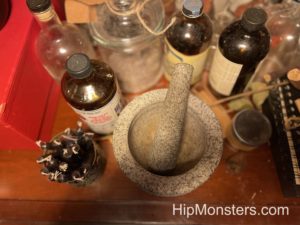
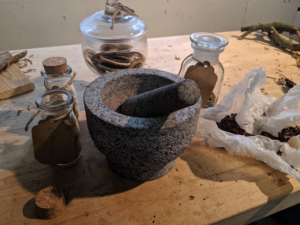
The mortar and pestle is a very useful tool for making potions. It helps us grind up our herbs into smaller pieces to make smoother potions. Grinding up the ingredients will also help release more of the juices and flavors.

DIY Apothecary Cabinet and herbs

Here are some of our bottles. Whenever we get food in interesting jars, we keep the jars to store herbs and potions in. Many of our herbs are from our herb garden, including lavender, roses, and thyme. DIY Apothecary Cabinet and herbs
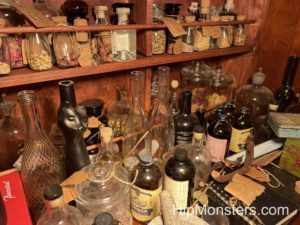
We like to use a variety of different styles of jars to give the collection an organic feel. We also like to store some of our potions in paper packages that releases more of the smell. It also makes the apothecary cabinet look more interesting. DIY Apothecary Cabinet and herbs
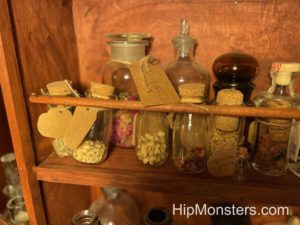
One of the most important additions to our apothecary cabinet was a wooden beam to go across the shelves. This makes sure that the jars won’t fall out very easily.DIY Apothecary Cabinet and herbs

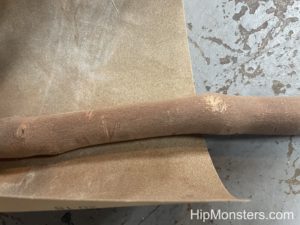
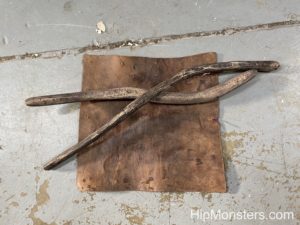
We used three different layers of stain to try and create a older look. After each layer of stain, we would sand the wood before adding the next one. Another technique to make wood look older is to use candle wax to create circles before adding the next layer of stain. The stain will not stick to the wax, which will make it look like there are stains from bottles on the wood.
DIY Apothecary Cabinet and herbs

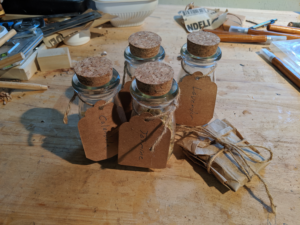
For labels we used an unbleached present label then cut them to size. This helps us identify all of our different ingredients and also makes the bottles look more interesting.

Happy Creating!

Wand Making

At the beginning of the Covid pandemic, we wanted to create magic for ourselves and our friends and hone our wood crafting skills. After much debate, we settled on wand making.

Our yard in the San Francisco, CA has several trees and shrubs that require routine maintenance.  Over the years, we carefully trimmed and stored the best branches for future use. One of our more numerous shrubs is boxwood and we have a large birch tree which both provide great material for wand making.

Please note, this material is provided for informational purposes only and is not a guide on how to create the designs. Please take a look at our disclaimer.

The three essential tools for wand making are:

Selecting the perfect branch can be hard and a lot depends on what sort of wand you are looking for. When selecting a branch to turn into a wand, make sure that it is not too green or too dry. Also, you want the branch’s width to be wider than you want at the start. Spokeshaving takes off more material than you would imagine. Straighter branches are easier, but we prefer ones that curve slightly to make the wand more interesting. Many pieces of wood also have natural handles that works great on the wand.

YouTube player

When cutting the wand make sure to not cut it too short, once you start crafting the ends you may find you need to trim it a bit more.

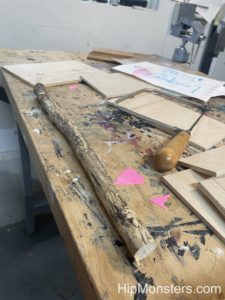
Wooden cut for making wands

Once you have trimmed the branch it is time to prepare it for spokeshaving.

To prepare for spokeshaving the wands, cure them in a mixture of water, dishwasher soap, and a little oil. Soak them for at least two days depending on how dry the wood was to begin with. If the wood is too dry it can by difficult to charge and split when spokeshaving. After two days of soaking, take the wands out of the solution, wipe them dry and store them in a cool dry place for at least one day to dry out. If your wood starts out very wet, you should not soak the wood and instead leave it to dry out for a bit.

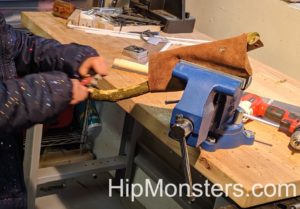
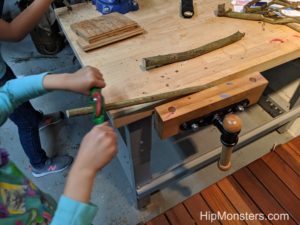
Our technique for wand making involves lots of spokeshaving to shape the wand. The best thing about spokeshaving is it is great for all ages. Kids as young at six can spokeshave simple branches and adults can find it very rewarding after a long day at work.

When spokeshaving make sure not to cut into the wood. This can happen if the blade is not aligned correctly or your use too aggressive of an angle. If you do cut into the wood, we recommend not trying to smooth out the grove with the spokeshave. Instead, use a craving tool to widen the grove before returning to spokeshaving, or use a rasp to smooth it out. When spoke shaving it is best to use as little strength as possible and get into a rhythm to make the tooling as consistent as possible.

YouTube player

Once the wand is in the shape you want then move on to shaping the ends.

YouTube player

After years of practice we find repeated passes with a spokeshave can get the tip to the shape we prefer. You can use a carving knife as well, but with harder wood it can require a lot more force.

Sanding a wooden wand

After you get the shape and look you want move onto sanding. For wands sanding is really important. The wand needs a well-finished, smooth surface or it just will not feel right. Use multiple grades of sandpaper starting with the lowest grade sandpaper and ending with the finest.

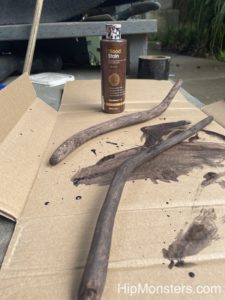
Using wood stain on wands

Once the wand has the feel you want start applying the stain. Make sure to apply the stain in an open and well ventilated space. Remember, staining your wands will take multiple days, so you need a place where the wands will be safe and protected from rain or harsh sun. We stain our wands outside under our porch.

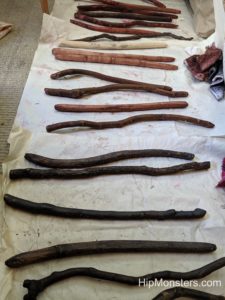
Above is a long line of wands after staining. Since it can take weeks to complete one wand we usually have several in the works at a given time. We also sand the wand after staining them because staining can make the wood feel rougher. Sanding can also give the wands an older look.

Waxing a wooden wand

After the last coat of stain has dried, apply beeswax to add another layer of protection and to give it a well-used feel. You want to wand to feel old and magical. This can require multiple coats of beeswax applied over several days depending on the condition of the wood.

Polishing the wands

The last step is to polish the wand using a rag or a bit of leather. We found leather does a great job getting a well-worn, ancient looking patina.

Now your wands are ready for use and harness the magic within!

Happy creating!
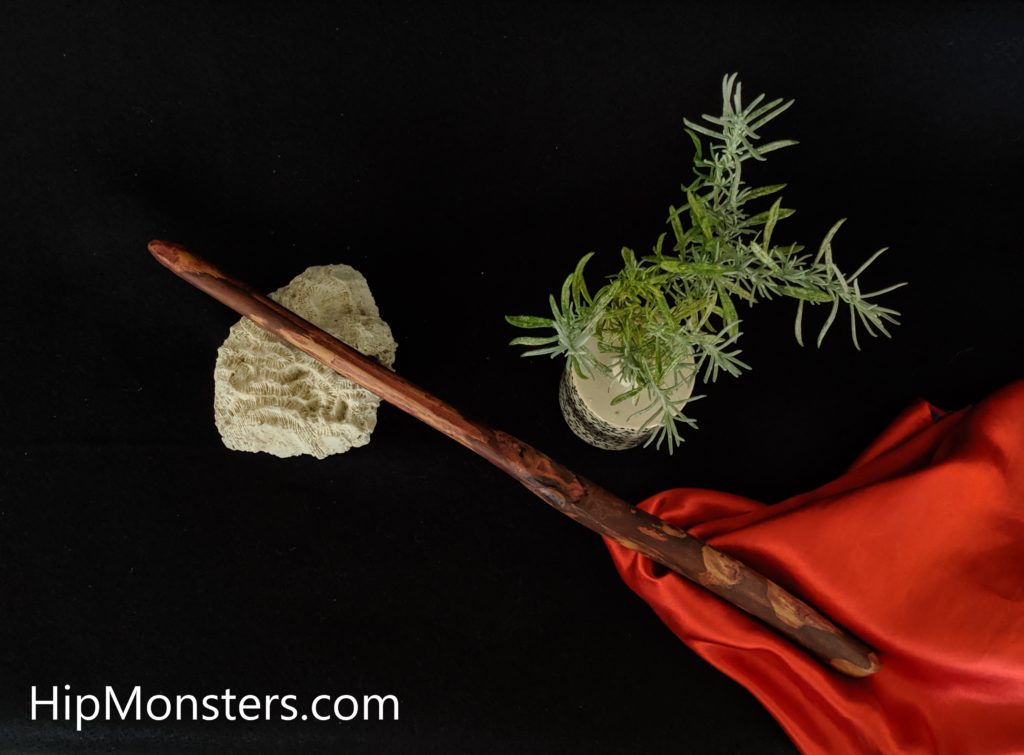
Wand: Flame Tamer

Every wand we craft has unique mythos and a special spell. This wand is called the Flame Tamer.


Handcrafted DIY Wooden Wand with rosemary

Mythos

Flame Tamer was created on a hot sunny day which gave its power to control fire. 

Special Spell  

Control fire.

First, create a circle of fire. Then speak the incantation:

ignis coercere

While waving the wand in a circle then thrusting the wand through toward the flames.  Focus your mind on an animal, like a hawk or a wolf, that you are most aligned with. The fire will assume the shape of that animal and will obey your commands. 

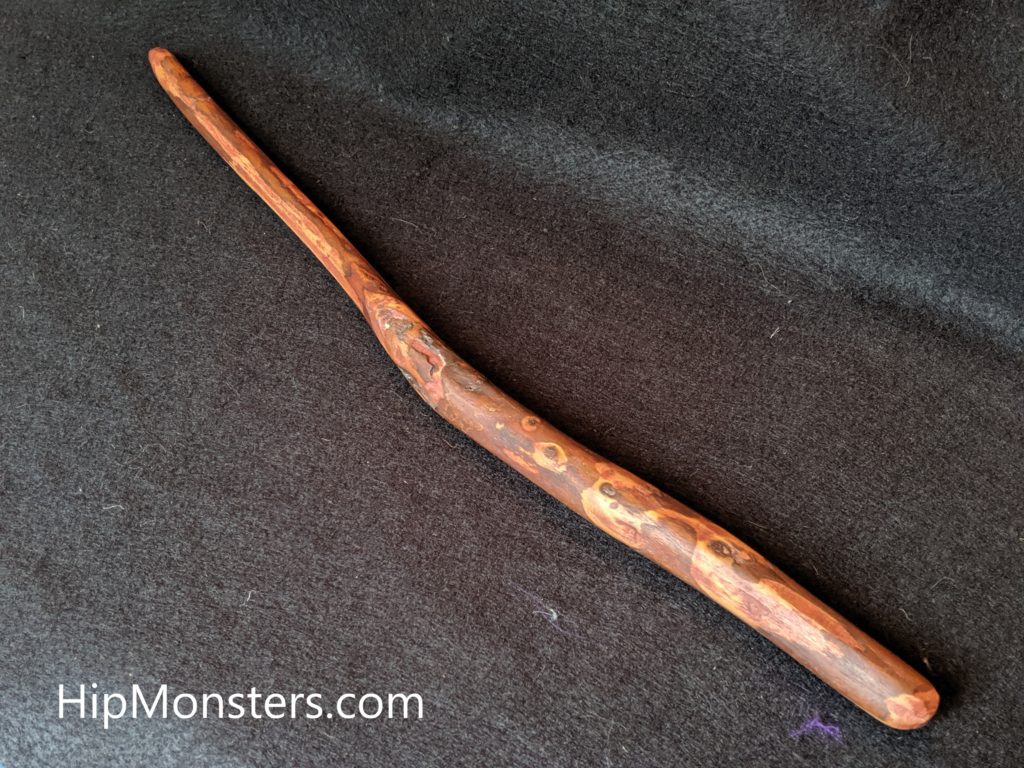
It is 16 inches long.  This wand was made from pine and was soaked in rose petals and red clay. it was spoke shaved with a small bend in the middle. 

Happy Casting!
Handcrafted DIY Wooden Wand

Handcrafted DIY Wooden Wand

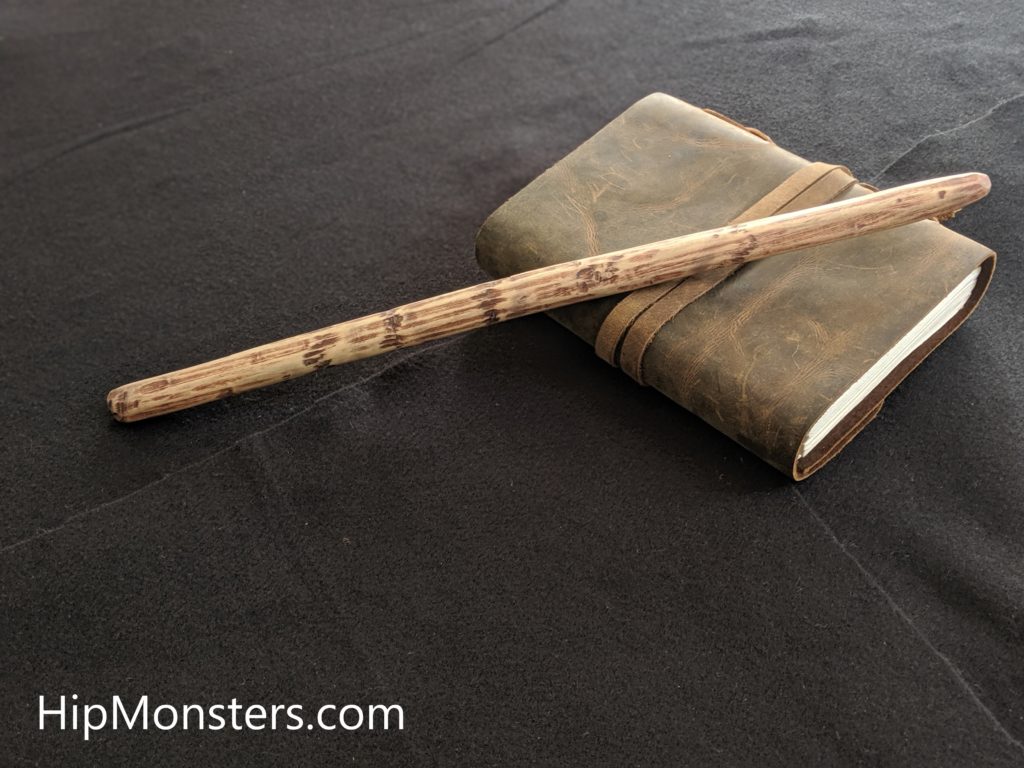
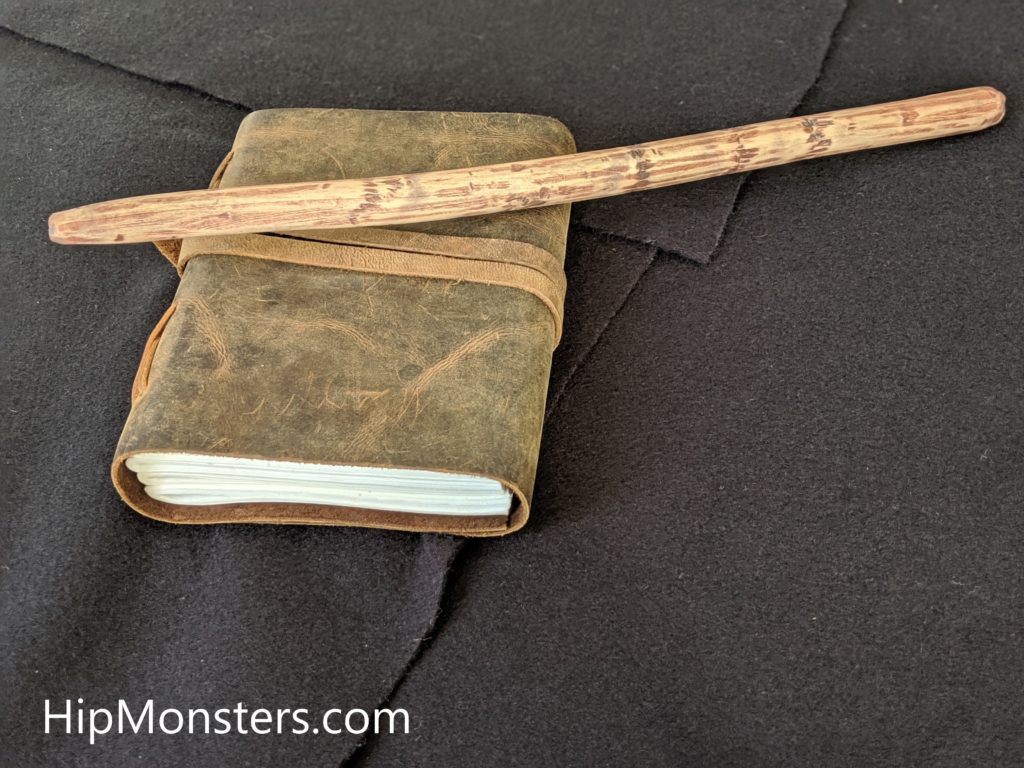
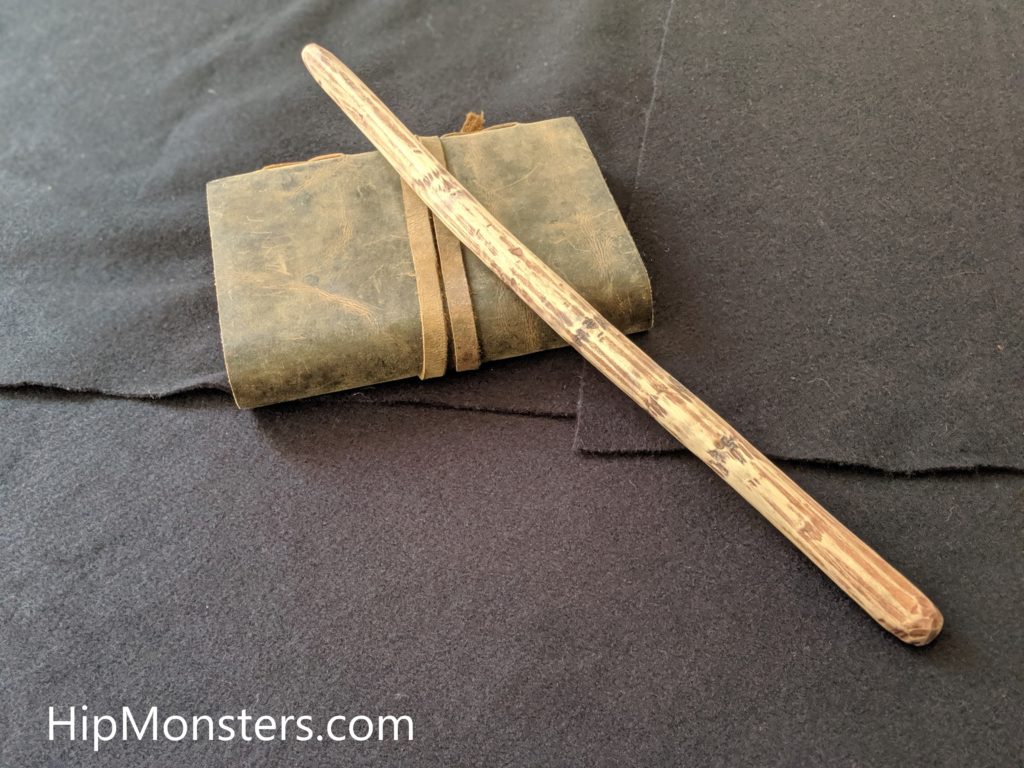
Wand: Scarlet Sunset

Every wand we craft has unique mythos and a special spell. This wand is called the Scarlet Sunset.

Handcrafted DIY Wooden Wand with a book

Mythos

Scarlet Sunset was crafted as the sun was setting so its magic is strongest at night. For difficult spells, it is recommended to wait till a new moon. It plays well with fire and can even use fire as a healing energy to cure people and creatures.

Special Spell

Incendium Purgatio (Fire purification) 

It is 14 3/4 inches long. Made of poplar grown in the Hip Monster’s realm. The wood was spoke shaven straight, soaked in oil with a rosemary and chives blend then polished with bee’s wax.

Happy Casting!
Handcrafted DIY Wooden Wand with a book

Handcrafted DIY Wooden Wand with a book

Wand: Night View

Every wand we craft has unique mythos and a special spell. This wand is called the Night View.

Handcrafted DIY Wooden Wand in a garden

Mythos

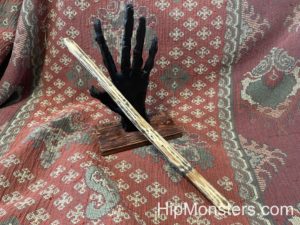
The wand Night View has a darker side. Made of poplar and dyed in dark herbs she is ready for night time adventures!.

Special Spell

Noctem Visus (Night Vision)

It is 13 1/2 inches long. Made of poplar grown in the Hip Monster’s realm. The wood was spoke shaven straight, soaked in oil with a blueberries and mint blend then polished with bee’s wax.

Happy Casting!
wooden dyi wand with fake hand wooden diy wand


Our Apothecary Garden

Severus Snape and Professor Sprout are two of our favorite characters in Harry Potter, and their story inspired the sister team to begin exploring potion making and herbology.

From our hidden garden in the city, the HipMonsters sister team will bring you tips on growing herbs in a city, how best to preserve and prepare your herbs, and how to have fun!  

Our herb Garden

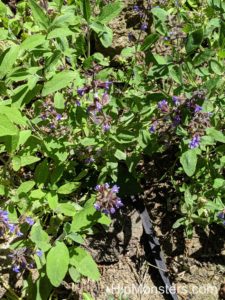
We started our herb garden by clearing and preparing several patches in our yard that were suitable for growing herbs. We ended up with two beds that received full midday sun and others that were in the shade most of the day during summer. Our yard is really old, so to prepare the beds we dug down 24 inches and churned in lost of fresh dirt. All of the beds had good drainage.

A herb garden
The sunniest bed after planting

After the beds were done, we observed how much sun they received and how the water drained. Using this information, we researched the best herbs for each bed focusing on herbs that were well-suited for San Francisco’s climate. Here is a good article to start your research.

Sage in bloom
Sage in Bloom

Here is a list of some of the herbs that worked best:

  • Thyme
  • Yerba Buena
  • Rosemary
  • Sage
  • Oregano
  • Tarragon
  • Red Veined Sorrel
  • Chives
  • Basil
  • Parsley
  • Onions
  • Wild Garlic
  • Roses
  • Borage
  • Lavender
    • English
    • Spanish
  • Mint
    • Spearmint
    • Mojito
    • Peppermint
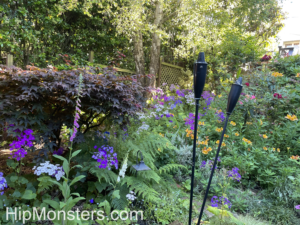
Our flower garden.
Our Flower Garden

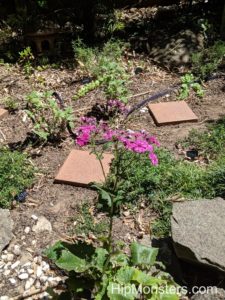
Most of our yard has is dedicated to native plants or flowers that are good for bees. This gives us flowers nearly year round. The credit for most of the planting is the prior owner who took great care to attract bees and birds. We have tried to follow in her footsteps and have several bumble bee nests throughout our yard as well as lots of honey bees from neighboring hives.

Many of the flowers are perfect for drying but most are not good in flower arrangement because they die too quickly once cut. Here is a great article on the types of flowers in our yard. Even though most of the flowers are native, we still need to care or them and fertilize the beds a few times a year using liquid kelp. The most important thing is to never rip up the flowers after they die. We leave them to assure the seeds will spread for next year’s crop. This does look a little unkept but the next spring will make up for it.

Potions Cabinate
Potion collection

And now our Harry Potter fandom kicks in. Given our growing collection of herbs and dried flowers, we decided to make to our own potion cabinet hidden deep in our basement!

mortar and pestle grinding Herbs
Our well-used mortar and pestle

From our store we craft little bags and jars filled with ground up herbs and flowers as presents.

Bottles of Herbs and Flowers
Herbs ready for cooking

We also bottle up our best dried herbs to be used in our cooking and potion-making!

Happy creating!